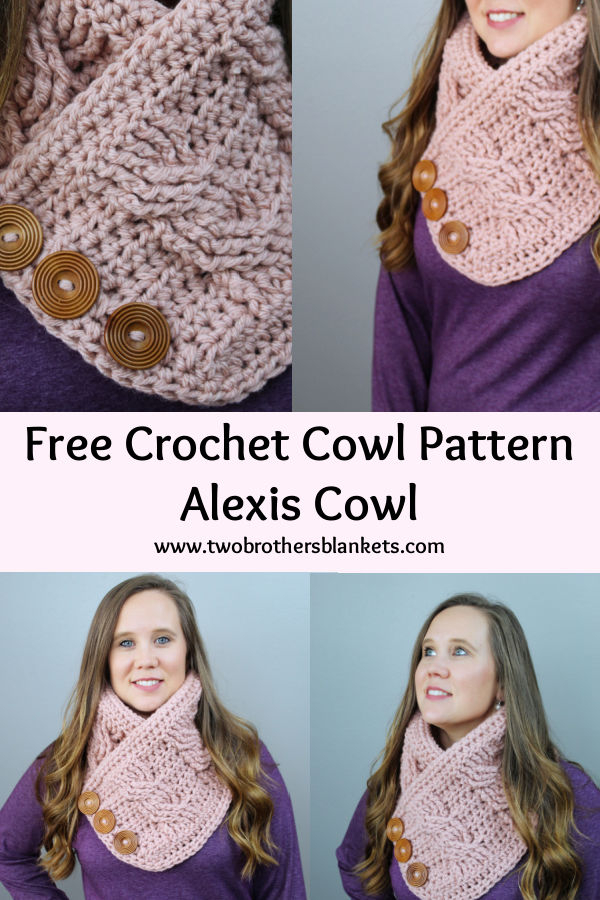
Crochet Cowl Free Pattern- Alexis Cowl
This post – Crochet Cowl Free Pattern- Alexis Cowl- contains affiliate links, which means if you make a purchase from the links below, I will get a small percentage of the sales at no additional cost to you. Thank you for your continued support!

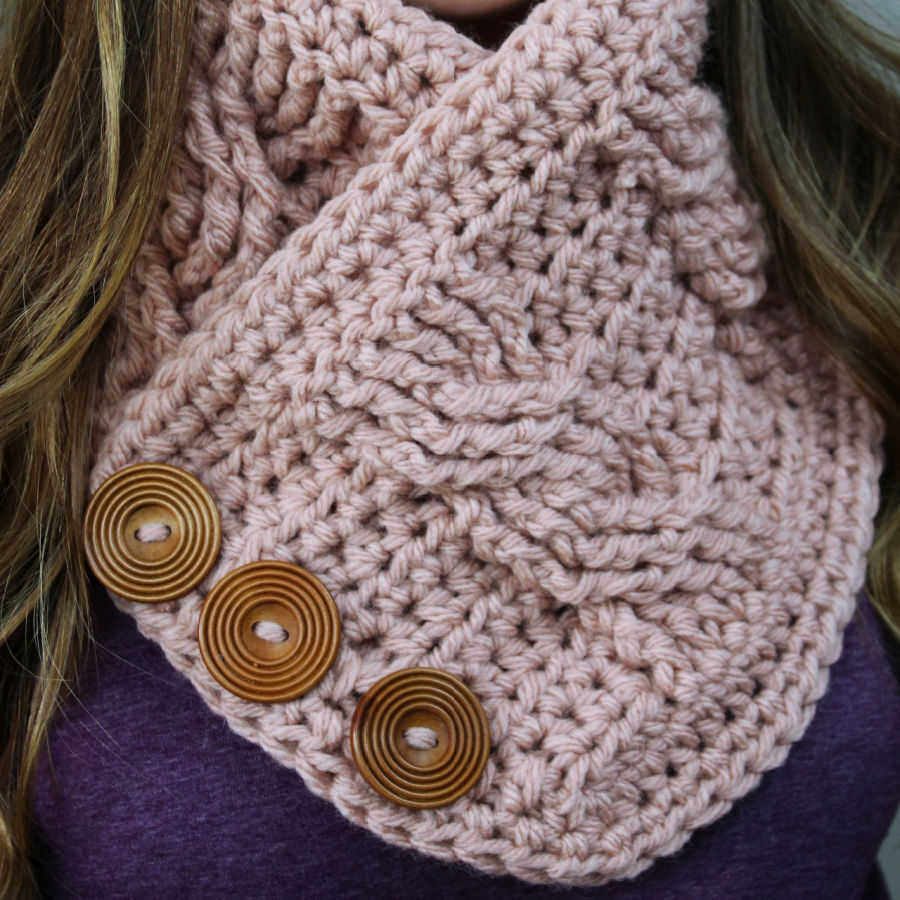
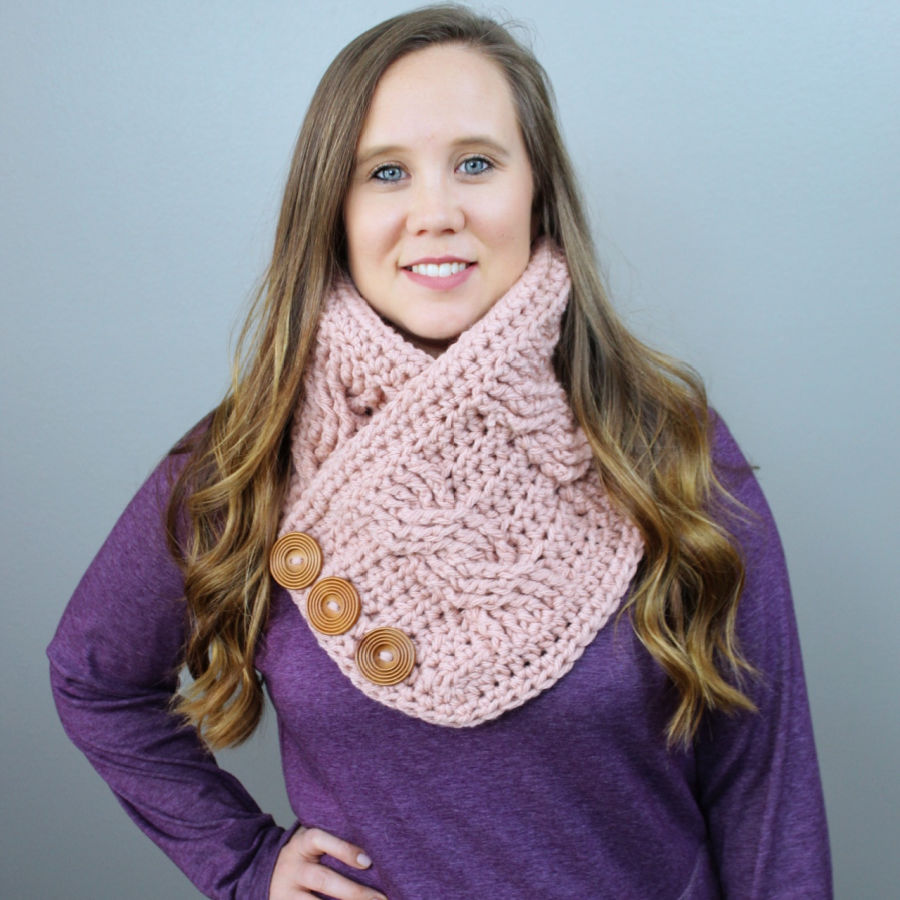
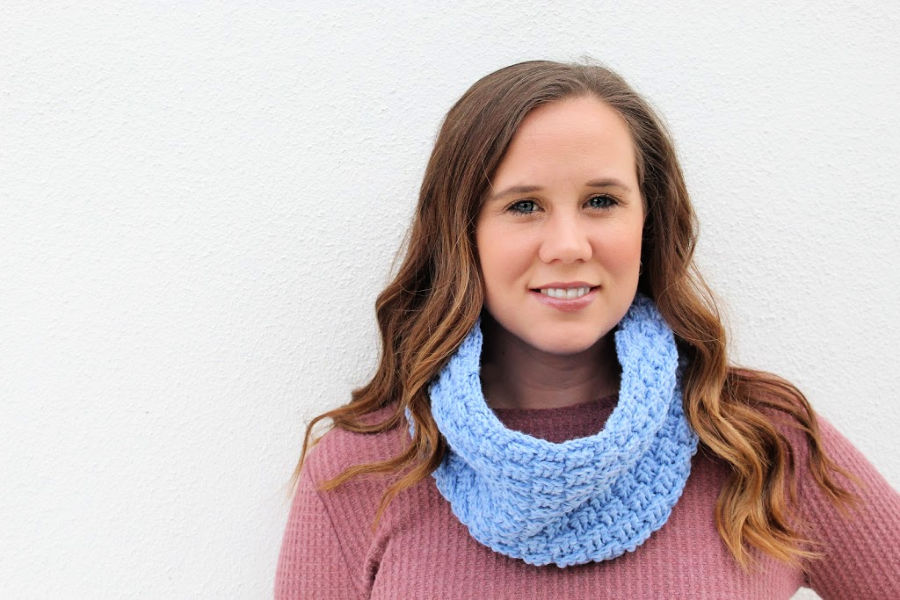
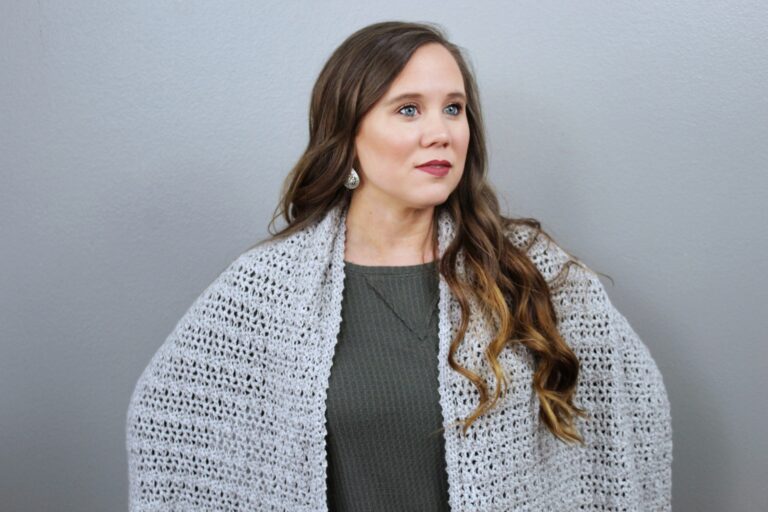
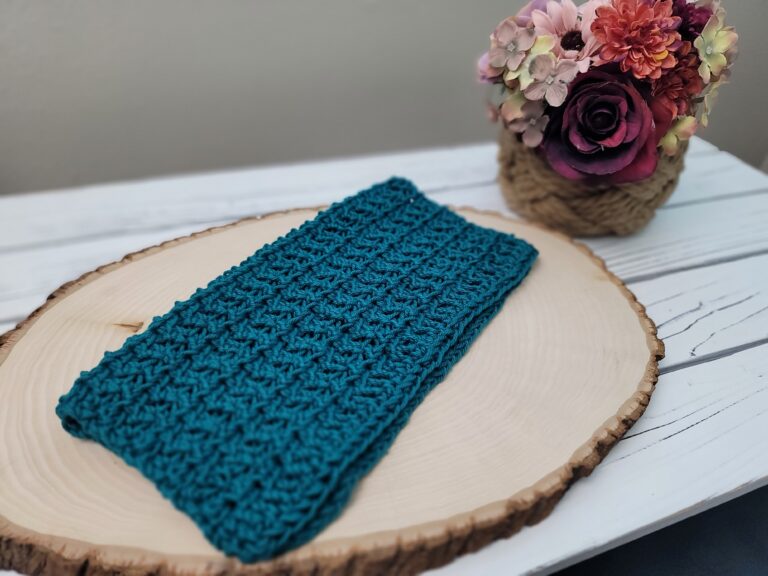
The Alexis Cowl is a beautiful crochet cowl with cable stitches and buttons! You’ll love how simple it is to make and the buttons add such nice detail to the cowl!
Pattern Inspiration
The Alexis Cowl was designed when I was on a crochet cables kick. I wanted to make all the things with crochet cables!
So I came up with this simple design with beautiful cables that look more complex than they actually are! The pattern is worked in rows and the buttons are added at the end.
I went with a bulky yarn because I wanted this design to be quick and easy and the cowl to be cozy and warm!
Pattern Details
This crochet cowl pattern calls for bulky (#5) weight yarn. I used Lion Brand Yarn’s Hue + Me in the colorway Rose Water.
Hue + Me yarn is a bulky (#5) weight yarn that is 80% acrylic and 20% wool. I love the muted tones in the colors of this yarn line. They are so nice and great for fall!
You will need approximately 2 balls of Hue + Me or 220 yards of bulky weight yarn.
The pattern is rated Intermediate in difficulty. You will need to know how to do the basic crochet stitches, as well as front and back post double and triple crochet.
Alexis Cabled Cowl Crochet Pattern
You can purchase the printable pdf version of this pattern on Ravelry and Etsy!
Like this pattern? Check out my ever growing list of Free Crochet Patterns!
Materials
220 yards #5 bulky weight yarn
Shown here: Lion Brand Hue & Me in Rose Water
L/11 – 8.00mm crochet hook
Scissors
Measuring tape
Tapestry needle
Three 1” buttons
Difficulty
Intermediate
Gauge
9 hdc= 4”
Sizing
One Size – 33” x 8”
Pattern Notes
Starting chain does not count as first stitch.
FPdc: Yarn over, insert hook behind post, yarn over, pull up a loop (3 loops on your hook), yarn over, pull through 2 loops (2 loops on your hook), yarn over, pull through last 2 loops.
BPdc: Yarn over, insert hook in front of post, yarn over, pull up a loop (3 loops on your hook), yarn over, pull through 2 loops (2 loops on your hook), yarn over, pull through last 2 loops.
FPtc: Yarn over twice, insert hook in front of post, yarn over, pull up a loop (4 loops on your hook), yarn over, pull through 2 loops (3 loops on your hook), yarn over, pull through 2 loops (2 loops on your hook), yarn over, pull through last 2 loops.
Stitches Needed & Abbreviations
ch- chain
hdc- half double crochet
FPdc- front post double crochet
BPdc- back post double crochet
FPtc- front post triple crochet
st- stitch(es)
**- repeat what is inside these symbols
Cowl
Ch 75
Row 1: Hdc in 2nd ch from hook and across. (74)
Row 2: Ch 1, turn, 1 hdc in 1st 4 st, *1 FPdc in next 6 st, 1 hdc in next 4 st*, repeat across. (74)
Row 3: Ch 1, turn, 1 hdc in 1st 4 st, *1 BPdc in next 6 st, 1 hdc in next 4 st*, repeat across. (74)
Row 4: Ch 1, turn, 1 hdc in 1st 4 st, *skip 3 st, 1 FPtc in next 3, working in front of the 3 st you just made, 1 FPtc in each of the 3 skipped st, 1 hdc in next 4 st*, repeat across. (74)
Row 5: Ch 1, turn, 1 hdc in 1st 4 st, *1 BPdc in next 6 st, 1 hdc in next 4 st*, repeat across. (74)
Row 6: Ch 1, turn, 1 hdc in 1st 4 st, *1 FPdc in next 6 st, 1 hdc in next 4 st*, repeat across. (74)
Row 7: Ch 1, turn, 1 hdc in 1st 4 st, *1 BPdc in next 6 st, 1 hdc in next 4 st*, repeat across. (74)
Repeat rows 4-7 one more time. Do not fasten off. Continue on to Trim.
Trim
Round 1: Ch 1, turn, hdc in each st across, 2 hdc in corner, (ch 2, 2 hdc, ch 2, 2 hdc, ch 2, 2 hdc) worked evenly down side of cowl, 2 hdc in corner, 1 hdc in each ch across bottom of cowl, 2 hdc in corner, 1 hdc evenly up the other side, join to 1st st. (176 hdc)
Round 2: Ch 1, turn, hdc in each st across, working 2 hdc in each ch-2 space, join to 1st st. (176 hdc)
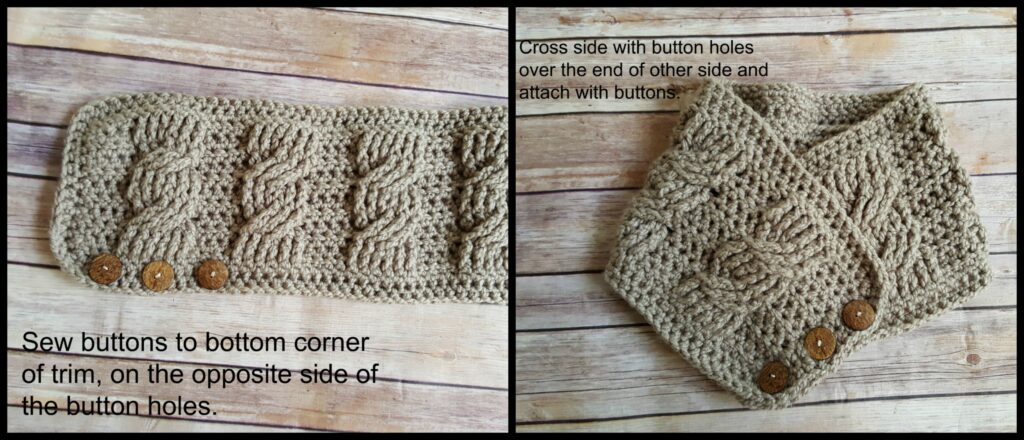
Fasten off. Sew buttons to the bottom corner of the trim, opposite of the button holes.
Pin It!
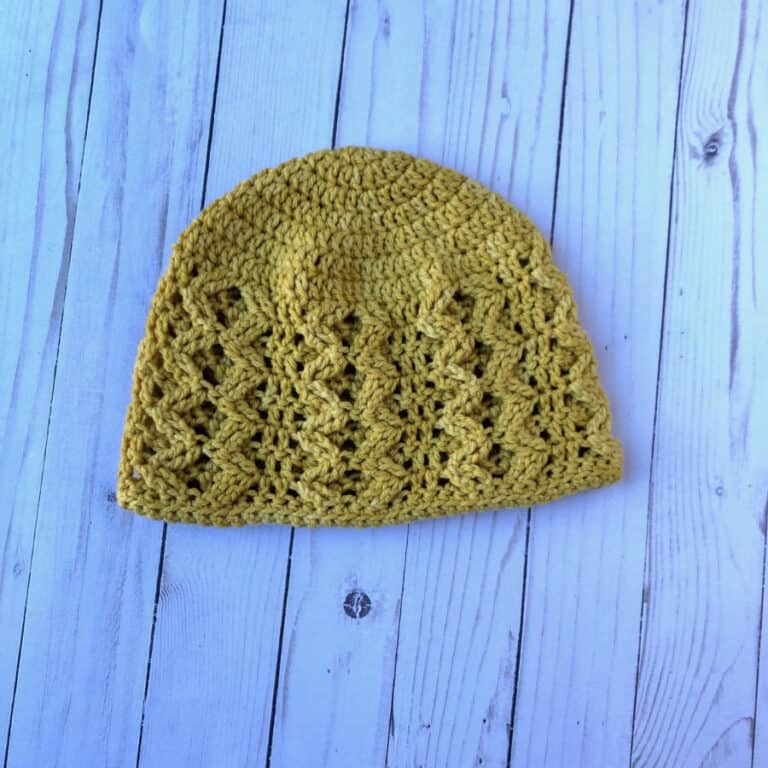
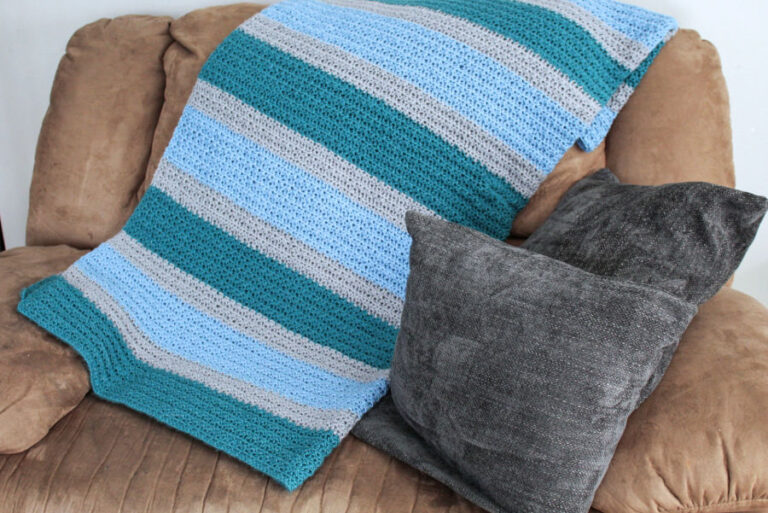
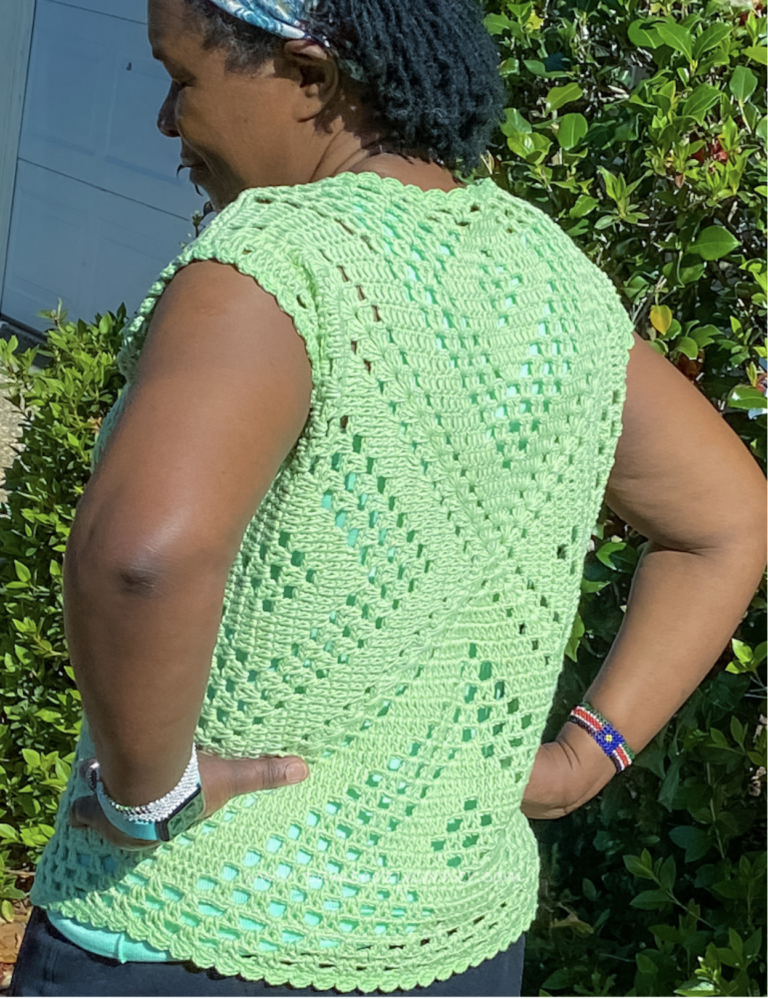
More Cowl Patterns

Michelle has been crocheting since 2011 and has been designing crochet patterns since 2014! She specializes in modern garments and accessories for your handmade wardrobe. Michelle has been featured in Happily Hooked Magazine, thehooknooklife.com, wecrochet.com, ourmakerlife.com, and several other websites. She is committed to providing the highest quality crochet information and patterns that instill a true feeling of pride, enjoyment, and accomplishment when completing a project.
Love your style and that color!
I’ve made this cowl a few times! It’s a beautiful pattern!
This looks so awesome I can’t wait to make this!!
Love this pattern. I have started it and it is going well. Just wondering if I am putting in button holes. I don’t see it mentioned in the pattern.
Thank you!
Yes, it’s the first row of the trim.