
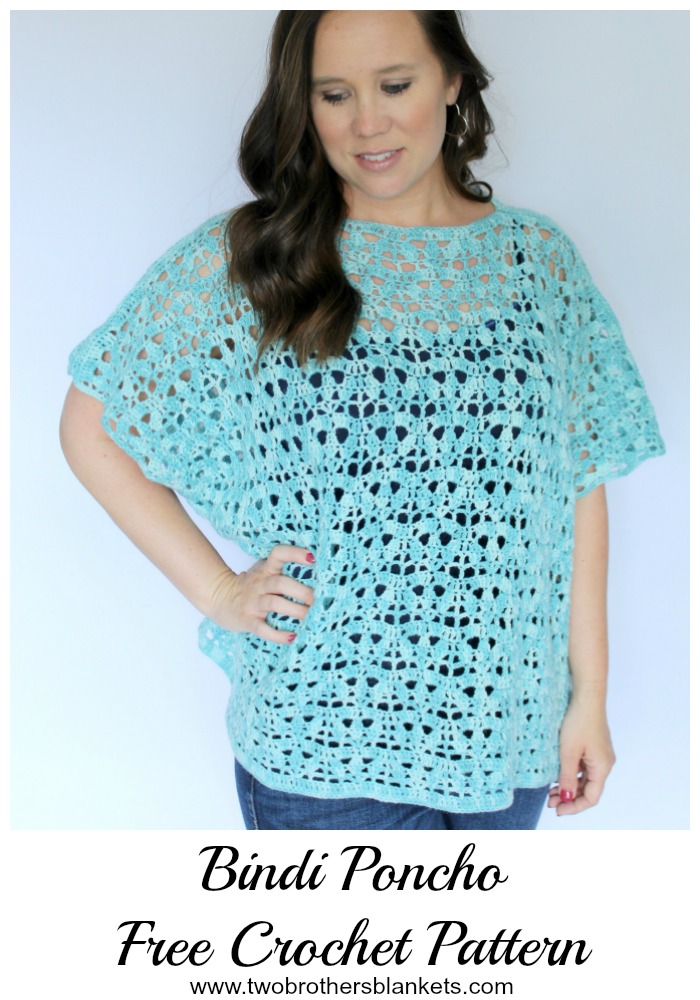
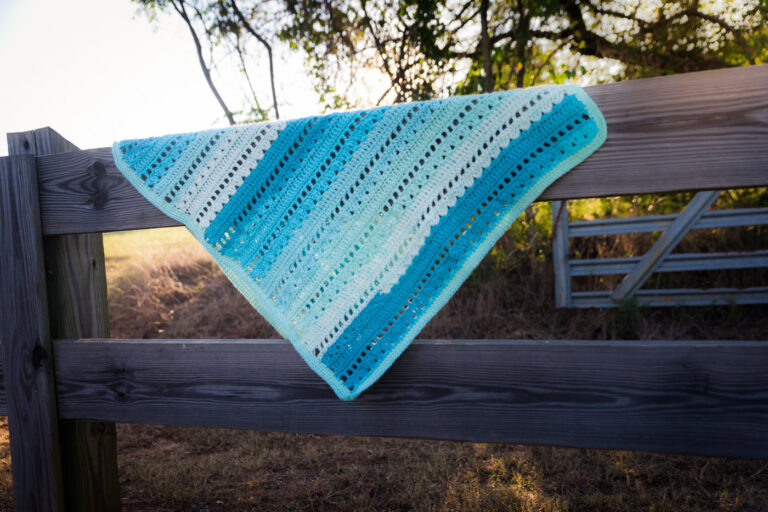
If you’re looking for a lightweight layering piece that’s effortlessly stylish and easy to make, the Bindi Poncho is the perfect warm-weather project.
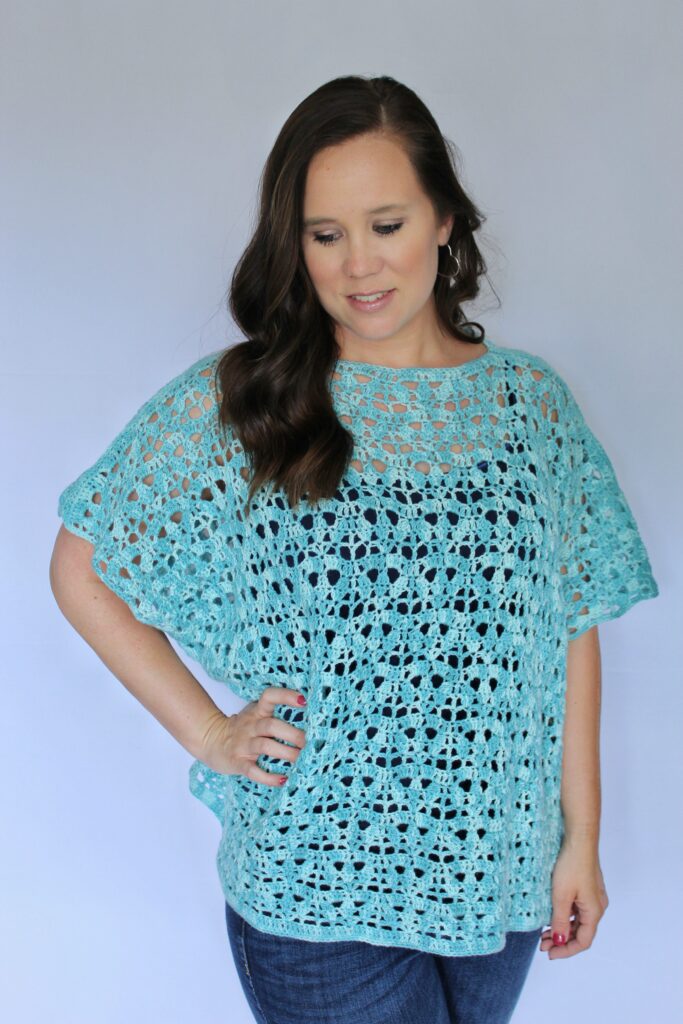
Whether you’re heading to brunch or the beach, the Bindi Poncho adds that laid-back, put-together vibe to any outfit.
Pattern Details
This crochet poncho is made using fingering weight (#1) yarn. The yarn I originally used has since been discontinued, but I’ve got some other great yarn recommendations that would work for this poncho.
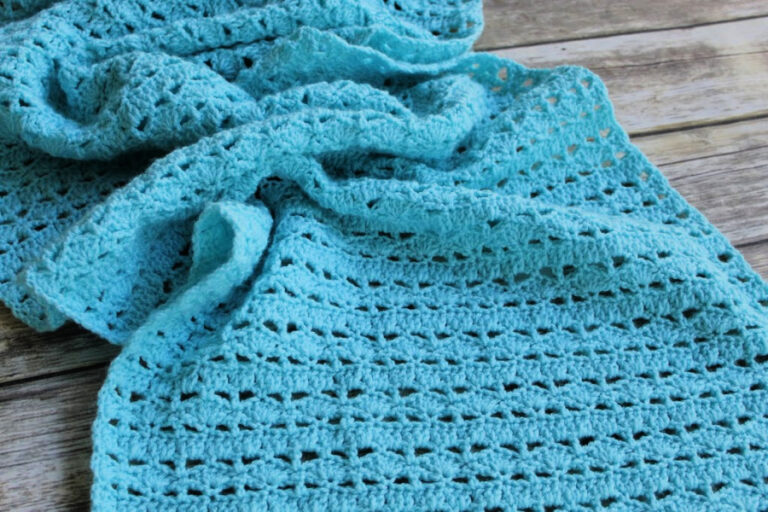
Comfy Fingering is a 25% acrylic, 75% pima cotton blend that would be perfect for warm summer months! It’s super soft and has a lovely shine to it.
Stroll Tonal is 75% superwash merino wool, 25% nylon and will give you the different color tones, as you see in the photos of my poncho.

Bindi Poncho Crochet Pattern
Bindi Poncho
Get the PDF Pattern!
Upgrade to the ad-free, printable PDF download on Ravelry or Etsy!
Just want the free version? Scroll down below!
Materials
1100-2000 yards fingering weight (#1) yarn
F/5(3.75mm) crochet hook
Scissors
Measuring tape
Yarn needle
Difficulty
Easy
Gauge
See below for gauge pattern.
Sizing & Yardage
XS/S- 28-34” bust 1120- 1200 yards
M/L- 36-42” bust 1600- 1900 yards
XL/2X- 44-50” bust 1900- 2000 yards
Pattern Notes
Pattern is worked in multiples of 12 + 3.
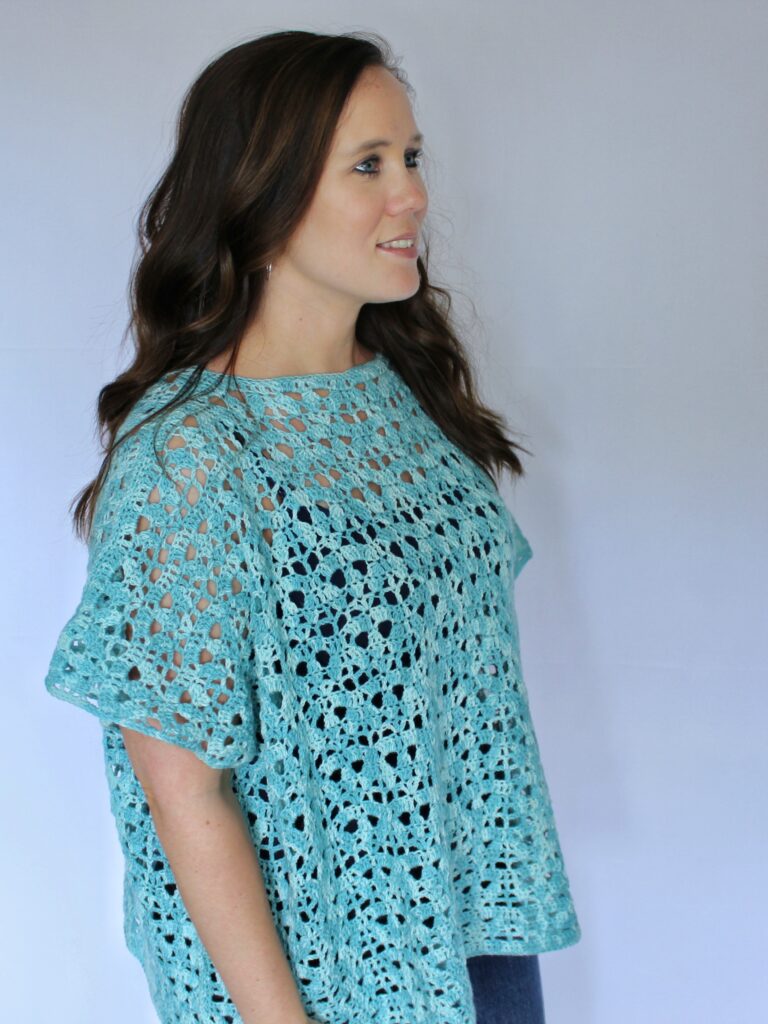
Poncho is very oversized with about 12” of positive ease. Go down a size for a more fitted look or if you are between sizes.
Starting chain counts as the first stitch unless stated otherwise within the pattern.
You will make 2 rectangles and sew them together to create the poncho.
Pattern is written in the smallest size with additional sizes in parentheses. Final stitch count for all sizes will be in parentheses at the end of each row.
Video tutorial: https://youtu.be/h0L7xBNBaRQ
Joining video tutorial: https://youtu.be/PBsuB4NHFvQ
Stitches Needed & Abbreviations
st(s)- stitch(es)
ch(s)- chain(s)
sc- single crochet
dc- double crochet
dc3tog- double crochet 3 together
Gauge
Ch 27
Row 1: 1 dc in 4th ch from hook and each st across. (25)
Row 2: ch 5 (counts as 1 dc + ch 2), turn, skip 2, 1 dc in next, skip 2, (dc, ch 1, dc, ch 1, dc) in next, skip 2 sts, dc in next, [ch 2, skip 2, dc in next] twice, skip 2 (dc, ch 1, dc, ch 1, dc) in next st, skip 2, dc in next, ch 2, skip 2, dc in last. (13 dc)
Row 3: Ch 4 (counts as dc + 1), turn, *skip ch-2 space, 3 dc in next dc, skip next dc, 3 dc in next dc, skip next dc, 3 dc in next, ch 1, dc in next dc*, repeat across. (21 dc)
Row 4: Ch 3, turn, *dc3tog, (ch 4, dc3tog) twice, dc in next st*, repeat across. (9 sts- does not count chs)
Row 5: Ch 3, turn, 1 dc in next st, 4 dc in ch-4 space, 1 dc in next st, 4 dc in ch-4 space, 1 dc in next 3 sts, 4 dc in ch-4 space, 1 dc in next st, 4 dc in ch-4 space, 1 dc in last 2 sts. (25 dc)
Repeat rows 2-5 one more time.
You should have a 5” x 4.5” rectangle.
Rectangle (Make 2)
Ch 147 (159, 183)
Row 1: 1 dc in 4th ch from hook and each ch across. (145, 157, 181 dc)
Row 2: Ch 5 (counts as 1 dc + ch 2), turn, skip 2 sts, dc in next st, *skip 2 sts, (dc, ch 1, dc, ch 1, dc) in next, skip 2 sts, dc in next, [ch 2, skip 2 sts, dc in next] twice*, repeat from * across to last 9 sts, skip 2, (dc, ch 1, dc, ch 1, dc) in next st, skip 2, dc in next, skip 2, ch 2, dc in last. (73, 79, 91 dc)
Row 3: Ch 4 (counts as 1 dc + ch 1), turn, skip ch-2 space, *3 dc in next dc, [skip 1 dc, 3 dc in next dc] twice, ch 1, 1 dc in next, ch 1*, repeat across to last 3dc worked, ch 1, 1 dc in 3rd ch of starting ch 5. (121, 131, 151 dc)
Row 4: Ch 3, turn, *dc3tog, (ch 4, dc3tog) twice, dc in next st*, repeat from * across. (49, 52, 61 sts)
Row 5: Ch 3, turn, 1 dc in next st, 4 dc in next ch-4 space, 1 dc in next st, 4 dc in next ch-4 space, *1 dc in next 3 sts, 4 dc in next ch-4 space, 1 dc in next, 4 dc in ch-4 space*, repeat across, 1 dc in last 2 sts. (145, 157, 181 dc)
Repeat rows 2-5 (10, 11, 12) more times or to desired length.
Ch 1, turn, sc evenly around entire rectangle.
Fasten off. Weave in ends. Block before sewing if you are going to block your project.
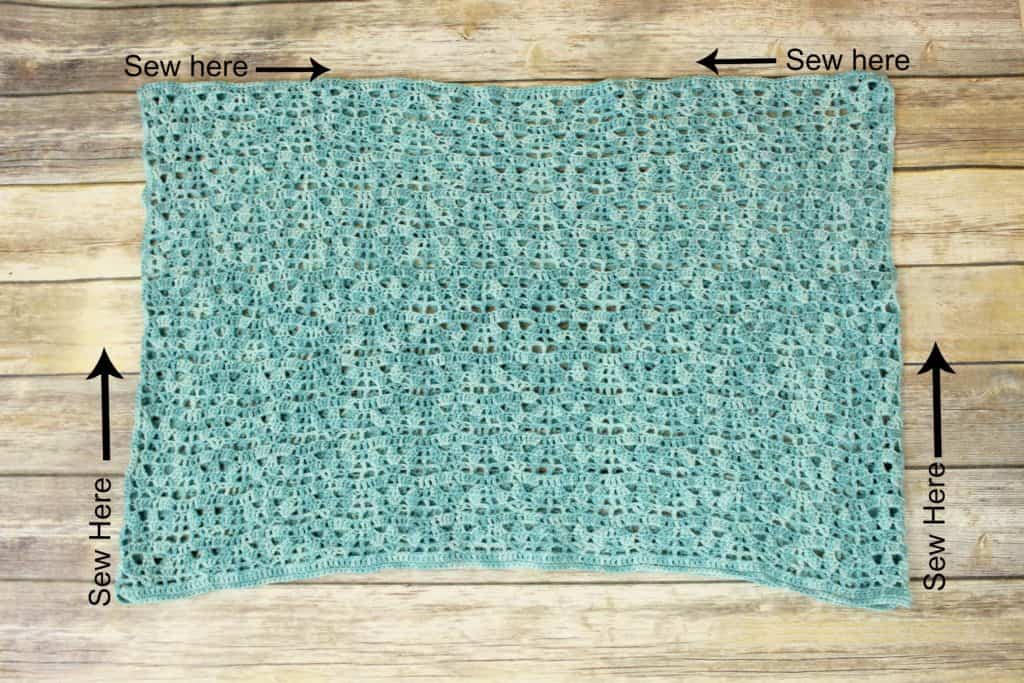
Sewing
Lay your rectangles with one directly on top of each other.
Sew each side of the top of the rectangles together, leaving 10-12” unsewn in the middle for your head to go through.
Optional: Sew the sides of the rectangles together from the bottom up, leaving an 8-10” hole at the top of each side for your arms to go through.
Pin it for Later:
Like this pattern? Check out more Free Crochet Patterns!


Love these..want to give this a try. Thanks for doing ..