Do you know the very first thing you should do before starting a crochet garment? It might surprise you, but it’s one step you don’t want to skip. Learning how to measure for crochet garments takes just a few minutes, yet it can make the difference between a garment you love to wear and one that never quite fits right.
Before you pick up your hook, take a little time to gather your measurements. In this guide, I’ll show you exactly what measurements to take, how to take them accurately, and how to use them to choose the right size for your next crochet garment.
In fact, I recommend that you take your body measurements every time you make crochet a garment. Our bodies constantly change over time. We gain and lose weight or our body shape changes. If you’re like me, you’re back and forth all year long.
You’ve taken the time to make your gauge swatch and decided which hook size to use. Maybe you’ve even washed and dried your swatch to see how it will behave in the laundry. But your garment still won’t fit if you make it in the wrong size! So before you invest your time and yarn in crocheting a garment, you need to measure!
Don’t worry, I won’t leave you on your own to figure it out. Keep reading to learn how I measure for crochet garments and how you can use those measurements as you’re working the pattern.
What You Need to Measure for Crochet Garments
- Soft measuring tape
- Close-fitting clothes (bulky fabric can add inches and affect your measurements)
- Notebook and pen or notes app on your phone
- Yourself (or the person you’re making the garment for)
Which Measurements to Take for Crochet Garments
Some common measurements you might need for crochet garments include:
- Bust or chest: This is the main measurement you’ll find in garments, especially crochet tops. It’s typically called “bust” for women and “chest” for men and children. But both of these terms refer to the widest part of the chest. Women can also take upper bust and lower bust measurements for a more accurate fit.
- Waist: The measurement around the narrowest part of the waist.
- Hip: This measurement is important for garments like dresses or tunics that fall past your hips. Measure around the widest part of your hips/bum.
- Shoulder to shoulder: You may need this when making something like a pullover. Measure the length from the outside of one shoulder to the outside of the other.
- Arms: These are important when making a crochet garment with sleeves. Measure the widest part of the upper arm and the narrowest part of the wrist.
- Head: You’ll need to measure the circumference of your head when making a crochet hat.
The Craft Yarn Council publishes size charts for babies, children, men, and women, as well as for heads, hands, and feet. Most designers use these standard measurements when designing their patterns. You can find the size charts on the Craft Yarn Council’s website, as well as helpful information about where to take each measurement.
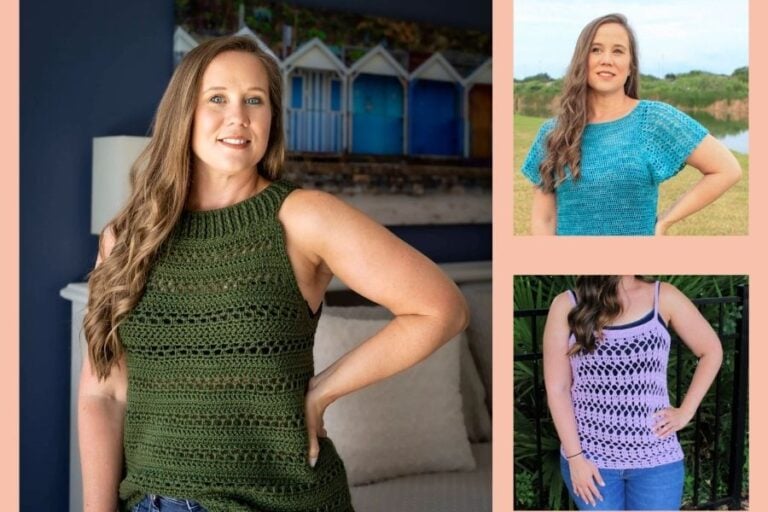
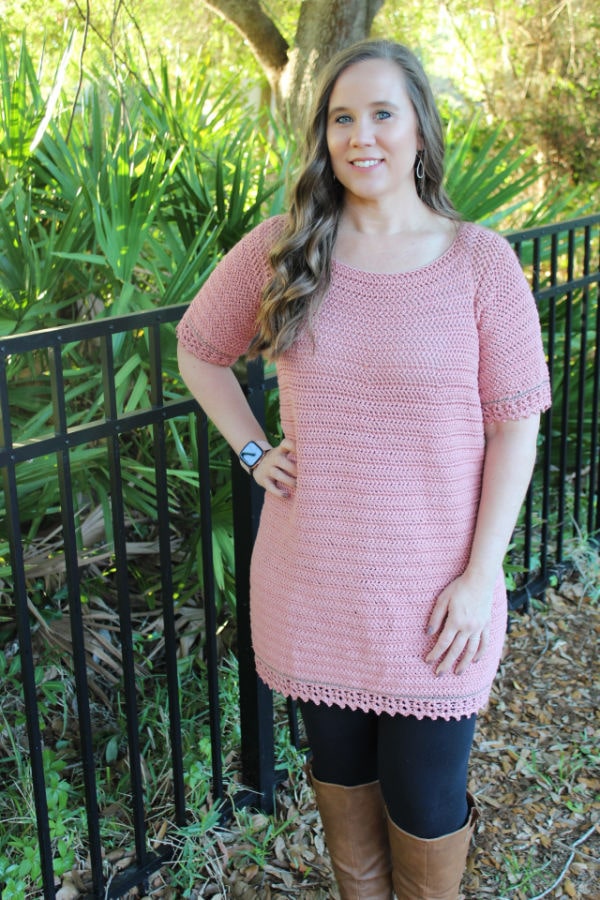
Which measurements you will need depends on the item you are making. For example, if you’re making a long top that covers the hips, such as the Layla Tunic, you should take your hip measurement. In short, take as many measurements as you feel you need to. You can’t have too much information when starting a crochet garment pattern.
Note that not all patterns will give instructions for all sizes. In fact, many won’t have all the sizes. So measuring can help you ensure that you choose a pattern that will work for your body.
How to Measure for Crochet Garments
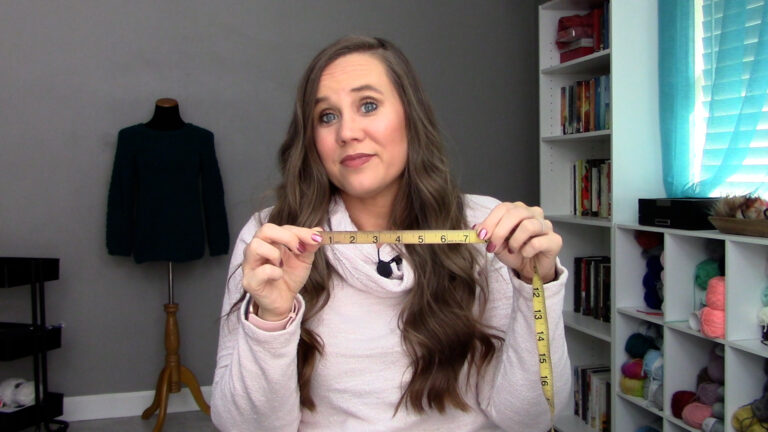
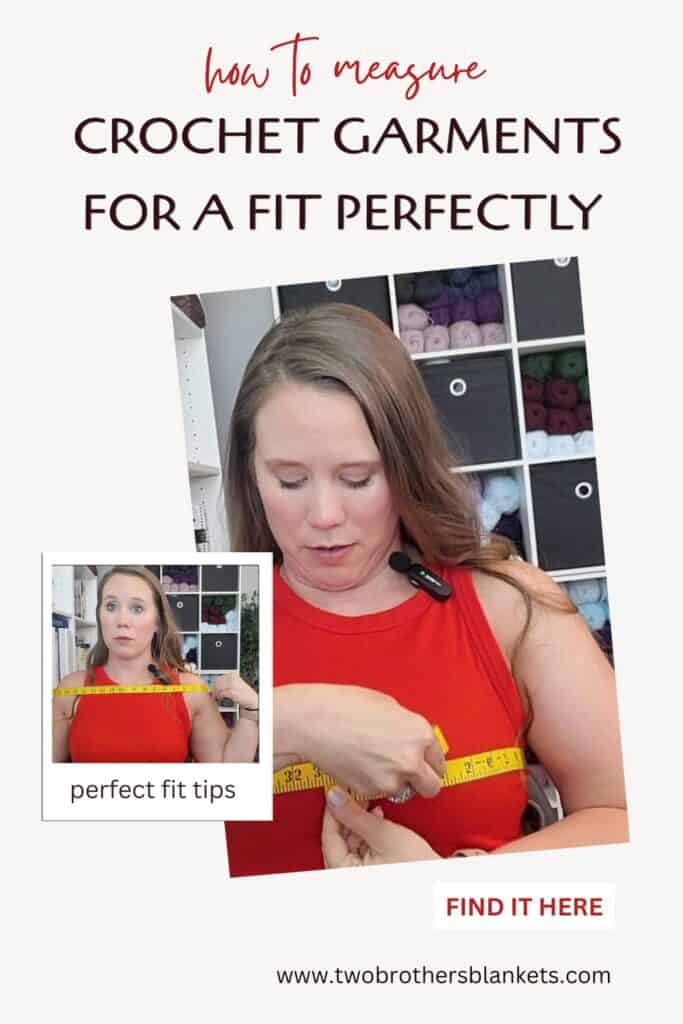
This process is easier to learn by watching. So don’t miss the video tutorial below, where I show you how I measure my body to get my body measurements for crochet garments. But I’ll also share written instructions here that you can refer to any time.

First, grab your soft measuring tape and notepad or notes app. You’re going to want write down each of your measurements to keep them on hand while you’re crocheting the garment.
Now you’re ready to measure. Wrap the measuring tape around the part of the body you want to measure. Hold the measuring tape taut but not tight. Don’t pull it! If anything, make it slightly loose. This way you will have plenty of room in your finished garment. In the photo above, I’m measuring my bust. But you’ll do it the same way for waist, hips, etc.
For some measurements, like shoulder to shoulder or upper arm, it can be challenging to hold the tape yourself. It helps if you can find a friend who’s willing to help you take measurement.
How to Use Your Body Measurements when Crocheting Garments
Determine Which Size to Make
Knowing your body measurements can help you decide which size of the pattern you will make (and consequently, how much yarn you need to make it). Compare your measurements to the size chart in the pattern and choose the size that matches. If you’re between two sizes, you’ll probably want to make the larger size.
Make Adjustments For a Custom-Fit Garment
The beautiful thing about crochet garments is you can make them fit you perfectly! But what if two body measurements fall into different sizes? To keep it simple, make the larger size. For example, what if your bust measures as a medium but your hips are size large, and you’re making a tunic that covers the hip area? You’ll want to make a size large so that it will not be too tight around your hips.
Alternatively, if you want to make a garment that fits perfectly in both areas, you could start with the smaller size but go up a hook size or two in the area that you want to make larger. Or you could also increase to obtain the stitch count for the larger size in that portion of the pattern.
Take, for example, the Layla Tunic that I mentioned above. It’s made from the top down and falls below the hips. Say that I start working the pattern in medium size but decide I need more room in my hip and bum area. I can either increase up to the large stitch count OR go up a hook size or two to increase the size of the stitches.
I also recommend that you measure every 10 to 20 rounds to make sure your tension and body measurements are the same. That way you can adjust your crochet gauge as needed.
A Few More Considerations When Measuring for Crochet Garments
- Don’t assume you will wear the same size crochet garment as you wear in ready-to-wear tank tops from Target. Every pattern is different, as is every garment.
- Again, take your body measurements every time you make a garment to ensure the best fit.
- If you’re making a garment for somebody else, get all of their measurements ahead of time. That way you can make a well-fitting garment, even when they’re not around. If that person happens to be a man, check out my tips for How To Choose the Right Size for a Men’s Crochet Garment.
Frequently Asked Questions
Why is measuring important for crochet garments?
If you’re going to invest your time and yarn in making a garment, you want to know it will fit when you’re finished. One of the best things about crochet garments is that they can be customized to fit your unique body shape. Taking accurate measurements before you begin gives you the best chance of ending up with a garment you’ll love to wear.
How often should I remeasure myself for crochet garments?
I recommend taking fresh measurements every time you start a new crochet garment. Our bodies naturally change over time, whether through weight fluctuations, changes in muscle mass, or other factors. A few minutes spent measuring can help ensure the best possible fit for your finished project.
Should I measure myself or use ready-to-wear clothing sizes?
Always measure yourself if possible. Ready-to-wear clothing sizes can vary significantly between brands and styles, and crochet garment sizing can vary from pattern to pattern as well. Your actual body measurements are the most reliable way to choose the correct size.
What measurements do I need for a crochet sweater?
The measurements you’ll need depend on the garment you’re making. For example, a long sweater or tunic may require both bust and hip measurements, while a cropped top may only require a bust measurement. Most crochet garment patterns include a sizing chart that specifies which measurements are needed, so be sure to review the pattern before getting started.
What if my measurements fall between sizes?
If your measurements fall between sizes, it’s usually best to choose the larger size. You can often make small fit adjustments by changing hook sizes in specific areas of the garment. Be sure to review the pattern’s recommended ease as well, since some garments are designed to fit closely while others are intended to have a more relaxed fit. Learn more about how to adjust crochet garments here.
Now let’s take your body measurements!
I hope I’ve convinced you of the importance of measuring before starting a crochet garment pattern. Now that you know how to measure for crochet garments, if you take the time to do this very important step, you’ll be on your way to creating a one-of-a-kind garment that’s the perfect fit for your body.
More Crochet Garment Tips & Tutorials
Ready for your next crochet garment? Before you start, check out these other helpful resources:
- Why and How to Block Crochet Tops and Sweaters
- Learn How to Crochet Clothes with Confidence: 5 Tips for Beginners
- 10 Mistakes Crocheters Make When Crocheting Garments
- Gauge FAQs: How to Adjust Gauge and Other Common Questions
- Why You Need to Wash Your Crochet Gauge Swatch
If you have any questions that I didn’t answer here, you can always reach out to me, either in the comments or by email. I’d be happy to help you!
Tag me on social media @twobrothersblankets, especially if you make one of my garments or if you use these tips when working a garment pattern!
Pin it for Later!