
Blocking crochet projects is something I didn’t really understand until I started designing my own patterns. I wasn’t sure why I needed to block crochet pieces, and I definitely didn’t know how to block a crochet sweater. It felt like an extra step that couldn’t possibly make much difference.
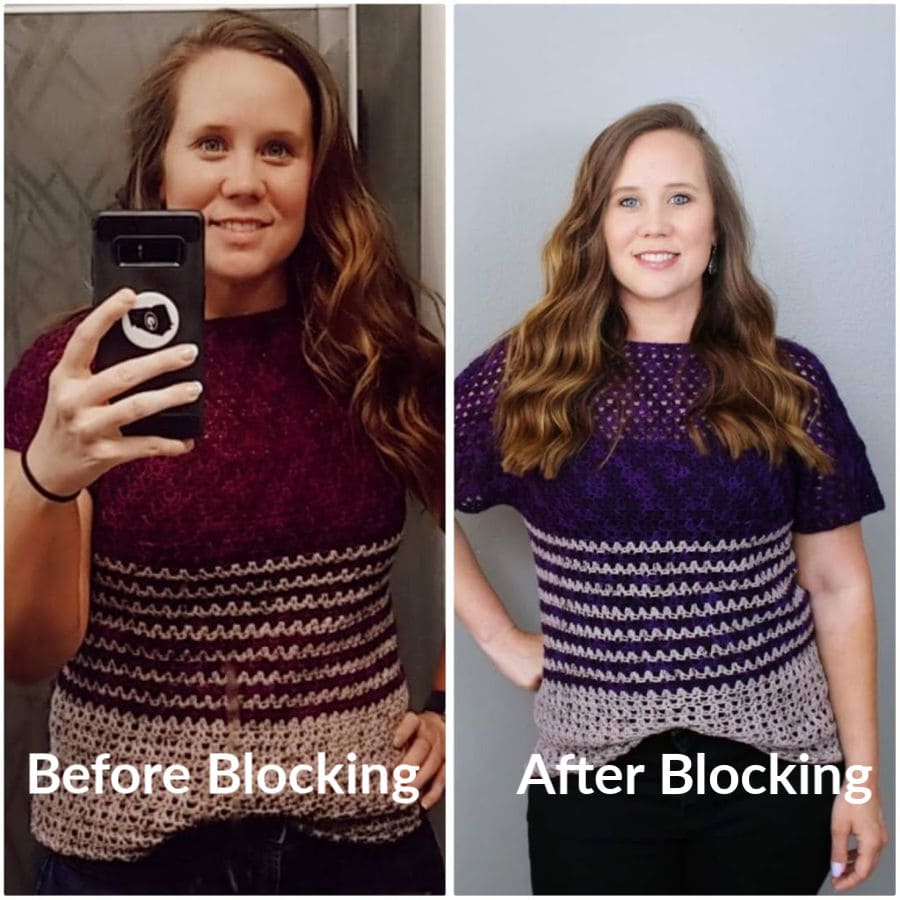
Then I tried it for myself and was amazed by the results. The stitches looked more even, the fabric draped better, and my finished garments looked far more polished. Now I block nearly all of my crochet projects!
If you’ve ever wondered whether blocking is worth the effort, you’re in the right place. Today, I’ll explain why it’s important to block crochet garments, the benefits of blocking, and how to block crochet tops and sweaters for the best possible results.
What does blocking crochet mean?
Blocking uses water or steam to shape your crochet project, help it to lay flat and not curl, and open up the stitches.
If you’ve ever had a project that didn’t quite sit right or curled over itself, blocking can fix that problem.
Why should you block your crochet projects?
You may be wondering why block crochet? Especially if the project isn’t curling or anything like that.
For many projects, such as shawls, wraps, and blankets that is exactly why you block it. Just to keep it in the correct shape and laying flat. But for projects like garments, it has a number of benefits.
Blocking a garment gives it a more fabric feel and provides a nice flow and drape. Blocking loosens up your stitches a bit, giving the project a more flowy look and feel to it. This is great for lacy projects or any project with tight stitches.
One other benefit to blocking is that it can sometimes fix minor mistakes within your project. Have you ever had to make two panels for a project and found that one was slightly shorter? Blocking the panel that is shorter can bring it out to the correct size that it needs to be.
Can Blocking Change the Size of a Crochet Sweater?
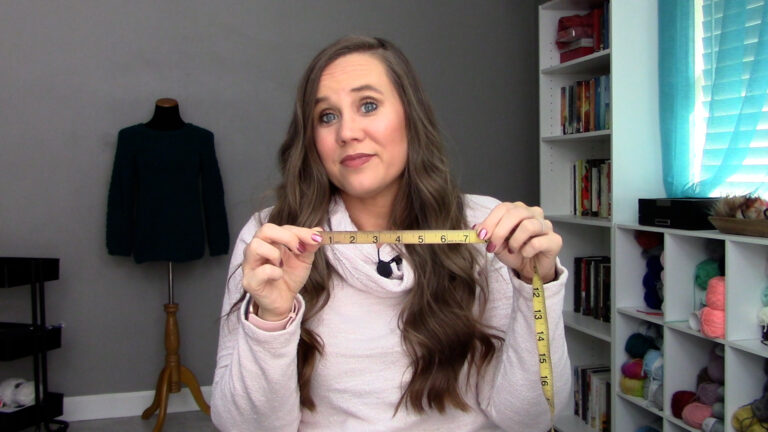
Blocking can add length and width to your garment. Ever made a sweater that is just a bit too snug? Blocking out the sweater can help a lot. My most recent crochet top design, the Leilani Raglan Tee, wet blocked out 2″ wider than it was measuring before blocking!

How do you block a crochet sweater?
There are three main ways to block your project. Each way can produce different effects, so it’s important to know what your end goal is before blocking.
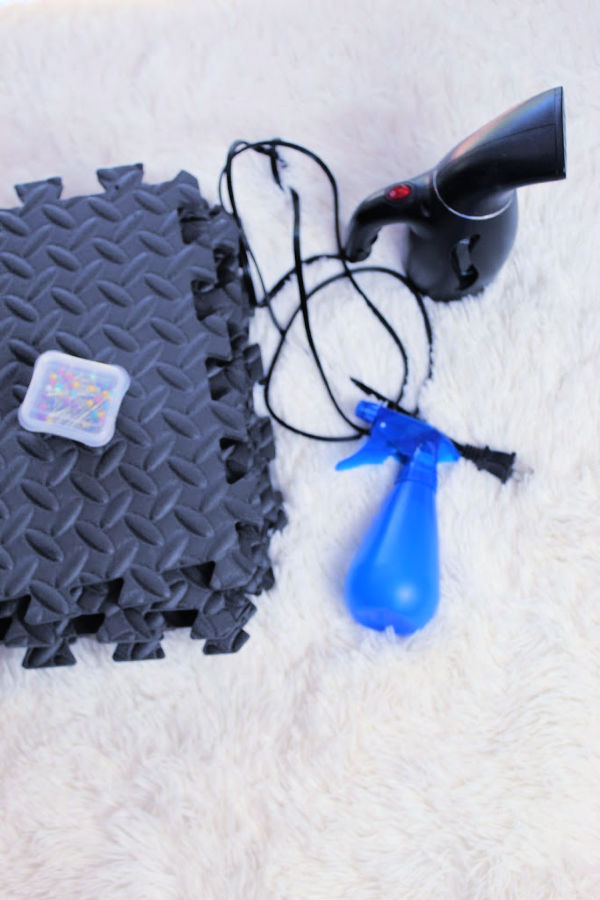
If you’re new to blocking and need to purchase the supplies, this Blocking Starter Took Kit from WeCrochet is a great deal on what you will need. You can find a steamer at a store like Target and I’ve linked one from Amazon below. Spray bottles can also be found at most stores.
Steam blocking
This method of blocking can be done using just a handheld steamer or an iron. I use a small hand held travel steamer when I steam block. This process usually loosens up the stitches a bit, and offers a bit of drape and growth.
Pin your garment to a blocking mat. You can also hang it from a hanger if you are just doing a light steam over it.
Heat up your steamer and hold it about 1-2″ away from your garment. Do not touch the steamer to the garment. Do not hold it in one place too long. Go up and down the garment in a slow, steady motion.
Let garment cool completely and then take off the mat or hanger.
Wet Blocking
This method of blocking is done by completely submerging the garment into water for a short period of time. Then after squeezing the excess water out (never wring it out), pinning it to some blocking mats to dry. This process usually provides the most growth of the garment and gives it the most drape. While I love the results of wet blocking, it can also sometimes give too much growth. More on that soon.
To start, wet your garment in a sink, tub, or bucket of cool water. Let it soak for at least 10 minutes.
Then, take the garment out of the water and squeeze the water out. Do not wring or twist the water out. Just squeeze gently.
Lay the garment on a towel and roll the towel up with the garment inside to get out any extra moisture.
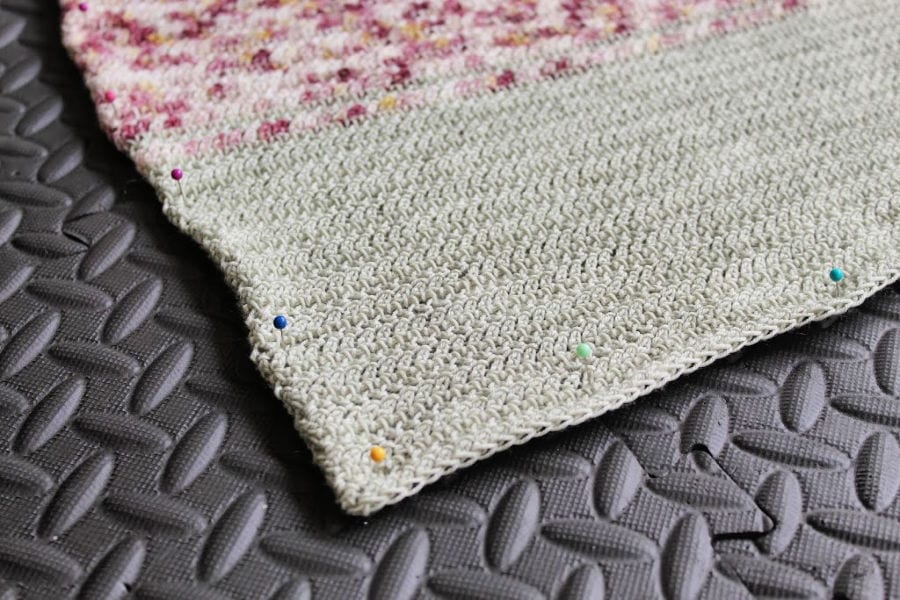
Pin wet garment to blocking mat in the shape and size you want it. Let dry, usually 8-12 hours.
Spray Blocking
Probably the safest method of blocking when it comes to the size or growth of a garment.
Pin the dry garment to a blocking mat in the shape and size you want it.
Use a spray bottle of cool water to saturate the garment.
Let dry, usually 8-12 hours.
Which is the best method to block my crochet garment?
Choosing which way to block your garment project takes a bit of thought. First, decide what the goal of blocking is. Do you want more drape? Ends flat? Do you need to add length and width?
- If you are just looking for some drape and a little bit of growth, steam blocking will do the trick.
- If you want some real drape and growth, wet blocking is your best bet.
- For somewhere in between or to lay your edges flat, spray blocking is a good choice.
Also, the fiber content of your yarn will need to be considered when choosing a blocking method. For fibers like wool, wet blocking works well for adding growth and drape. Superwash wool is known to really grow after being soaked so keep that in mind.
Blends and very delicate fibers like silk usually do best with the spray blocking method. This is also the safest choice if you are unsure and don’t want a dramatic change.
Can you block acrylic yarn?
Acrylic and acrylic blends can be steam blocked but do not put the steamer too close or you will “kill” the yarn. That means you will loose all stitch definition and it will have an almost melted look to it.
Do I have to block my crochet sweater every time I wash it?
Whether or not you need to block your garment every time you wash it will also depend on the fiber. Be sure to lay the garment flat to dry and if it looks like it needs some re-shaping then pin it to your blocking mats to dry in the shape you want it to be. For more information on washing your garments, check out my post on How to Care for Your Crocheted Garments.

Frequently Asked Questions
Do I need to block every crochet project?
Not necessarily. Most crochet projects can benefit from blocking, especially if you’d like to smooth out uneven stitches or correct minor shaping issues. However, some projects, such as blankets that already lay flat, may not require blocking at all. Crochet garments tend to benefit the most, since blocking can significantly improve the fit, drape, and overall appearance of the finished piece.
How long does it take for a crochet garment to dry after blocking?
After wet blocking or spray blocking, allow your garment to dry completely before wearing or storing it. Drying time will vary depending on the fiber content, stitch pattern, humidity, and thickness of the fabric. In most cases, you can expect a crochet garment to dry within 8–12 hours.
Can I wear a crochet sweater without blocking it?
Absolutely! Your sweater will still be wearable without blocking. However, taking the time to block your garment often results in a more polished finished piece with improved drape, stitch definition, and fit. If you skip blocking and aren’t completely happy with how your sweater looks or feels, it’s worth going back and blocking it before making any other adjustments. After all, you’ve already invested the time and yarn—blocking helps your hard work look its very best.
I hope this post helps you understand blocking and how and when you need to do it. Please feel free to comment below with any questions or other tips you may have.
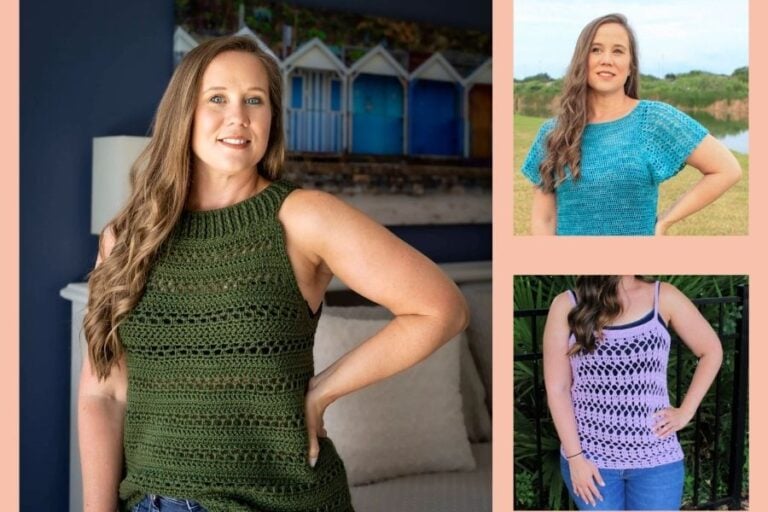
Ready for Your Next Crochet Garment?
Before you dive in, don’t miss these other crochet garment making tips and tutorials:
- Learn How to Crochet Clothes with Confidence: 5 Tips for Beginners
- How to Crochet a Gauge Swatch from Start to Finish
- Gauge FAQs: How to Adjust Gauge and Other Common Questions
- How to Measure for Crochet Garments that Fit Perfectly
- A Deep Dive into Garment Ease
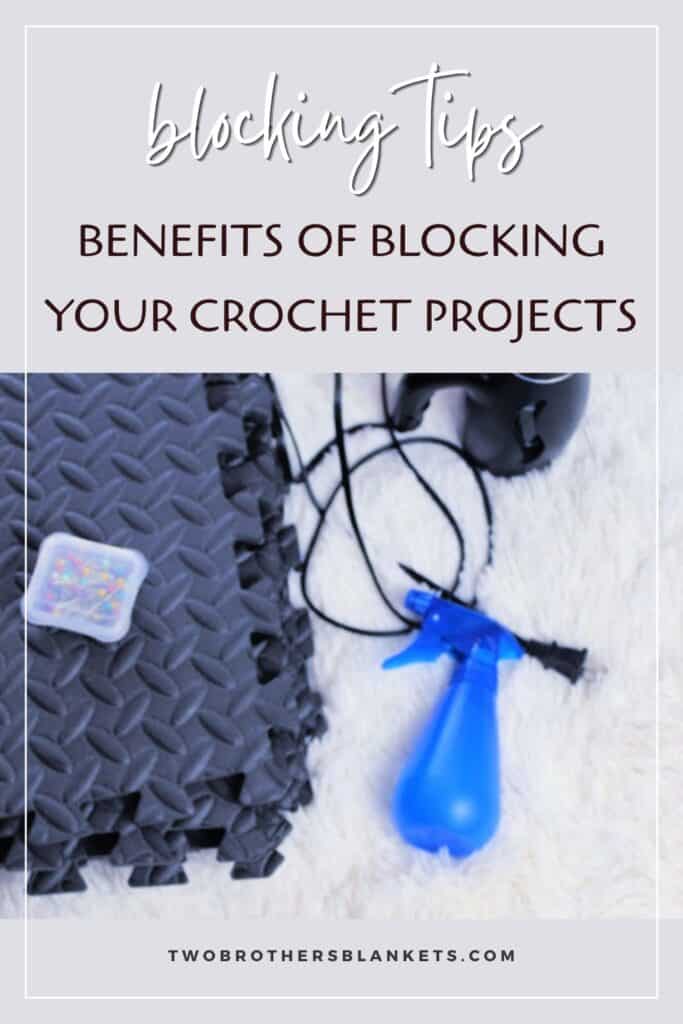
Pin it for Later!


I didn’t see it mentioned anywhere in the article but ALWAYS ALWAYS ALWAYS use stainless steel pins. IF you do not, they may rust and damage your crocheted article. This is especially true if you are doing wet blocking.
Ahh good point. I’ve never thought about that and never had an issue with rusting.
Great article! Just one question: the blocking mats don’t have any grid lines, and I’m wondering if that matters? Would just measuring as I go be sufficient? Just wondering if you had any experience with the ones linked in the article. Thanks!
I just use foam mats that are supposed to be for the gym. And I just measure. They are the ones linked to Amazon. However, the blocking kit from WeCrochet has the mats with lines if you prefer those.
Thanks!
I have a crocheted Christmas stocking that got stretched out. Can you suggest a way to bring g it back to shape?