
Most of my designs are thought out and planned well in advance. Sometimes though, an idea comes to me and I just have to create it right then! This crochet cowl was one of those spontaneous designs!
Pattern Inspiration
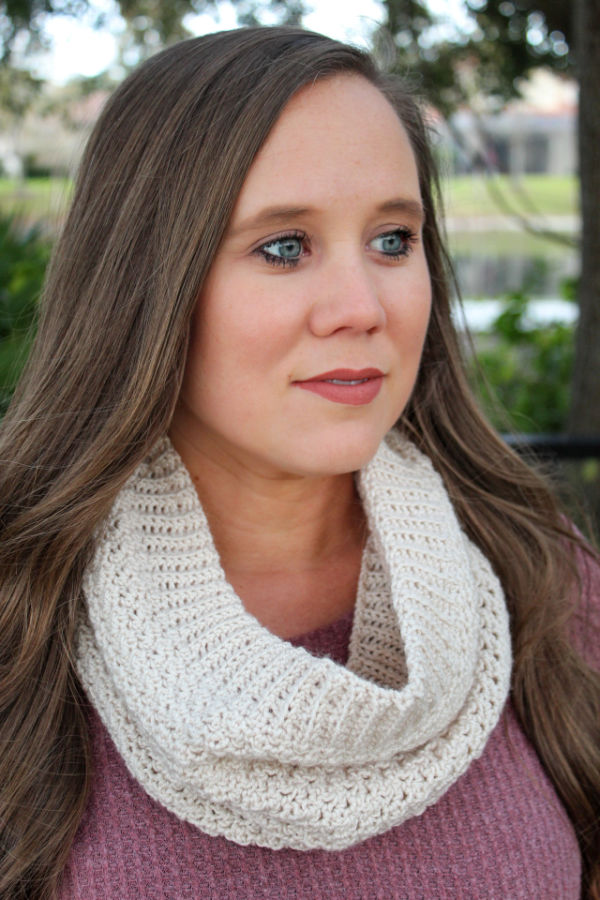
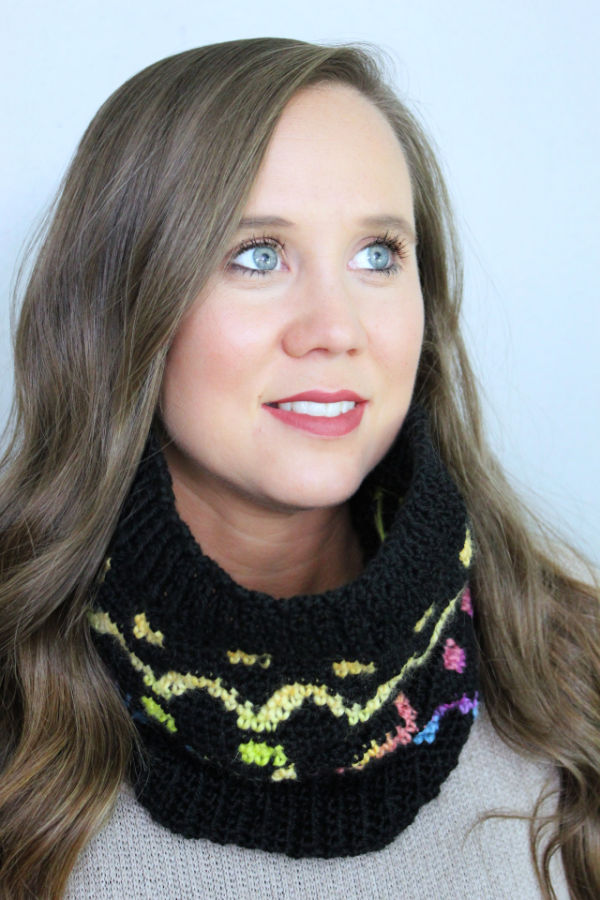
I was crocheting a new Camellia Sweater for myself and thinking about how much I loved the cozy stitch combo in it. I wanted to design more patterns with this stitch combo and create a collection! So, I started with a cowl pattern.
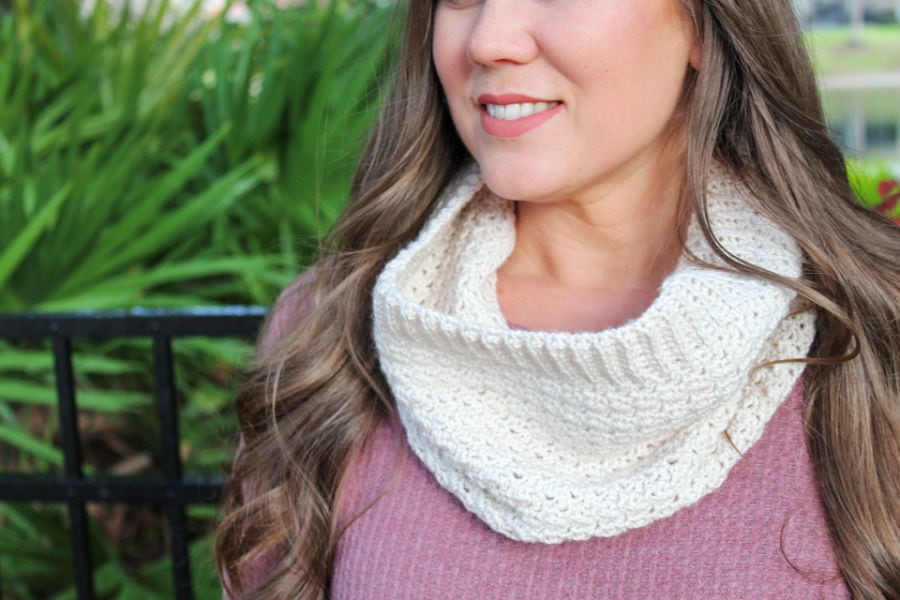
I decided to go with a ribbed top and bottom trim, because frankly, I just love the look!


If you love crocheting as much as I do, or want to learn more, or just want to show off your work, please join our Crochet Garments community over on Facebook! I hope you’ll share your finished crochet project with us!
Pattern Details
The Yarn
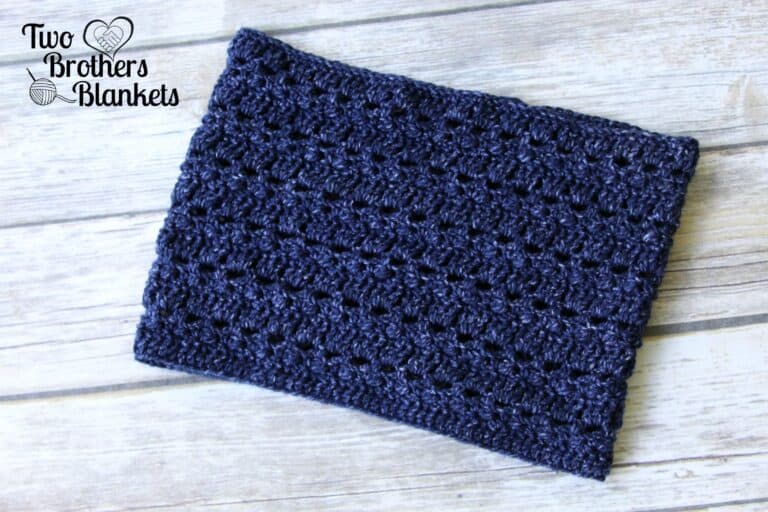
The Camellia crochet cowl is made using DK (#3) weight yarn. I used Mary Maxim Ultra Mellowspun yarn for my cowl.
This was my first time using this yarn, and I must say, I really loved working with it. It is incredibly soft, and has a wonderful drape to it. It is a 70% acrylic 30% nylon blend. The colorway options are really nice too. I look forward to using this yarn more!
The cowl is worked from the bottom up, starting with the ribbed trim. Then you will work along the side of the trim to create the body of your cowl. You will finish off with a ribbed trim again on the top.
This crochet cowl pattern is easily customizable and can be adjusted in both length and width.
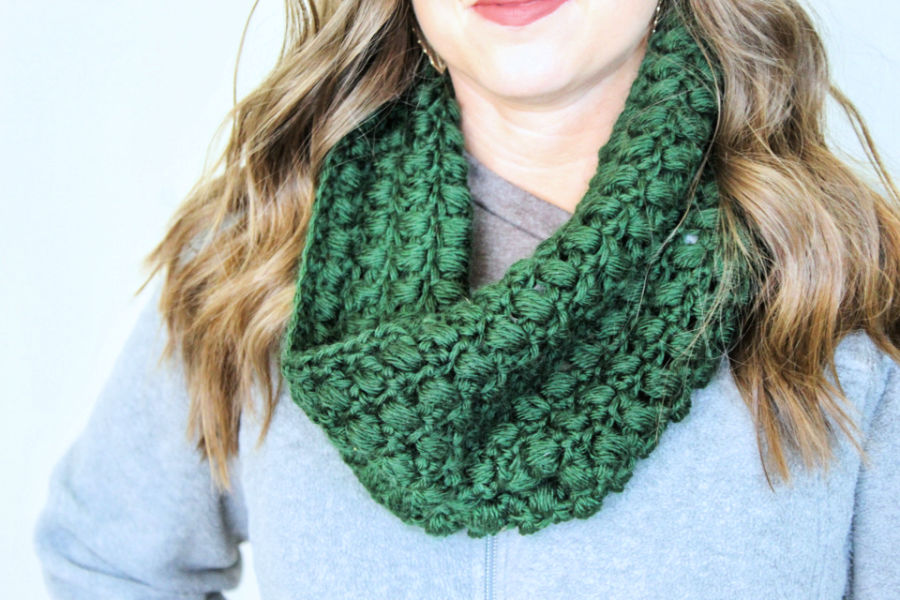
More Crochet Cowl Patterns
Love this pattern? You may also like some of these other warm and cozy crochet cowls.
Camellia Cowl
Get the PDF Pattern!
Upgrade to the ad-free, printable PDF download on Ravelry or Etsy!
Just want the free version? Scroll down below!
Camellia Cowl Crochet Pattern
Materials
348 yards DK (#3) weight yarn
H/8 (5.0mm) crochet hook
Scissors
Measuring tape
Yarn needle
Difficulty
Easy
Gauge
9sc x 8 rows = 2”
Sizing
12” x 14” laid flat
Stitches Needed & Abbreviations
st(s) – stitch(es)
ch(s) – chain(s)
sc – single crochet
dc – double crochet
blo – back loop only
Pattern Notes
Starting chain 1 does not count as first stitch, unless stated otherwise within the pattern.
Pattern is worked in multiples of 2.
Add length by adding round of cowl before starting top trim. Trim adds approximately 2” to each end.
From round 2 on, each sc stitch will work into a dc st from the round below and vice versa.
Watch my How to Crochet Ribbing Trim for Sweaters and Hats video for extra help!
Bottom Trim
Ch 10
Row 1: sc in 2nd ch from hook and across. (9 sc)
Row 2: ch 1, turn, 1 sc in blo of each sc across. (9 sc)
Rows 3 -112: repeat row 2.
Join the ends by slip stitching in the blo of each st and starting chain to create a circle. Do not fasten off.
Body of Cowl
Round 1: ch 1, working along the side of each row of the bottom trim, 1 sc in 1st row, 1 dc in 2nd row, *1 sc in next row, 1 dc in next row*, repeat from * around, join to 1st st. (112 sts)
Round 2: ch 1, turn, 1 sc in 1st st, 1 dc in next st, *1 sc in next st, 1 dc in next st*, repeat from * around, join to 1st st. (112 sts)
Rounds 3-32: (or to desired length) repeat round 2.
Do not fasten off.
Top Trim
Ch 10
Step 1: sc in 2nd ch from hook and across (9)
Step 2: sl st in next 2 sts of cowl.
Step 3: ch 1, turn, 1 sc in blo of each sc across (9)
Step 4: ch 1, turn, 1 sc in blo of each sc across. (9)
Repeat steps 2-4 around entire cowl.
Join by slip stitching in the blo of each st and starting chain.
Fasten off. Weave in ends.
Enjoy this pattern? Check out my ever growing list of Free Crochet Patterns!
Pin It!


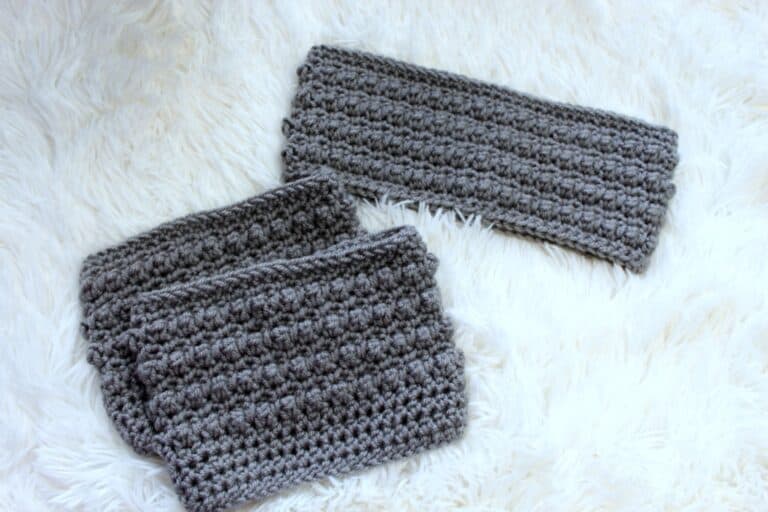


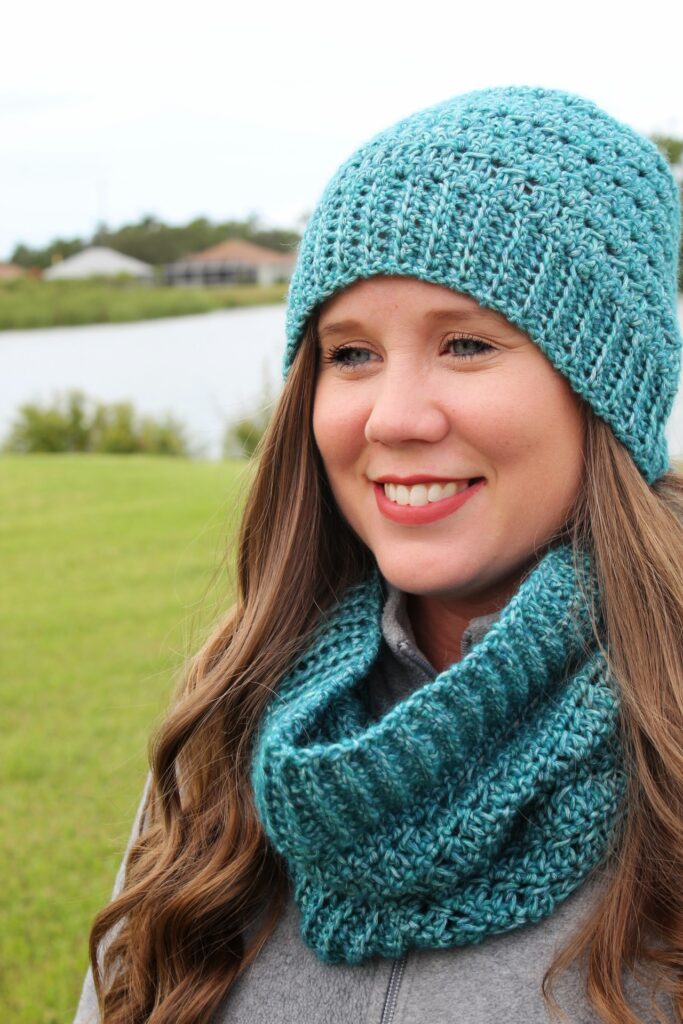
This cowl along with the beanie/hat are really pretty. I’m looking forward to making them.
I do have a question I would like to ask if I may. Instead of a cowl I would like to make a scarf. What would be the best way of doing this? I like the trim and it would be great to keep it along the sides of the scarf. I’m not “new” to crochet but am definitely a novice when it comes to creating something without instructions. If you could offer some advice it would truly be appreciated.
Thanks in advance!!
Hi! To work this in rows you could just do it in multiples of two. Make the ribbing until you get to the desired width, and then work the stitches along the side of the ribbing in a multiple of 2.