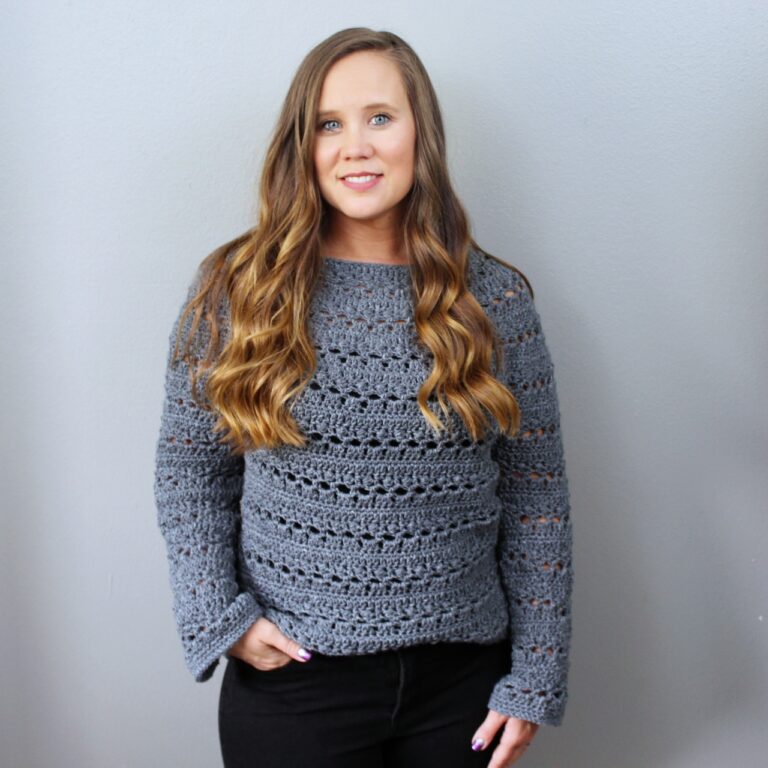
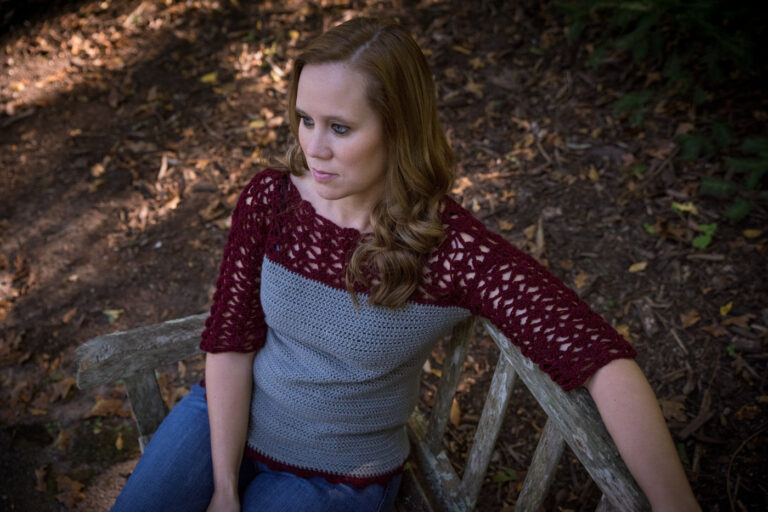
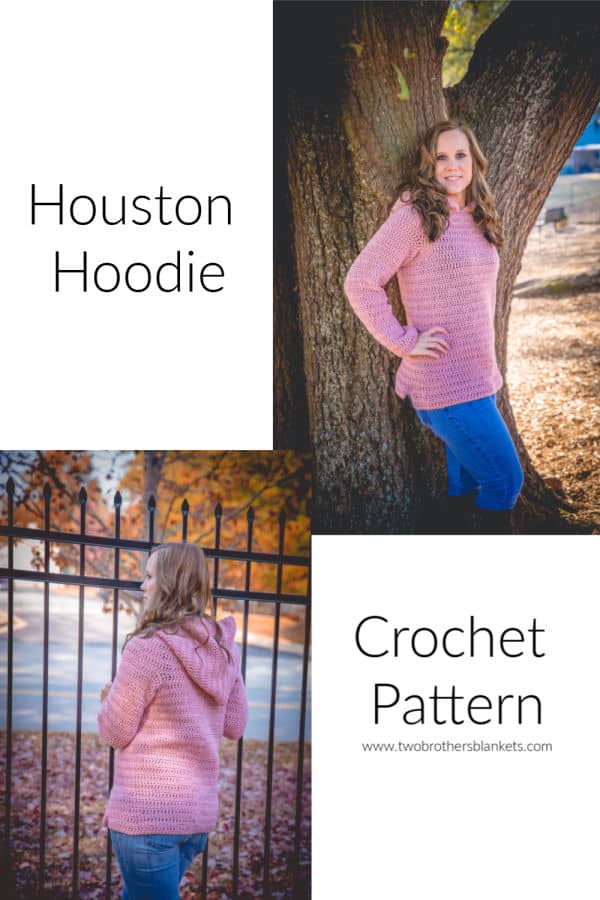
Women’s Houston Hoodie Crochet Pattern
This post- Women’s Houston Hoodie Crochet Pattern – contains affiliate links, which means if you make a purchase from the links below, I will get a small percentage of the sales at no additional cost to you. Thank you for your continued support!
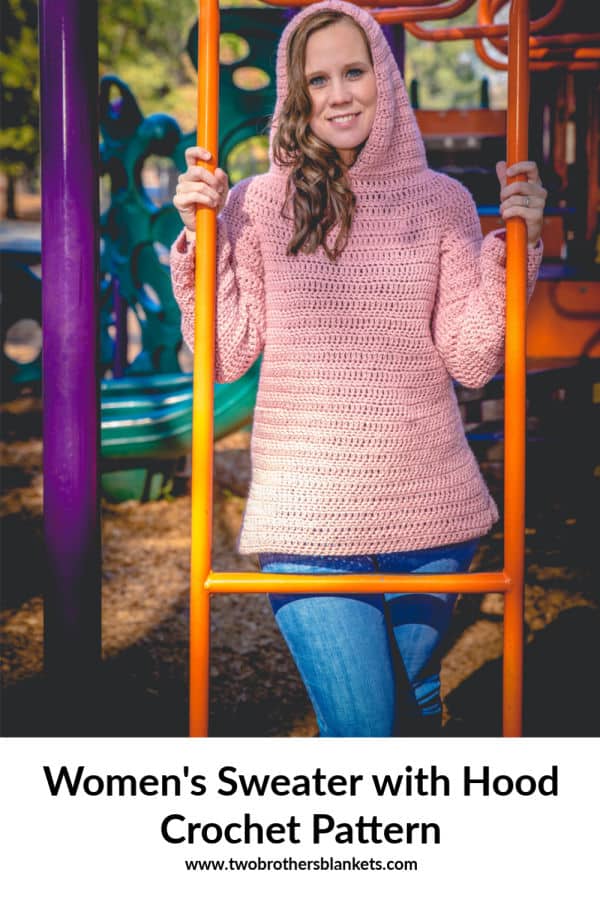
Welcome to the world of cozy chic with the Houston Hoodie crochet pattern! With its versatile design and customizable fit, the Houston Hoodie promises to be your go-to garment warmth, comfort, and timeless style!
2024 Update!
As of April 2024, this pattern has been completely updated and revamped! The original was worked in the round, from the top down, in joined rounds. It was cute, but it had a horrible traveling seam down the bottom. That seam haunted me from the day I published it! After many attempts to fix it, I could not figure out how to keep it from traveling diagonally along the back of the sweater.
In late 2023 I learned a new way of construction a crochet sweater, and I knew that was the way this hoodie needed to be constructed to get rid of that ugly seam!
Now, the garment is constructed flat and seamed together at the sides instead of the back! It’s super simple to do and looks so much better!
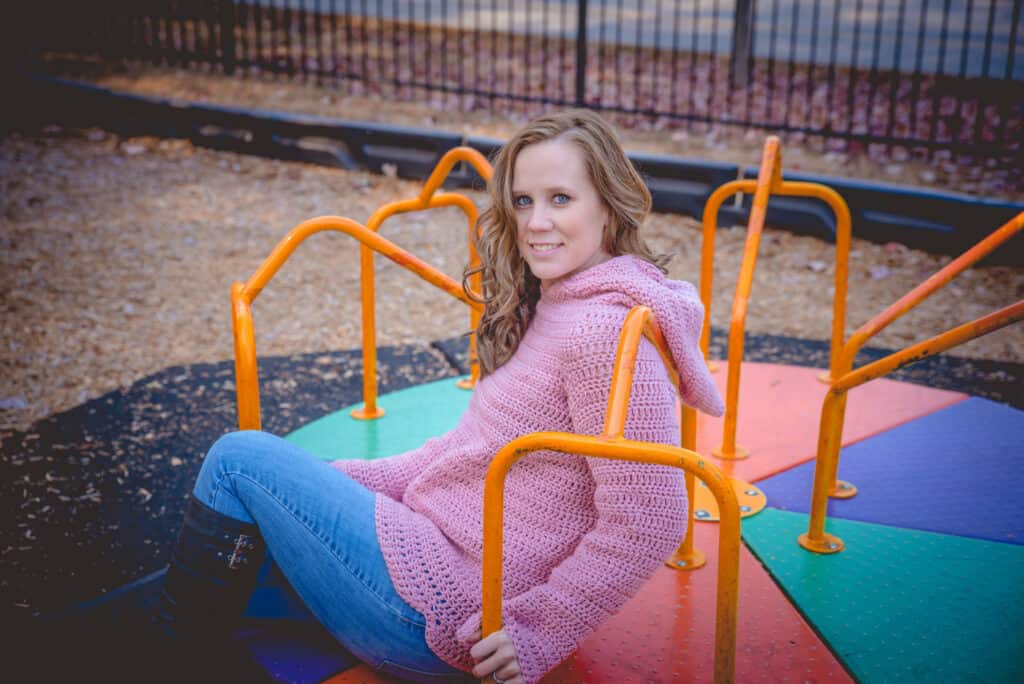
This hoodie design was originally created in 2016. I wanted a really nice and warm hoodie that I created myself. I made it slightly fitted to making it a bit more feminine, and gave it a cute hem trim as well.
The update features the same feminine look, but with a bit more of a boxy, oversized fit. It’s cozy and comfortable for cool days in the fall and winter!
Join the Community!
If you love crocheting as much as I do, or want to learn more, or just want to show off your work, please join our Crochet Garments community over on Facebook! I hope you’ll share your finished crochet project with us!
Crochet Hoodie Construction
This crochet hoodie is worked completely flat. You’ll start with the front panel, then the sleeves, and then the back panel. You’ll then fold the entire thing in half and seam the sides and bottom of the sleeves.
The hood is worked flat as well and sewn on to the sweater.
This flat construction is easy to adjust by just adding length or more/less stitches, and is so simple to do! Everything is in rows!
The Yarn
A crochet hoodie needs to be warm and cozy, easy to wash, and comfortable! So, for this project I chose to use one of my favorite worsted weight (#4) yarns, Brava Worsted from WeCrochet! I used the colorway Cobblestone Heather to make my hoodie.
Brava is made of 100% premium acrylic and is a great choice for crochet garments. It can be machine washed and dried, and comes in a great variety of colors! It is sold at a really affordable price point also, and one skein has 218 yards.
Some other worsted (#4) weight yarns you could use for this project are:
Lion Brand Jeans – 100% Acrylic
Paintbox Yarns Simply Aran – 100% Acrylic
WeCrochet Mighty Stitch – 80% Acrylic/20% Superwash Wool
Model Specs
I am modeling a size medium hoodie. I am 5’3″ and have a 36″ bust.
Upgrade to the Ad-free PDF
You can purchase this crochet pattern on Ravelry and Etsy!
Grab the eBook with both adult and children’s sizes included!
Houston Hoodie Crochet Pattern
Love this design? Check out the Children’s Houston Hoodie crochet pattern!
Copyright © 2024 Michelle Ferguson – Two Brothers Blankets
All rights reserved. No part of this pattern may be reproduced, sold, or tampered with, in any form or by any means, without permission from the publisher.
Items produced from these patterns may be sold, but the patterns themselves may not be sold, shared, or altered in any way.
Yarn:
100% Premium Acrylic
100g/218yds
Hook:
H/8 (5.0mm) crochet hook
Other Materials:
2 stitch markers
Gauge:
Within st pattern
Pattern Difficulty:
Intermediate
Stitches Needed & Abbreviations:
ch – chain(s)
st(s) – stitch(es)
sc – single crochet
dc – double crochet
FSC – chainless foundation single crochet
* – repeat from
Lch- long chain– pull up a loop about the heigh of a double crochet, chain 1
Sizing:
Size | Bust Circumference | Finished Circumference | Finished Length | Yardage |
X-Small | 30” | 34” | 24” | 1333 |
Small | 34” | 38” | 24.5” | 1490 |
Medium | 38” | 42” | 25.25” | 1647 |
Large | 42” | 46” | 25.5” | 1804 |
X-Large | 46” | 50” | 25.75” | 1961 |
2X | 50” | 54” | 26” | 2118 |
3X | 54” | 58” | 26” | 2274 |
4X | 58” | 62” | 26.5” | 2431 |
5X | 62” | 66” | 26.5” | 2588 |
Pattern Notes:
Pattern is in US terms.
Garment is worked in one piece, folded in half, and then sewn together along the sides of the body and bottom of sleeves.
Hoodie is oversized with approximately 4” positive ease.
Pattern is written in smallest size, with additional sizes in parentheses as follows: XS (S, M, L, XL)(2X, 3X, 4X, 5X). Final stitch count for ALL sizes will be in parentheses at the end of each row/round.
Pattern walkthrough and tutorial: https://youtu.be/puMDc6W7UBo
How to attach a hood video tutorial: https://youtu.be/vAVGSd9Ej14
Pattern:
Front Panel
Ch 62 (69, 77, 84, 91)(98, 105, 113, 120)
Row 1: (RS) sc in 2nd ch from hook and in each ch across. (61, 68, 76, 83, 90)(97, 104, 112, 119)
Rows 2-4: ch 1, turn, 1 sc in each st across. (61, 68, 76, 83, 90)(97, 104, 112, 119)
Row 5: Lch, turn, 1 dc in each st across. (61, 68, 76, 83, 90)(97, 104, 112, 119)
Row 6: ch 1, turn, 1 sc in each st across. (61, 68, 76, 83, 90)(97, 104, 112, 119)
Rows 7-46 (48, 48, 50, 50)(50, 50, 52, 52): repeat rows 5 and 6.
Do not fasten off, but drop working yarn.
You will now create the sleeves.
Sleeves
With a second skein of yarn, join to first st of row 48.
Ch 60 (62, 62, 64, 64)(66, 66, 68, 68)
Fasten off.
Pick up working yarn again and ch 62 (64, 64, 66, 66)(68, 68, 70, 70)
Row 1: dc in 3rd ch from hook and each ch across, dc in next 61 (68, 76, 83, 90)(97, 104, 112, 119) sts, and in next 60 (62, 62, 64, 64)(66, 66, 68, 68) chs. (181, 192, 200, 211, 218)(229, 236, 248, 255)
Row 2: ch 1, turn, 1 sc in each st across. (181, 192, 200, 211, 218)(229, 236, 248, 255)
Row 3: Lch, turn, 1 dc in each st across. (181, 192, 200, 211, 218)(229, 236, 248, 255)
Rows 4-12 (12, 14, 14, 16)(20, 22, 24, 24): repeat rows 2-3, ending with a repeat of row 2.
Now you will do the shaping for the neckline.
Row 13 (13, 15, 15, 17)(21, 23, 25, 25): Lch, turn, 1 dc in each st across for 77 (82, 86, 92, 95)(101, 104, 110, 114) sts. (77, 82, 86, 92, 95)(101, 104, 110, 114)
Rows 14 (14, 16, 16, 18)(22, 24, 26, 26): ch 1, turn, 1 sc in each st across. (77, 82, 86, 92, 95)(101, 104, 110, 114)
Rows 15 (15, 17, 17, 19)(23, 25, 27, 27)-(19 (19, 21, 21, 23)(27, 29, 31, 31): repeat previous 2 rows, ending with a repeat of row 13 (13, 15, 15, 17)(21, 23, 25, 25).
Fasten off.
Place st marker in next unworked stitch. Counting that stitch, skip 27 (28, 28, 27, 28)(27, 28, 28, 27), place st marker in last st.
Join yarn to next unworked stitch, facing RS.
Repeat rows 13 (13, 15, 15, 17)(21, 23, 25, 25) – 19 (19, 21, 21, 23)(27, 29, 31, 31).
Row 20 (20, 22, 22, 24)(28, 30, 32, 32): ch 1, 1 sc in first 77 (82, 86, 92, 95)(101, 104, 110, 114) sts, ch 27 (28, 28, 27, 28)(27, 28, 28, 27), 1 sc in next 77 (82, 86, 92, 95)(101, 104, 110, 114) sts. (181, 192, 200, 211, 218)(229, 236, 248, 255)
Row 21 (21, 23, 23, 25)(29, 31, 33, 33): repeat row 3.
Row 22 (22, 24, 24, 26)(30, 32, 34, 34): repeat row 2.
Rows 23(23, 25, 25, 27)(31, 33, 35, 35) – 32 (32, 36, 36, 40)(48, 52, 56, 56): repeat previous 2 rows.
Fasten off.
You will now create the back panel.
Back Panel
Skip 60 (62, 62, 64, 64)(66, 66, 68, 68) sts, with RS facing you, join yarn to NEXT st.
Row 1: Lch, 1 dc in each st across for 61 (68, 76, 83, 90)(97, 104, 112, 119) sts. (61, 68, 76, 83, 90)(97, 104, 112, 119)
Row 2: ch 1, turn, 1 sc in each st across. (61, 68, 76, 83, 90)(97, 104, 112, 119)
Rows 3: Lch, turn, 1 dc in each st across. (61, 68, 76, 83, 90)(97, 104, 112, 119)
Rows 4-41 (43, 43, 45, 45)(45, 45, 47, 47): repeat rows 2 and 3.
Rows 42 (44, 44, 46, 46)(46, 46, 48, 48)- 46 (48, 48, 50, 50)(50, 50, 52, 52): ch 1, turn, 1 sc in each st across. (61, 68, 76, 83, 90)(97, 104, 112, 119)
Fasten off.
You will now fold garment in half at the neckline and sew.
Sewing
Fold garment in half at neckline with the front panel facing you. Line up the edges of the sides and bottom of sleeve so the front half is directly over the bottom half.
Using a long piece of yarn and your yarn needle, sew the front and back panels together starting at Row 5 from the bottom. Once you get to the sleeve sew sleeve together at the bottom stitches. Fasten off at end of sleeve. Do the same on the other side.
See Supplement Video for a visual aid on how to do this.
You will now create the hood.
Hood
Hood is worked as one big rectangle that is folded in half. See Hood video in pattern notes for visual aide.
Ch 72 (74, 74, 72, 74)(72, 74, 74, 72)
Row 1: dc in 3rd ch from hook and each ch across. (70, 72, 72, 70, 72)(70, 72, 72, 70)
Row 2: ch 1, turn, 1 sc in each st across. (70, 72, 72, 70, 72)(70, 72, 72, 70)
Row 3: Lch, turn, 1 dc in each st across. (70, 72, 72, 70, 72)(70, 72, 72, 70)
Rows 4-31: repeat rows 2-3.
Row 32: repeat row 2.
Fasten off, leaving long tail for sewing.
Sewing Hood
Fold rectangle in half, with WS facing you.
Sew the top of the rectangle shut. Turn RS facing you.
Mark the middle of the front neckline by skipping 13 (14, 14, 13, 14)(13, 14, 14, 13) sts and marking the NEXT stitch with a stitch marker.
Sew bottom of hood starting at stitch marker and working all the way around neckline, ending at stitch before stitch marker.
Fasten off.
Hoodie Trim
Join yarn to front of hood, at middle of sweater where stitch marker was placed.
Row 1: ch 1, evenly work 64 sc around front of hood, finishing at middle of sweater again. (64)
Rows 2-4: ch 1, turn, 1 sc in each st around. (64)
Fasten off leaving very long tail for sewing.
Make drawstring
FSC 160 or ch 161 and sc in 2nd ch from hook and across. Fasten off. Weave in ends.
Using yarn needle and yarn tail from trim, sew row 4 of trim to row 1 of trim all the way around, creating a tube. Fasten off.
Tip: put your drawstring inside the trim as you sew instead of trying to thread it through at the end.
Finishing
Weave in all ends. Block if needed.
Pin It for Later!
Michelle has been crocheting since 2011 and has been designing crochet patterns since 2014! She specializes in modern garments and accessories for your handmade wardrobe. Michelle has been featured in Happily Hooked Magazine, thehooknooklife.com, wecrochet.com, ourmakerlife.com, and several other websites. She is committed to providing the highest quality crochet information and patterns that instill a true feeling of pride, enjoyment, and accomplishment when completing a project.