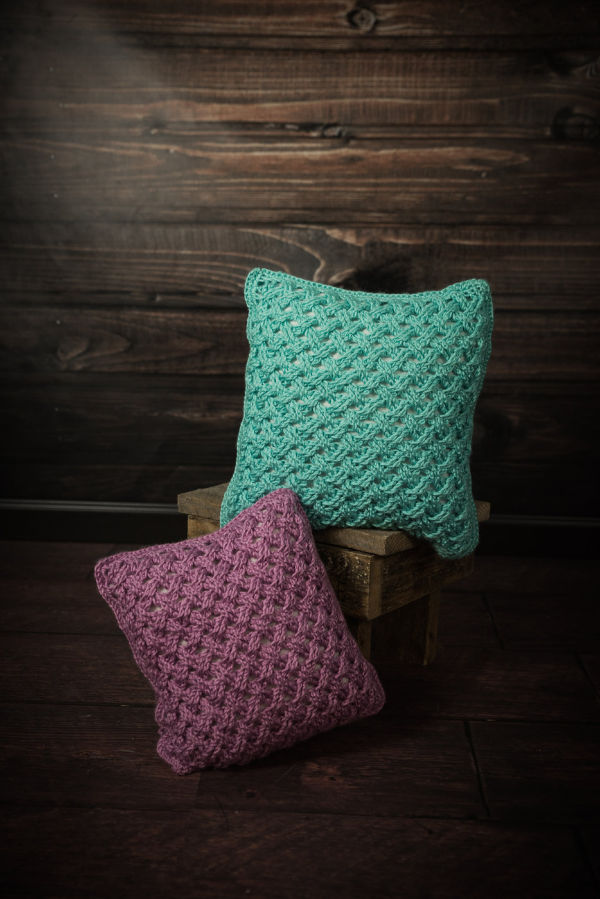
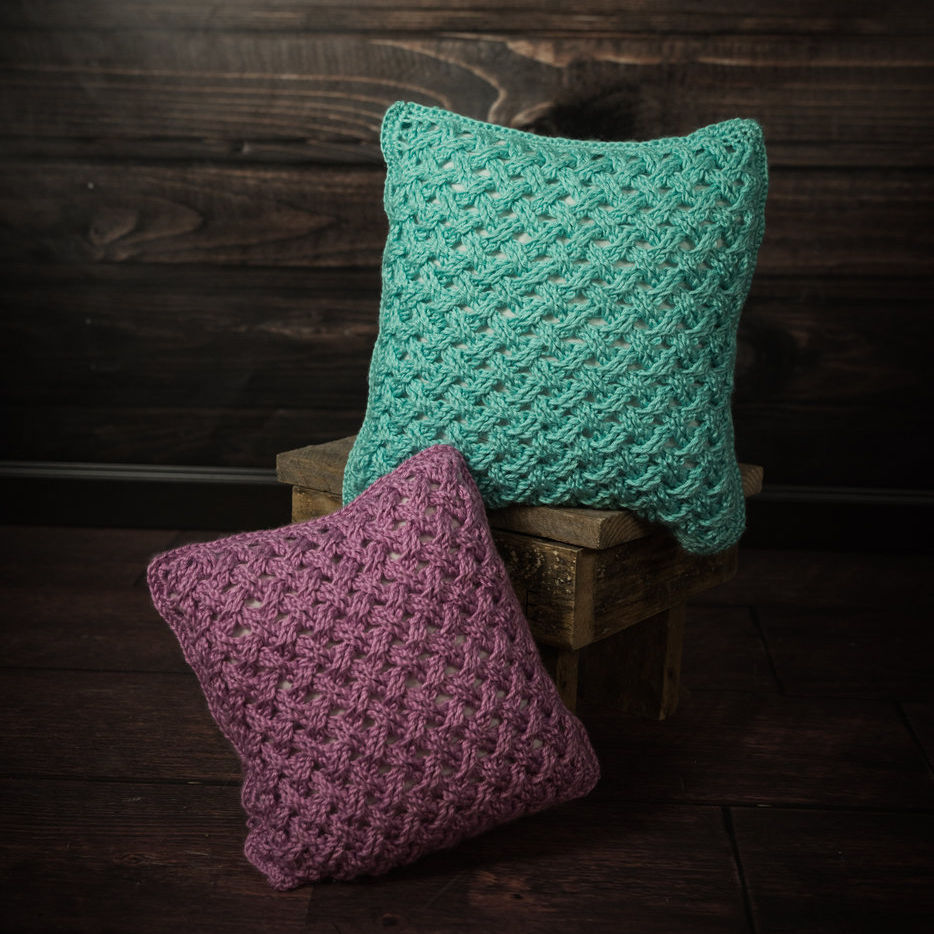
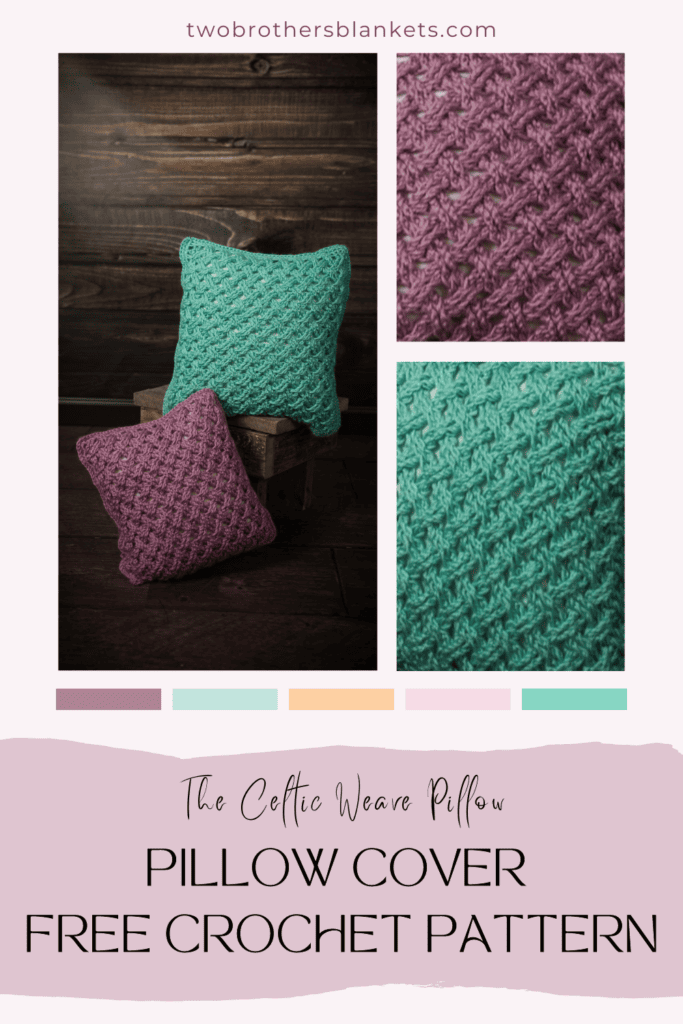
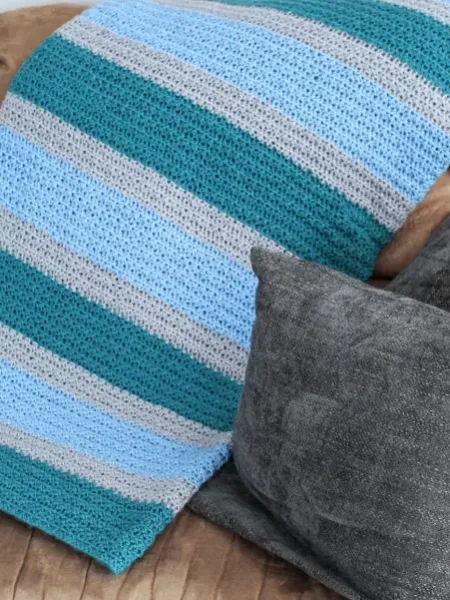
This textured crochet pillow cover pattern is a cozy home décor crochet project that uses the Celtic Weave stitch and works up into beautiful pillow covers perfect for living rooms, bedrooms, or gifting.
Whether you’re crafting for your own space or creating a unique gift, this project promises to be both rewarding and visually captivating.
The Celtic Weave Stitch
The Celtic Weave stitch is a beautiful combination of front and back post stitches that weave through each other. It is absolutely stunning and one of my favorite stitch combinations!
I’ve created a Celtic Weave stitch tutorial for both right and left-handed crocheters to help you visually see the process of this stitch combo.
The Yarn
This crochet pillow cover pattern calls for worsted weight (#4) yarn. I used Caron Simply Soft for my sample, pictured above. Some other great yarn options for this pillow would be:
WeCrochet Mighty Stitch Worsted (#4)
Lion Brand Basic Stitch Anti-Pilling Yarn (#4)
You will need 472-500 yards of yarn, depending on which size pillow you decide to make.

Crochet Pattern Details
The pattern comes with instructions for 2 sizes, a small pillow and a larger pillow.
This pattern is rated intermediate in difficulty level.
The Celtic Weave crochet pillow cover is stitched together around the pillow base, so you won’t be able to take if off the base once it is put on. The yarn is, however, machine washable so you can throw the entire pillow in the wash if you’d like.

If you love crocheting as much as I do, or want to learn more, or just want to show off your work, please join our Crochet Garments community over on Facebook! I hope you’ll share your finished crochet project with us!
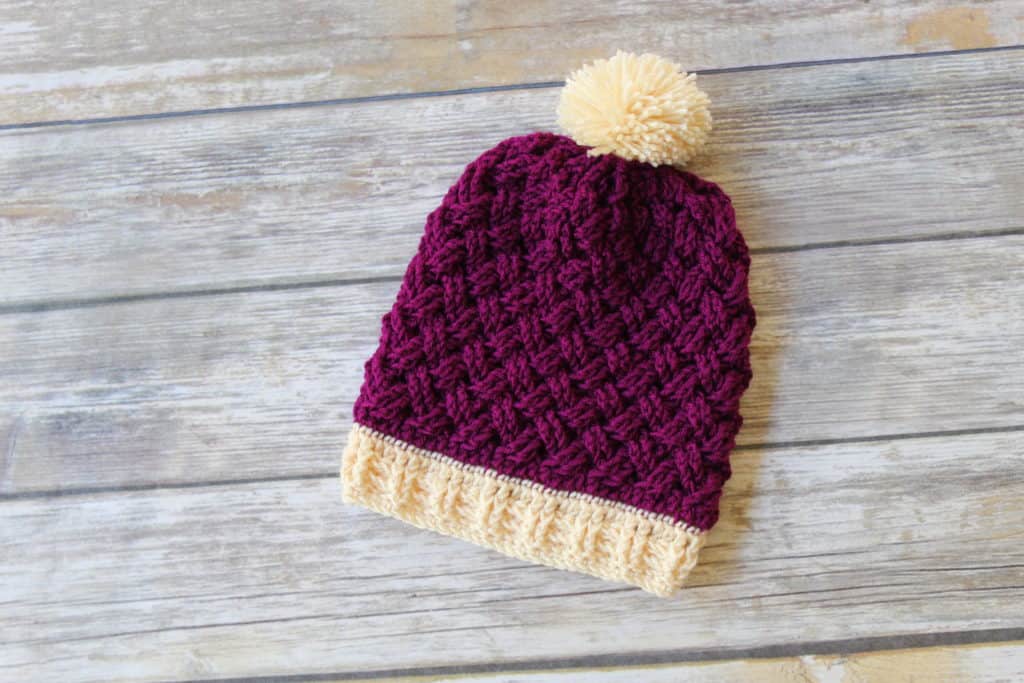
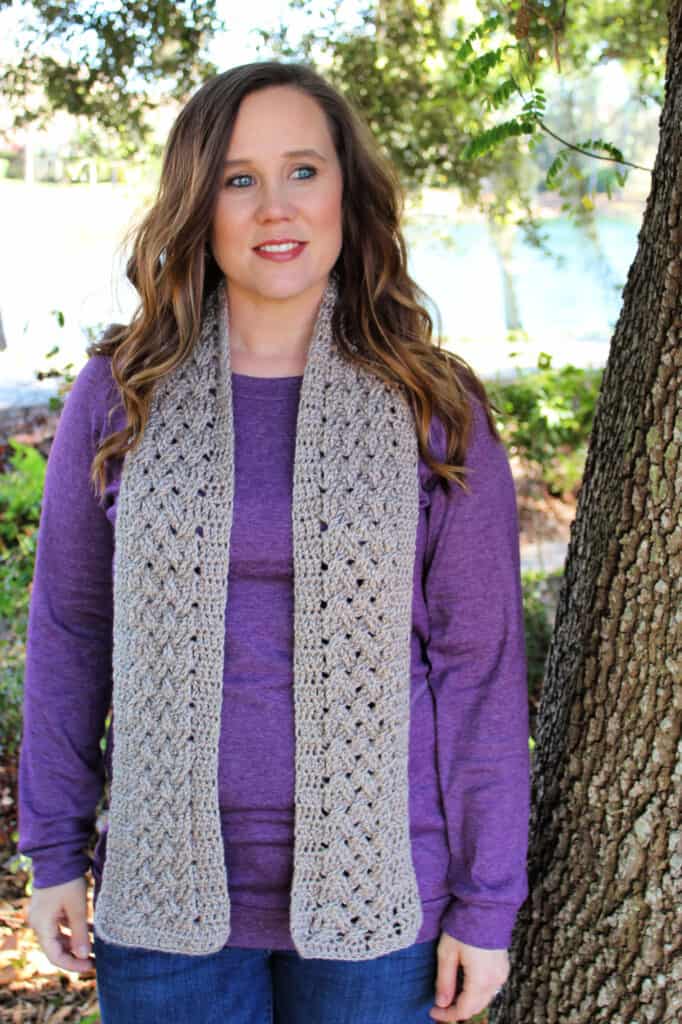
More Celtic Weave Patterns
Love this pattern? I have an entire collection of Celtic Weave crochet patterns! Check them out!

Celtic Weave Pillow Cover
Get the PDF Pattern!
Upgrade to the ad-free, printable PDF download on Ravelry or Etsy!
Just want the free version? Scroll down below!
This crochet pattern is part of the Ultimate Crochet Essentials Pattern Bundle, which includes 30 crochet patterns you’ll actually use! Useful handbags, beautiful crochet blankets, and crochet washcloths for keeping things clean! Check it out by clicking the box below!
Celtic Weave Pillow Cover Crochet Pattern
Copyright © 2024 Michelle Ferguson
All rights reserved. No part of this pattern may be reproduced, sold, or tampered with, in any form or by any means, without permission from the publisher.
Items produced from these patterns may be sold, but the patterns themselves may not be sold, shared, or altered in any way.
Yarn:
315-600 yards
Caron Simply Soft (#4) worsted yarn
100% acrylic
170g/315yds
Hook:
I/9 (5.5mm) crochet hook
Other Materials:
Gauge:
7dc = 2”
Pattern Difficulty:
Intermediate
Stitches Needed & Abbreviations:
sc- single crochet
dc- double crochet
FPtc- front post triple crochet
BPtc- back post triple crochet
st- stitch
ch- chain
*- repeat from
Sizing:
12” x 12” or
14” x 14”
Pattern Notes:
Pattern is in US terms.
Video Stitch Tutorial: https://youtu.be/7KKm9E2MIe0?si=L3cHgLTcbadw6wOq
Cover is worked in two pieces and then stitched together around the pillow.
Starting ch counts as first stitch throughout the pattern.
Pattern:
12×12” Squares (Make 2)
Ch 40
Row 1: Dc in 3rd ch from hook and in each ch across. (38)
Row 2: Ch 3, turn, skip next two st, FPtc in next 2 stitches, working over the two FPtc stiches you just worked, FPtc in the first 2 stitches, *skip next two st, FPtc, in next 2 stitches, working over the FPtc stitches you just worked, FPtc in the 2 stitches you skipped*, repeat across, dc in last st. (38)
Row 3: ch 3, turn, BPtc in first 2 stitches, *sk next 2 st, BPtc in next 2 st, working behind the 2 stitches you just worked, BPtc in 2 st skipped,* repeat across to last 3, BPtc in next 2, dc in last st. (38)
Rows 4-19: Repeat rows 2 and 3. (Panel may look slightly rectangular but this is just for fit around the pillow.)
Do not fasten off. Move on to Trim.
Trim
Now, ch 1, turn, sc in each st across, working 2 sc in the corner, sc down the side as evenly as possible (I worked 2sc around each ch st and 1 sc in each connecting st), work 2 sc in the corner, sc in each st across, work 2 sc in the corner, sc up the other side as evenly as possible. Join to first stitch. Fasten off. Weave in ends. Move on to Assembling the Pillow.
14”x14” Squares (Make 2)
Ch 44
Row 1: Dc in 3rd ch from hook and in each ch across. (42)
Row 2: Ch 3, turn, skip next two st, FPtc in next 2 stitches, working over the two FPtc stiches you just worked, FPtc in the first 2 stitches, *skip next two st, FPtc, in next 2 stitches, working over the FPtc stitches you just worked, FPtc in the 2 stitches you skipped*, repeat across, dc in last st. (42)
Row 3: ch 3, turn, BPtc in first 2 stitches, *sk next 2 st, BPtc in next 2 st, working behind the 2 stitches you just worked, BPtc in 2 st skipped,* repeat across to last 3, BPtc in next 2, dc in last st. (42)
Rows 4-23: Repeat rows 2 and 3. (Panel may look slightly rectangular but this is just for fit around the pillow.)
Do not fasten off. Move on to Trim.
Trim
Now, ch 1, turn, sc in each st across, working 2 sc in the corner, sc down the side as evenly as possible (I worked 2sc around each ch st and 1 sc in each connecting st), work 2 sc in the corner, sc in each st across, work 2 sc in the corner, sc up the other side as evenly as possible. Join to first stitch.
Fasten off. Weave in ends. Move on to Assembling the Pillow.
Assembling the Pillow
Once you have both pillows made, put them together with the wrong sides facing each other. Join yarn to any side stitch and sc each stitch of both panels together. You’ll work up one side, across the top, and down the other side, until you get to the bottom.
At this point insert your pillow and then continue to sc the two panels together across the bottom, until you have stitched all around the entire pillow. Fasten off. Weave in all ends.
Loved this? Upgrade to the ad-free PDF to save or print!
Pin it for Later

Free Blanket Pattern + More!
Sign up for our newsletter and receive a Dude Blanket crochet pattern pdf FREE straight to your inbox.
Love this pattern? Check out more of my Free Crochet Patterns!