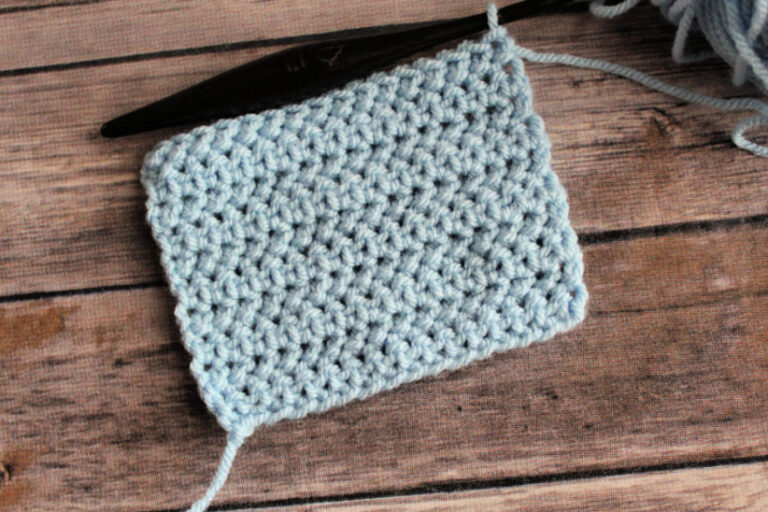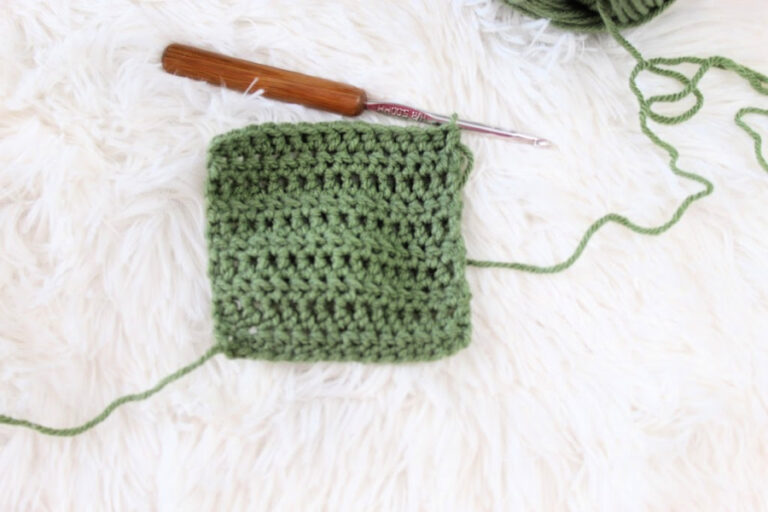
The Corner to Corner, also known as c2c, crochet stitch combo is a fun and quick way to make a square or rectangle.
All you need to know is how to chain, slip stitch, and double crochet to create this stitch combo.
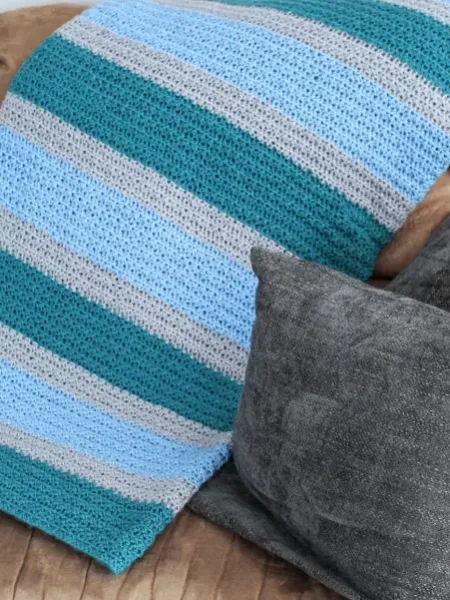
The corner to corner crochet stitch combo is often used to make blankets, scarves, bags, and more! You can create graphic pictures, stripes, or solid pieces all with c2c crochet!
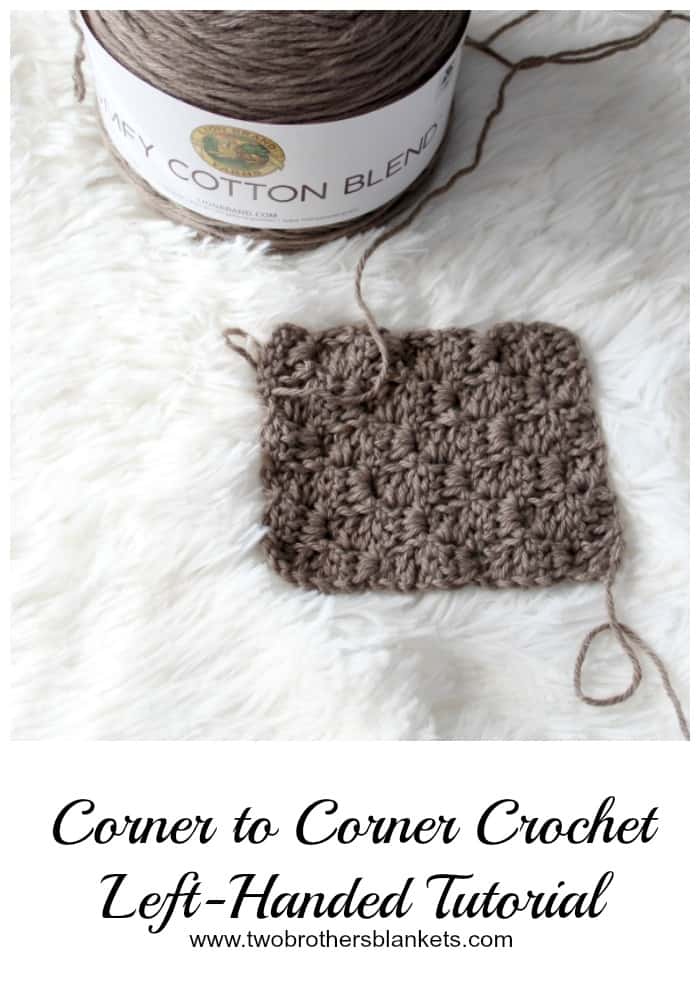
Today I am sharing with you how to create the corner to corner stitch as a left-handed crocheter.
Below you’ll find written instructions, and a video tutorial to show you how to do it.
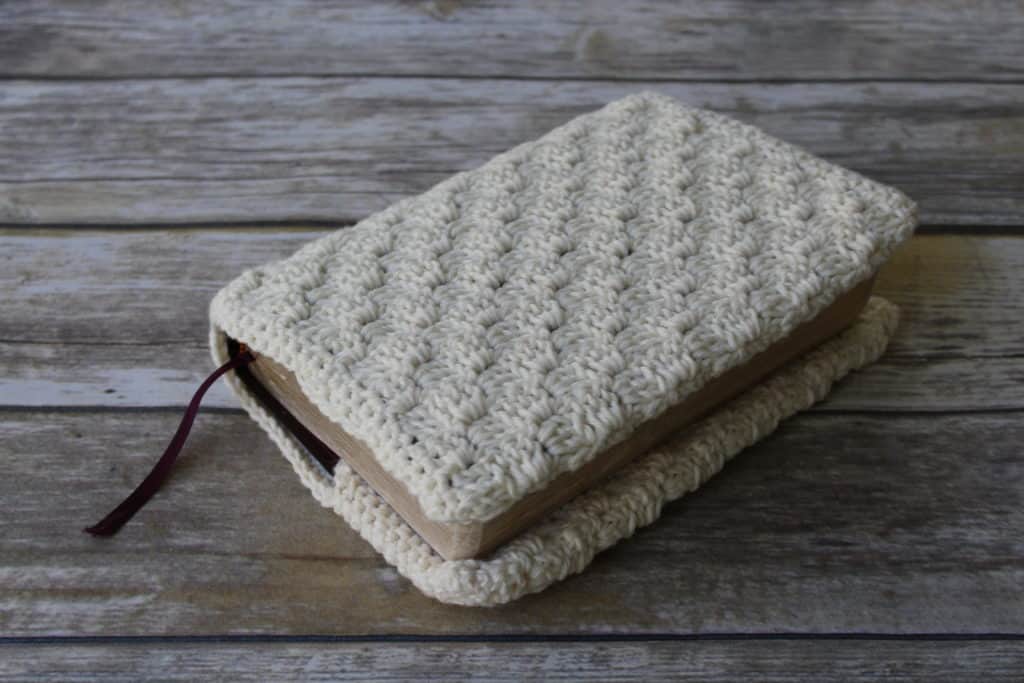
I hope you find it helpful in mastering this fun technique! Once you’ve mastered it, go grab my Sweet Blessings Bible Cover crochet pattern for an easy beginner c2c pattern!

If you can’t see the video above, you can find the tutorial HERE.
Written Instructions:
Rectangle Increasing:
Step 1: ch 5.
Step 2: dc in 3rd ch from hook and next 2 chs. (1 block)
Step 3: ch 5, turn.
Step 4: dc in 3rd ch from hook and next 2 chs, sl st to beginning ch 2 space.
Step 5: ch 2, 3 dc in ch 2 space. (2 blocks)
Step 6: Ch 5, turn, dc in 3rd ch from hook and next 2 chs.
Step 7: sl st to next ch 2 space.
Step 8: Ch 2, 3 dc in ch 2-space, *sl st in next ch 2 space, ch 2, 3 dc in ch-2 space, repeat from * across. (3 blocks)
Repeat steps 6 through 8 until your corner measures desired length across. The number of blocks will increase by 1 each row.
Rectangle decreasing:
You will start by only decreasing on one side. That side will stay at 9” and the other side will increase to 23”. (Or the width and height of your book, if different.)
Step 1: Ch 3, turn, sl st into next ch-2 space.
Step 2: Ch 2, *3 dc in ch-2 space, sl st into next ch-2 space*, repeat across.
Step 3: Ch 5, dc in 3rd ch from hook and across, sl st into next ch-2 space, *3 dc in ch-2 space, sl st into next ch-2 space*, repeat across to last ch-2 space, sl st only into ch 2 space.
Repeat steps 1-3 until length of increasing side reaches your desired length. Once the other side has reached desired length, you will start to decrease on that side as well.
Step 1: Ch 3, turn, sl st into next ch-2 space.
Step 2: Ch 2, *3 dc in ch-2 space, sl st into next ch-2 space*, repeat across to last ch-2 space, sl st only into ch-2 space.
Repeat steps 1 and 2 until you get to only one block left.
To finish, sl st into last ch-2
space.
Step 3: Ch 1, turn, sc evenly around the entire rectangle, working 2 sc in each corner, join to 1st st.
Step 4: Ch 1, do not turn, 1 sc in each st around, join to 1st st.
For a square, start decreasing both sides at the same time. See video tutorial for demonstration.
Fasten off.
Check out my list of even more Left-Handed Stitch Tutorials!
Free Blanket Pattern + More!
Sign up for our newsletter and receive a Dude Blanket crochet pattern pdf FREE straight to your inbox.