Free Granny Square Crochet Sweater Pattern – Nain
This post – Free Granny Square Crochet Sweater Pattern – Nain- may contain affiliate links. That means that if you make a purchase from those links I receive a small commission at no additional cost to you. Thank you for your continued support!
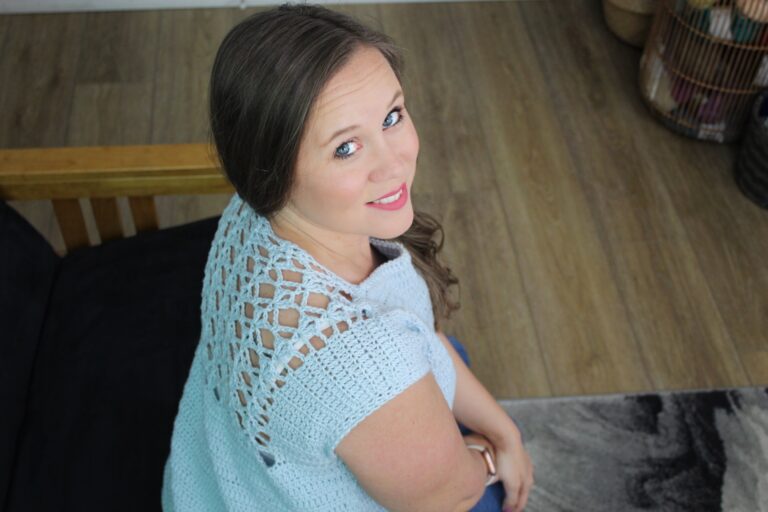
I am so thrilled to have Bernadine from Me N My Hook as a guest designer on the blog, sharing her Nain Sweater crochet pattern!
About the Pattern
I love loose sweaters. I am a sweaty Betty in all weathers so I like layers and clothes that are multi-purpose or multi-season so I can get more mileage out of them. When I accepted the opportunity to feature on Two Brothers Blanket Blog I was working on the Nain Scarf and jumped at the chance to make another corner to corner pattern.
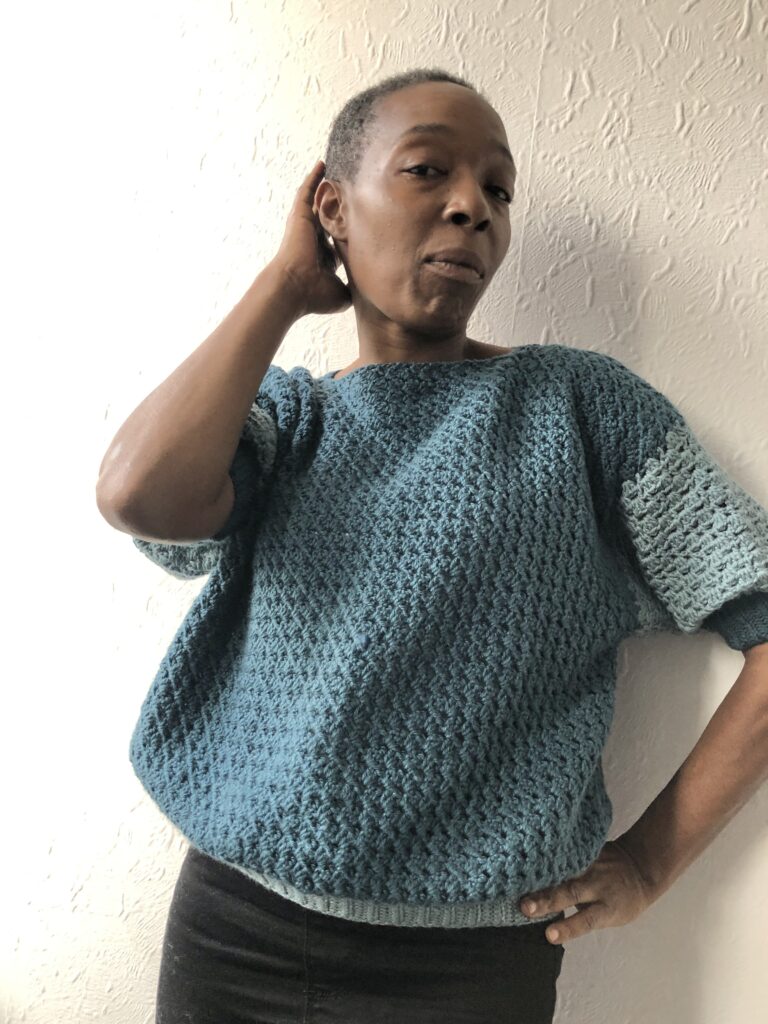
The Nain Sweater is an alternative take on the corner to corner technique using the granny stitch. Finished with ribbed sleeve cuffs and waistband, this easy corner to corner crochet sweater pattern works up quickly and is easy to adapt. Taking its name from the Welsh word for Granny, this design is a great introduction to corner to corner designs with a familiar stitch pattern.

About the Designer
Bernadine is a shoe and bag loving, armchair sports fan and working mum of 2 “boys” (23 & 7 going on 70!). Originally taught to knit by her mum, Bernadine was immediately hooked by crochet 8 – 9 years ago. Today, crochet is her “Me time” and thinking space and you will mostly find her on her bed with a hook, yarn cake, stitch book and notepad not far away. Her favourite things to make are shawls, bags, blankets and wearables, most of which are gifts(ed). You can usually find her hanging out in her facebook group Me n My Hookers.
Blog: www.menmyhook.com
Etsy: www.etsy.com/menmyhook
Nain Sweater Crochet Pattern
You can purchase the ad-free, printable pdf on Etsy or Ravelry! The pattern is 30% off through 3/27/22!
For pattern support please contact Bernadine: [email protected]
Items needed:
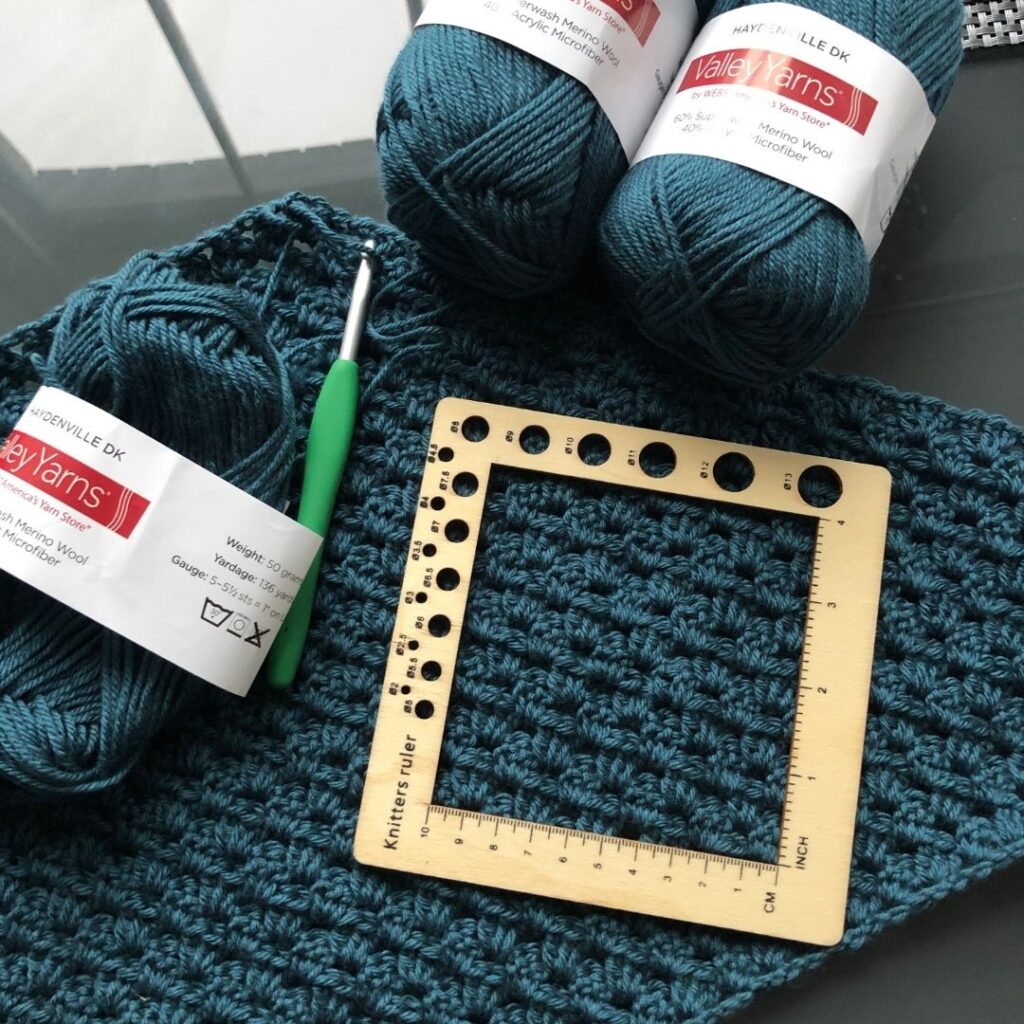
Yarn:
Valley Yarns Haydenville DK
For alternative yarns, I would suggest Paintbox Simply Dk from Lovecrafts or Loops & Threads Cosy Wool Merino in similar amounts and go wild with your colour choices!
Yardage:
1496 – 2040 yds of any dk or 3 weight yarn
Other:
5.5mm & 4.5mm Hook
Yarn needle
Scissors
Tape measure
Stitch markers
Abbreviations:
Chain – ch
Single Crochet – sc
Double Crochet – dc
Half Double Crochet – hdc
Double Crochet two together – dc2tog*see special stitches
Granny Stitch – gs* see special stitches
Special Stitches & Techniques
Double Crochet Two Together (dc2tog) – yarn over and insert your hook into the specified st or sp, yarn over and pull up a loop, yarn over pull through 2 loops, then insert your hook into the next st or sp, yarn over, pull up a loop, yarn over and pull through 2 loops, yarn over and draw through all 3 loops on the hook.
Granny Stitch (gs) – 3dc in the specified st/sp
Sizes:
XS – 5X
Notes:
Ch1 does not count as a st
Ch3 does count as a st
Sweater Pattern:
Panels
To make your body please make the size that corresponds with your bust measurements. For a looser fit, make the next size up, for a more snug fit, go down one size.
Make 2
With 5.5mm hook
Start:
Ch3, join with a sl-st into the 3rd chain from the hook to make a ring.
Row 1
Ch3, insert your hook into the 3rd ch from the hook, and sl-st to make a ring.
Row 2
Ch3, 4dc into the ring. Turn
Row 3
Ch3, gs into the space between the 1st and 2nd dc below, sk 3dc and gs into the space between the 3rd and 4th dc. Dc into the 2nd ch of the tch.
Rows 4 – 32 (36,40,44,48,52,56,60,64):
Ch3, gs into the sp between the 1st and 2nd dc below, sk 3dc, gs into the sp, [sk gs, gs into the next sp] repeat across until 1 sp remains, gs, into the sp, dc into the 2nd ch of the tch. Turn
Rectangle Row 1:
Ch3, sk sp and gs, gs into the next sp, [sk sp, gs into the next sp] repeat across until 1 sp remains, gs into the sp, dc into the 2nd ch of the tch. Turn
Rectangle Row 2:
Ch3, gs into the sp between the 1st and 2nd dc below, sk3 dc, gs into the sp, [sk gs, gs into the sp] repeat across until 1 sp remains, sk gs, dc into the 2nd ch of the tch. Turn
Rectangle Rows 3 – 8:
Repeat rectangle rows 1 and 2 until you have achieved the length required for your size on the increase side.
Decrease Rows 1 – 31 (35,39,43,47,51,55,59,63)
Ch3, sk sp and gs, gs into the next sp, [sk gs, gs into the next sp] repeat across until 1 sp remains, dc into the 2nd ch of the tch. Turn
Final Row:
Ch3, sk sp and gs, dc into the 2nd ch of the tch. Tie off and secure your ends
Join
Lay your work out flat with the wrong sides facing, and pin the pieces together using stitch markers or pins.
Mark spots 9 ins ( sizes XS – M) 10 ins (L – 2X) 11 ins (3X – 5X) in along each side from the bottom edge.
Sides
With the wrong sides facing, join with a whip stitch from the outer edge to the marked spot – this is the bottom of the sleeve opening. Repeat on both sides.
Neckline
Measure a spot 12 – 14 in wide in the centre of your top, and mark each side. This will be your neck opening. Join with a whip stitch from the outer edge, to the marked spot. Repeat on both sides
Secure all your ends and turn your work so that it is right side facing.
Sleeves
Round 1:
Join with a sl-st in the base of the armhole, ch3, [gs into the next sp, dc in the next sp] repeat until you reach the shoulder join, dc in the sp before the join, dc2tog over the same sp, the space on the other side of the join, dc in the same sp, [gs in the next sp, dc in the next sp], repeat till the last sp. Join with a sl-st to the top of the beg ch3. Turn
Round 2:
Ch3, sk gs, gs in the sp, dc in the next sp, [gs in the next sp, dc in the next sp] repeat round till 1 sp remains, sk sp and the gs, dc in the dc. Join with a sl-st to the top of the beg ch3. Turn
Round 3:
Ch3, sk sp and the dc, gs in the sp, [dc in the sp, gs in the next sp] repeat round till 1 sp remains, sk gs and the sp, dc in the dc. Join with a sl-st to the top of the beg ch3. Turn
Round 4 – end:
Repeat rounds 2 – 3 until your sleeve is 9 – 11 in long
Sleeve ribbing
Using the 4.5mm hook
Join in any sp with a sl-st, ch 11
Round 1:
Hdc in the 2nd ch from the hook, hdc in each ch along. (10) [sl-st into the next sp] twice, turn.
Round 2:
Sk the sl-sts, blhdc in the hdc, blhdc in the next 8 sts, hdc in the last st. Turn
Round 3:
Ch1, hdc in the same st, blhdc in the next 9 sts, [sl-st into the next sp], twice. Turn.
Rounds 4 – to end:
Repeat rounds 2 and 3 until you have returned to the beginning.
Sew the two edges together.
Repeat on both sides.
Waist Ribbing
Using the 4.5mm hook
With the right side facing, join with a sl-st into any sp, ch41
Round 1:
Hdc in the 2nd ch from the hook, hdc in each ch along. (40) [sl-st into the next sp] twice, turn.
Round 2:
Sk the sl-sts, blhdc in the hdc, blhdc in the next 38 sts, hdc in the last st. Turn
Round 3:
Ch1, hdc in the same st, blhdc in the next 39 sts, [sl-st into the next sp], twice. Turn.
Rounds 4 – to end:
Repeat rounds 2 and 3 around.
Sew the two edges of ribbing together using the mattress or whip stitch.
Tie off and secure your remaining ends.
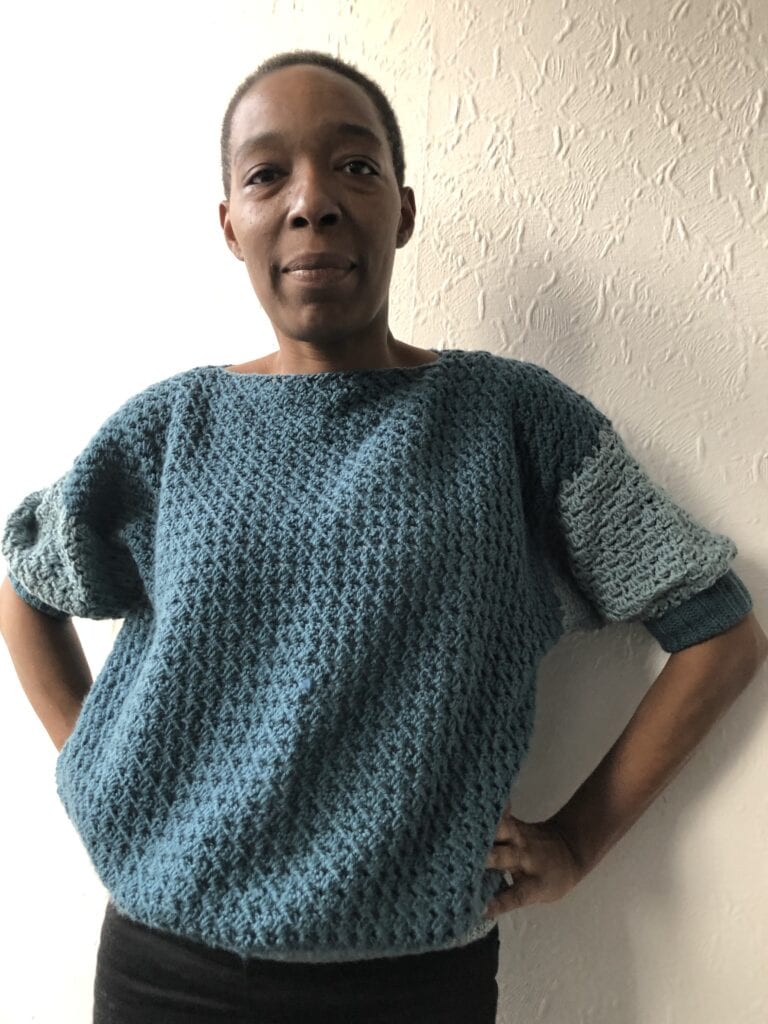
Like the Granny Stitch? Check out the free Granny Merge Market Bag or the Granny Merge Cocoon on my blog.
I hope you enjoyed the post and the pattern and look forward to seeing your Nain Sweaters.
B x
If you enjoyed this pattern, check out my ever growing list of Free Crochet Patterns!
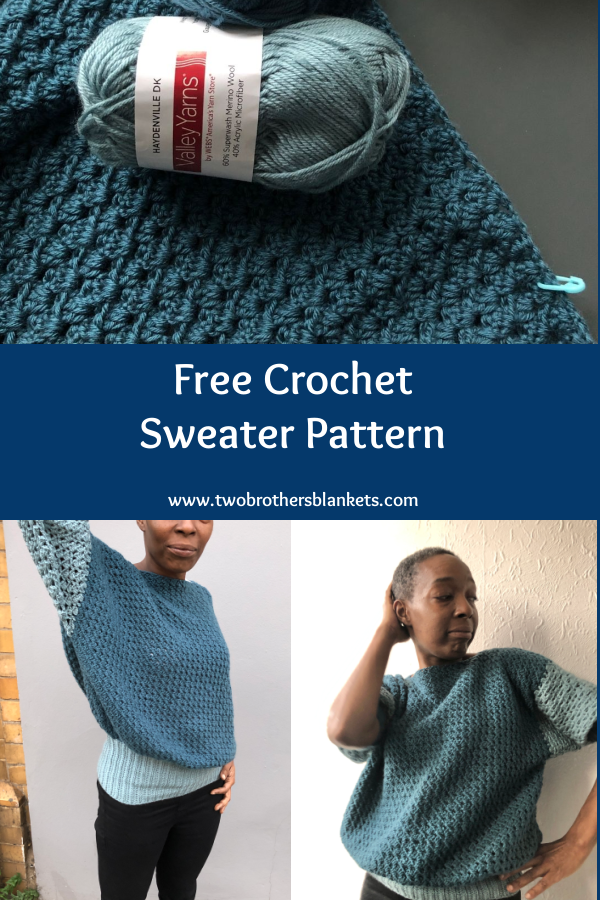
Pin it!
Michelle has been crocheting since 2011 and has been designing crochet patterns since 2014! She specializes in modern garments and accessories for your handmade wardrobe. Michelle has been featured in Happily Hooked Magazine, thehooknooklife.com, wecrochet.com, ourmakerlife.com, and several other websites. She is committed to providing the highest quality crochet information and patterns that instill a true feeling of pride, enjoyment, and accomplishment when completing a project.



I’m interested in making the Nain Sweater. It says to “make the size that corresponds to your bust measurement” but I don’t see anything showing the sizes/bust sizes listed. Can you help?
Hi, I’m not sure about that. I’d reach out to the designer and see if she can give you some more information. Here’s her email: [email protected]