
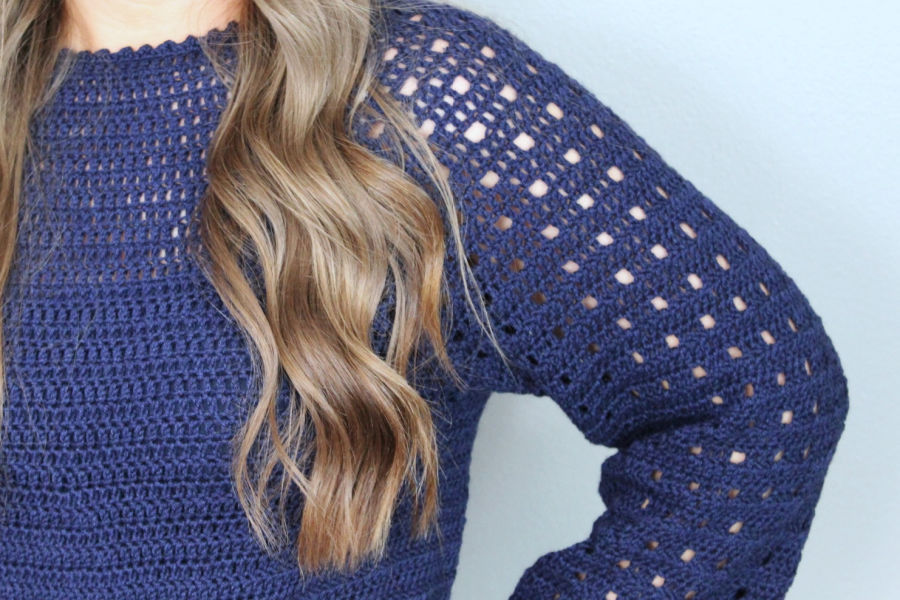
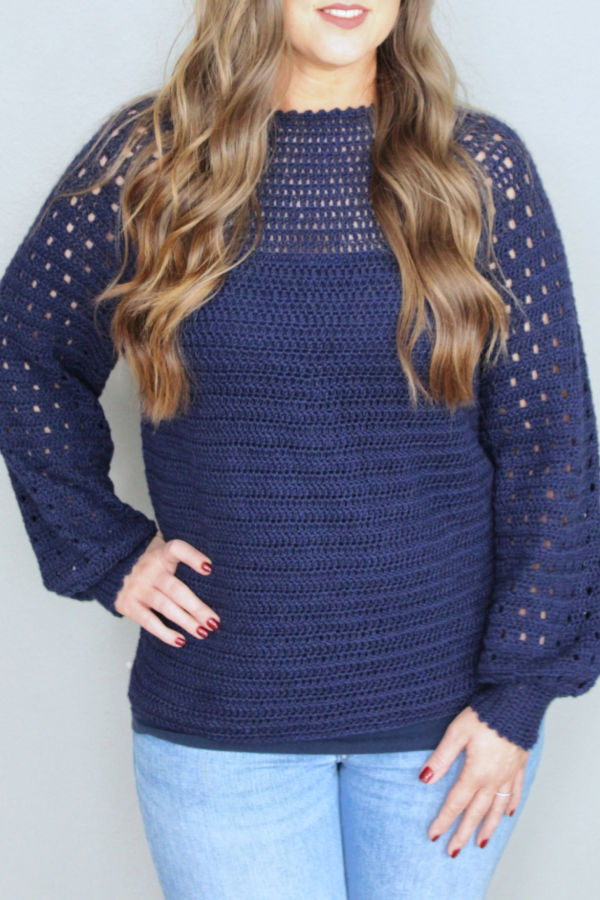
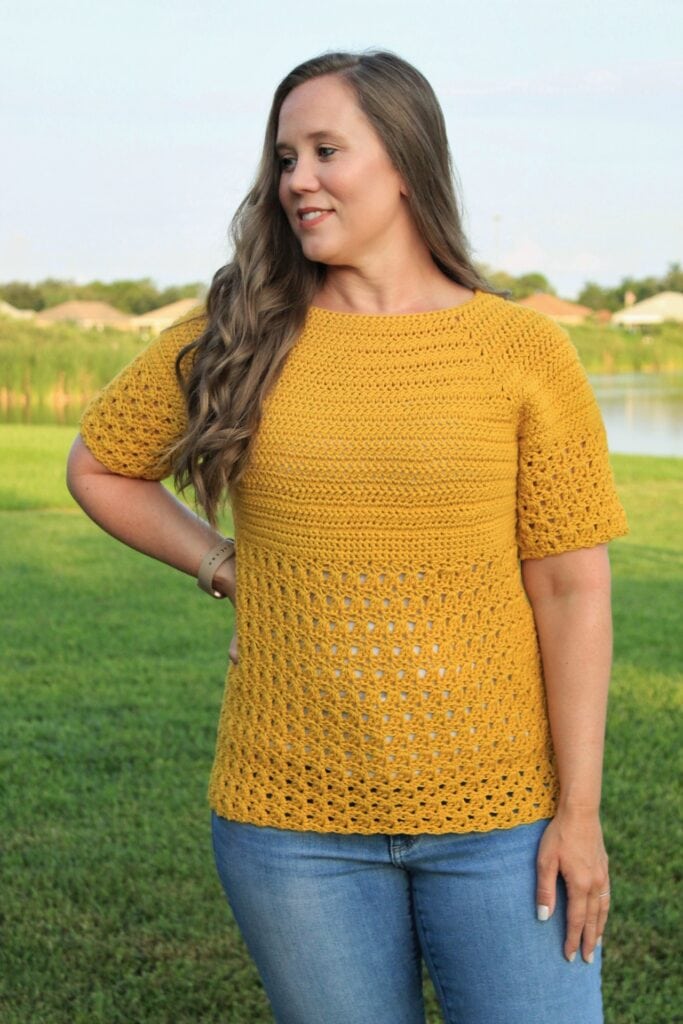
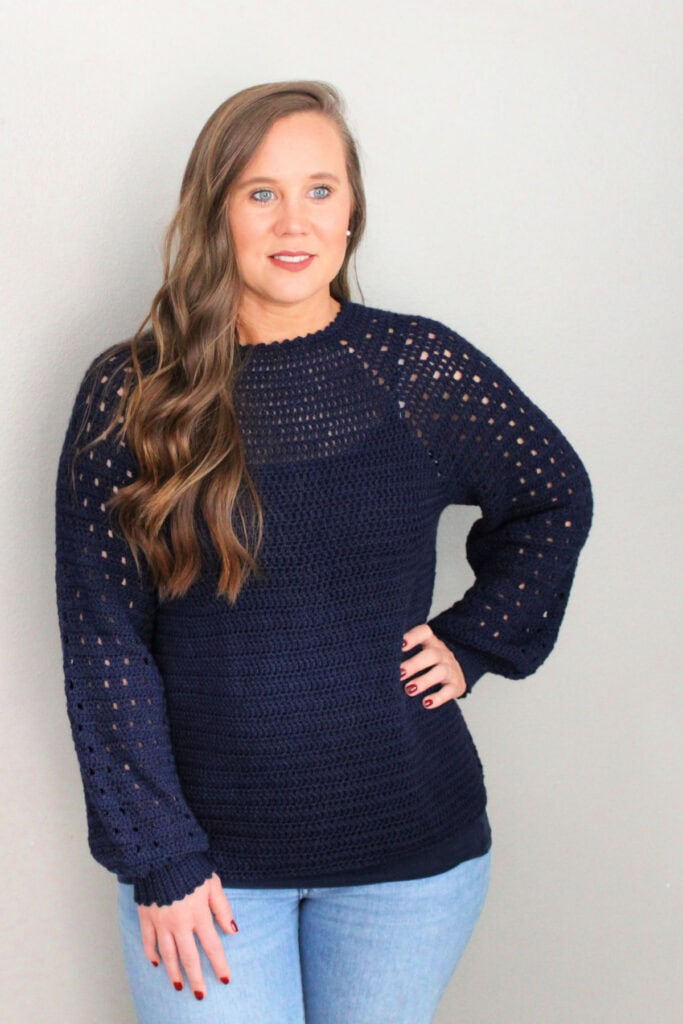
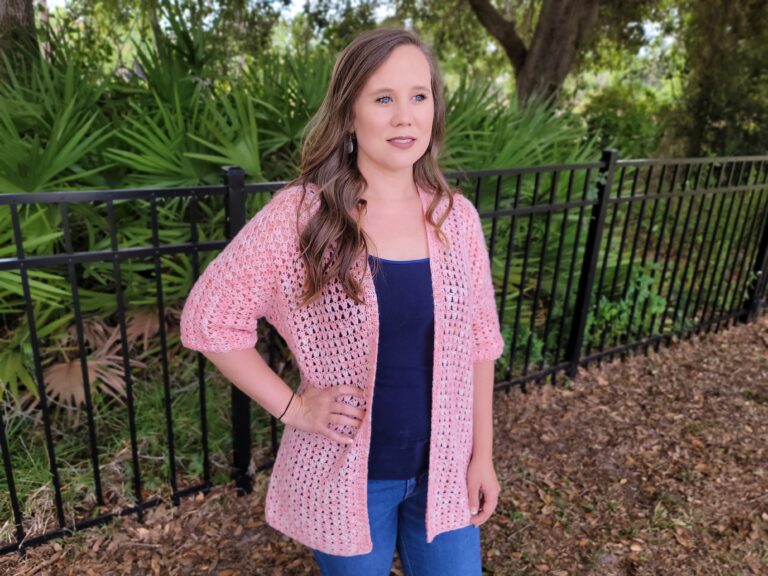
Named after the beautiful blue flower, the Plumbago Sweater is the perfect top for transitioning to warmer spring days! It is lightweight, made with Gloss fingering yarn, and features bishop style sleeves with little eyelets throughout. This crochet eyelet stitch sweater will be a staple in your spring wardrobe!

This sweater is worked from the top down in a raglan style workup, with only a small amount of seaming at the sleeve cuff! A gorgeous picot trim is worked around the neckline and the sleeves giving it just a touch of added flare!


If you love crocheting as much as I do, or want to learn more, or just want to show off your work, please join our Crochet Garments community over on Facebook! I hope you’ll share your finished crochet project with us!
Pattern Inspiration
A long sleeved, lightweight sweater with eyelets down the sleeve has been on my “to-design” list for a while! So when I saw the call for the Crochet Foundry spring issue, I knew that was the design that I wanted to propose.
I have a thing for eyelets. They are such an easy way to add flare and class to a crochet garment. I just love how elegant they look! I also love picot trims! You’ll find this style of trim in a number of my designs. I used both eyelets and a picot trim to give this design the look I wanted and I couldn’t be happier with how it turned out!

Pattern Details
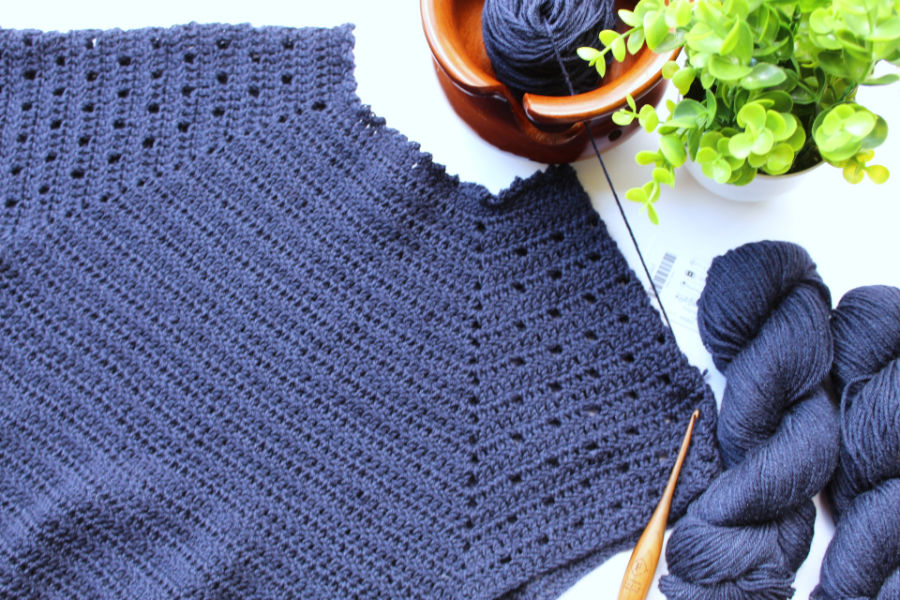
The Plumbago crochet sweater is a top down, raglan style workup. This pattern is rated intermediate, mostly because it is a garment that requires some shaping, increases and decreases, and sizing knowledge. The stitches, however, are very basic and beginner friendly.
Plumbago is worked from the top down with just a bit of seaming at the sleeve cuff. Everything else is worked in the round, joining at the end of each round and turning.
The Plumbago Sweater crochet pattern comes in 9 sizes ranging from women’s XS to 5X.
Yarn for the Eyelet Stitch Crochet Sweater
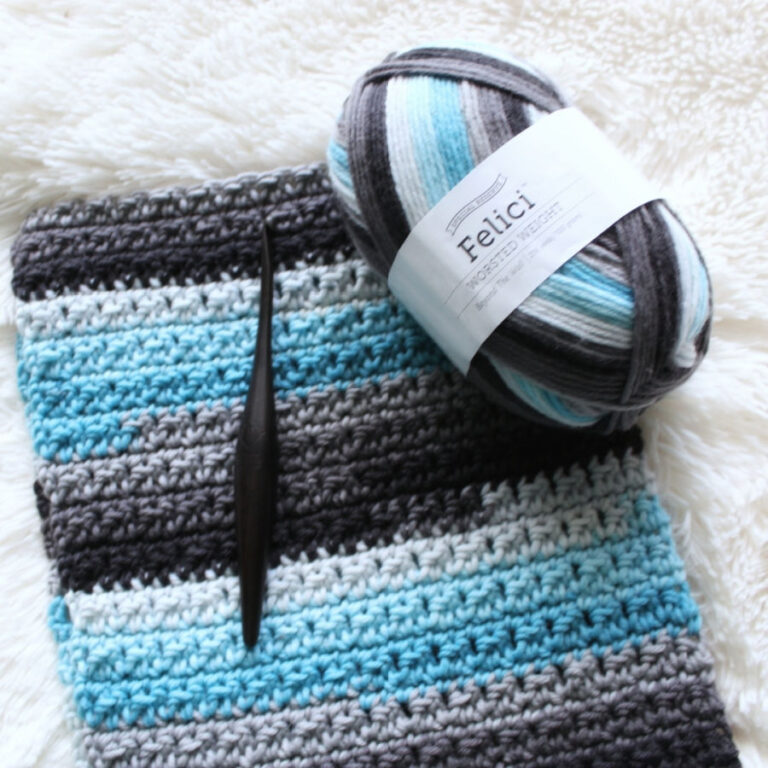
This crochet sweater is made with fingering (#1) weight yarn. I used WeCrochet Gloss fingering for my sweater.
Gloss Fingering yarn is a merino wool/silk blend. It is a dream to work with and comes in 17 beautiful colorways.
Yarn Alternatives
Comfy Fingering – a cotton/acrylic blend that is perfect for warm weather!
Twill Fingering – a sturdy yarn that is easy to wash and care for!

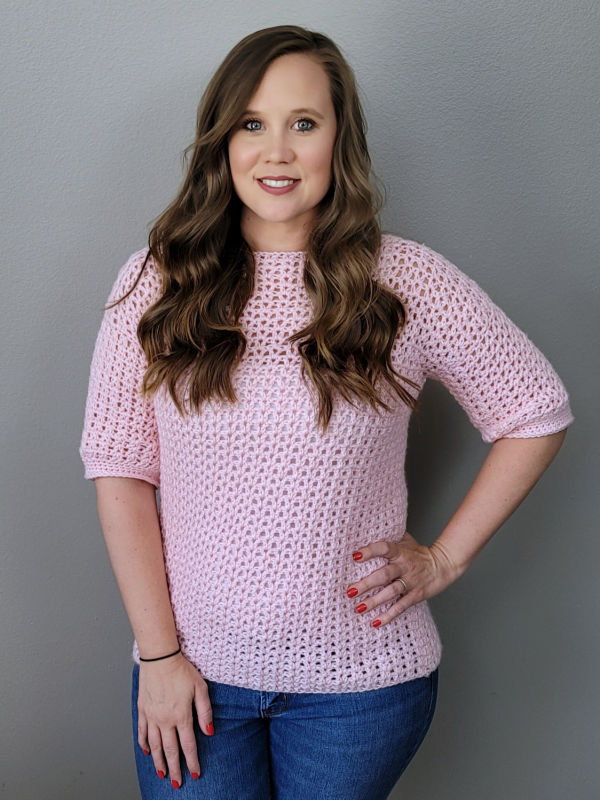
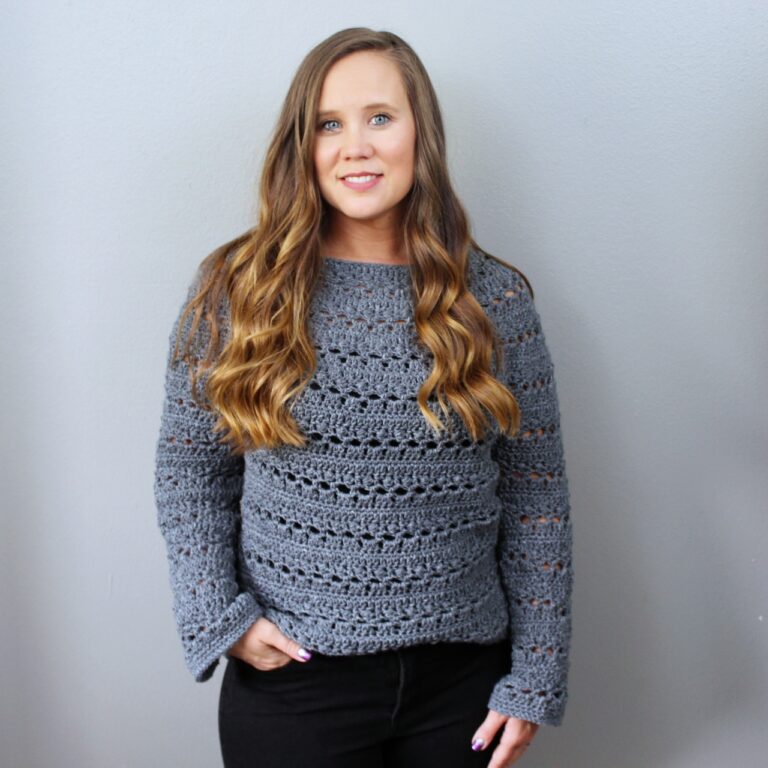
More Lightweight Crochet Sweater Patterns
Love this pattern? You may also like some of my other transitional crochet sweater patterns, perfect for changing seasons.

Ways to Access the Pattern
- Free on the blog as a blog subscriber: Blog Subscribers can access the full pattern for free here on the blog by logging in or signing up for a Grow Account.
- Upgrade to the ad-free, printable pdf pattern on Ravelry or Etsy. This pdf can be downloaded and/or printed for your convenience.
Plumbago Sweater
Get the PDF Pattern!
Upgrade to the ad-free, printable PDF download on Ravelry or Etsy!
Just want the free version? Scroll down below!
Plumbago Eyelet Crochet Sweater Pattern
Copyright © 2026 Michelle Ferguson – Two Brothers Blankets
All rights reserved. No part of this pattern may be reproduced, sold, or tampered with, in any form or by any means, without permission from the publisher.
Items produced from these patterns may be sold, but the patterns themselves may not be sold, shared, or altered in any way.
Yarn:
70% Merino Wool, 30% Silk
50g/220yards
Hook:
F (3.75mm) crochet hook
Other Materials:
Gauge:
16 dc x 10 rows =4”
Pattern Difficulty:
Intermediate
Stitches Needed & Abbreviations
st(s) – stitch(es)
ch(s) – chain(s)
sc – single crochet
dc – double crochet
dc2tog – double crochet 2 together
Lch – long chain – pull up a loop about the length of a double crochet, ch 1
** – repeat from
Sizing:
| Size | Bust Circumference | Finished Circumference | Length | Approximate Yardage |
| XS | 28-30” | 32” | 22.5” | 1120 |
| S | 32-34” | 36” | 23” | 1260 |
| M | 36-38” | 40” | 23” | 1400 |
| L | 40-42” | 44” | 23.5” | 1540 |
| XL | 44-46” | 48” | 24” | 1680 |
| 2X | 48-50” | 52” | 24” | 1820 |
| 3X | 52-54” | 56” | 24” | 1960 |
| 4X | 56-58” | 60” | 24.5” | 2100 |
| 5X | 60-62” | 64” | 24.5” | 2240 |
Pattern Notes:
Pattern is in US terms.
Pattern is worked in the round and joined to the first st in each round. Working the Lch and turning each round gives you a straight seam down the back of the garment.
Pattern is worked from the top down in a raglan style workup.
Ch-2 space is not counted in the final stitch count at the end of each round.
Ch 1 used to create the eyelets in the sleeve IS counted as a stitch.
Starting Lch does not count as the first stitch unless stated otherwise within the pattern.
Pattern is written in the smallest size with the additional sizes in parentheses as follows: XS (S, M, L, 1X)(2X, 3X, 4X, 5X). If there is only one number, it applies to all sizes.
Eyelets will be offset from each other down the sleeve. They will not line up evenly.
Video Tutorial: https://youtu.be/rm4SemNkLpM?si=gWcPH3D80lEiOXvA
Access The Pattern
To access exclusive content, click the button to access the Grow.me app and sign in or create an account. You can create an account via your Google or Facebook accounts, or use an email and create a password.
Once you’ve created an account and signed in you will have access to all of the exclusive content on my blog. You’ll just need to sign in. If you forgot your password, simply click the “Forgot My Password” button to retrieve it. I cannot get access to your grow account to retrieve it for you.
Thank you so much for being a blog subscriber and I hope you enjoy the exclusive content!
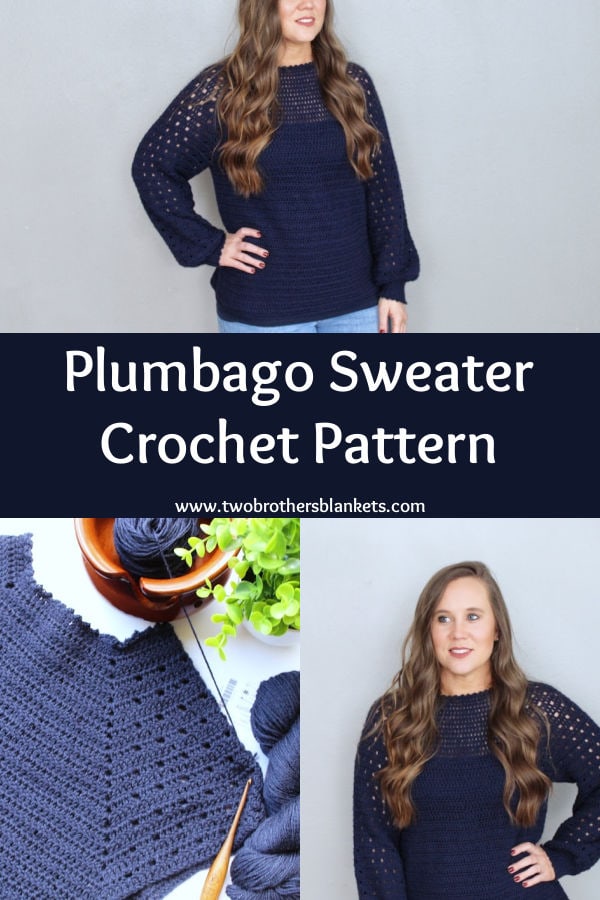
Pin It for Later


Is there a way of getting the pattern without purchasing the crochet foundry magazine?
https://crochetfoundry.com/products/plumbago-sweater-pdf-crochet-pattern-by-michelle-ferguson
Hi Michelle. I have purchased the plumbago sweater.
Is there a way to make the neckline a bit bigger?
Hi! Yes, if you go up a hook size or two to start it will make the neckline bigger without having to change the stitch counts.
It mentioned a video but I don’t see any links to it. Is that only for the paid pattern?
Hi! Sorry about that! Here you go: https://youtu.be/rm4SemNkLpM?si=gWcPH3D80lEiOXvA