
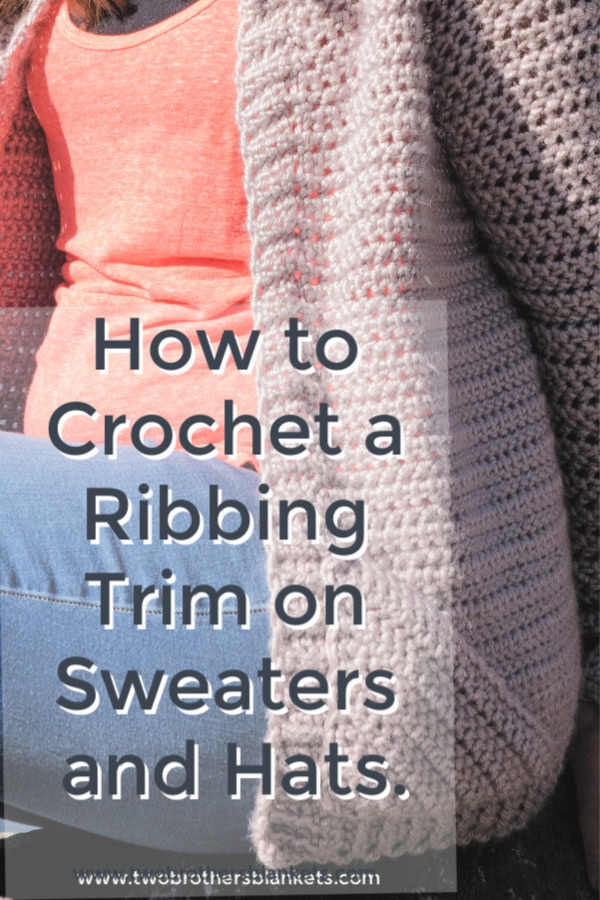
A trim on a crocheted sweater or hat can add just the right touch to give it a completed look. A ribbed trim is quite the popular choice in sewn, knitted, and crocheted projects. Today, I am going to show you how to crochet ribbing trim on sweaters and hats!

What is a ribbing trim?
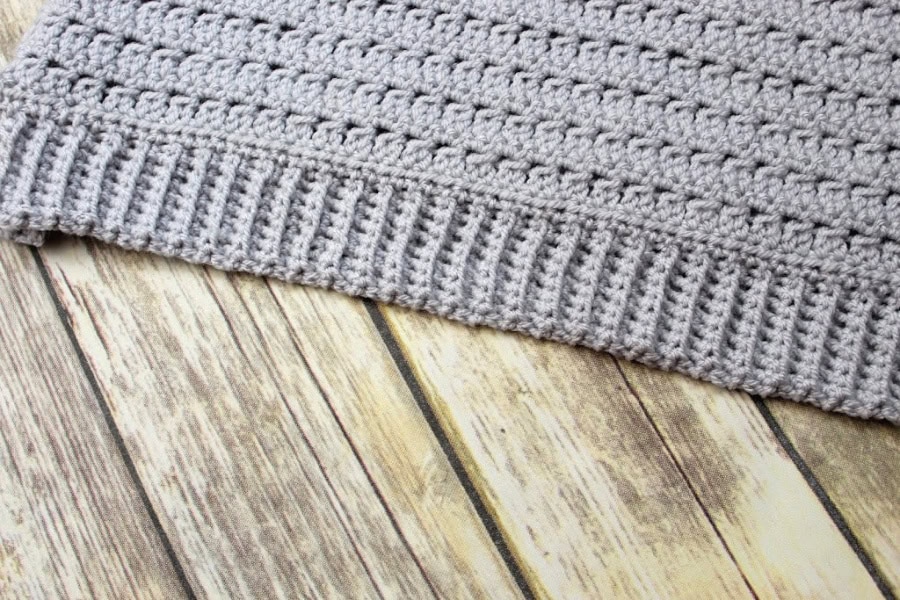
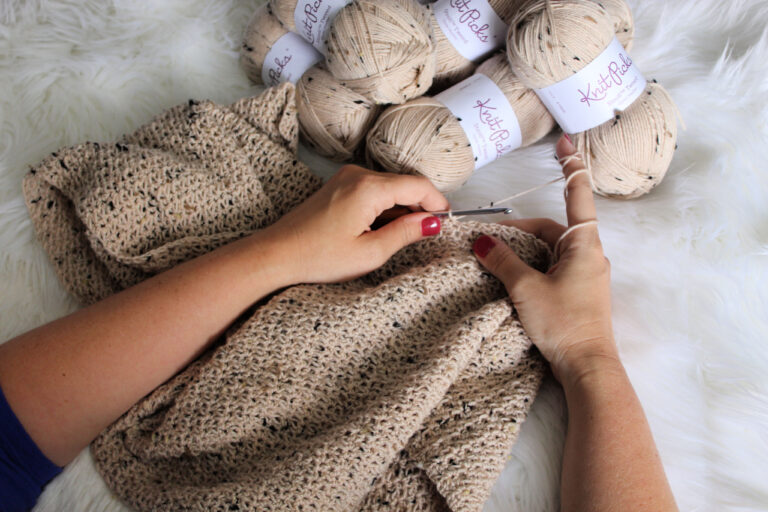
A ribbing trim is a textured, vertical looking trim created by working in the back loop only of your stitches.
The length is easily adjustable by adding more stitches.
It is worked in rows, but can be worked around the entire sweater or hat.

If you love crocheting as much as I do, or want to learn more, or just want to show off your work, please join our Crochet Garments community over on Facebook! I hope you’ll share your finished crochet project with us!
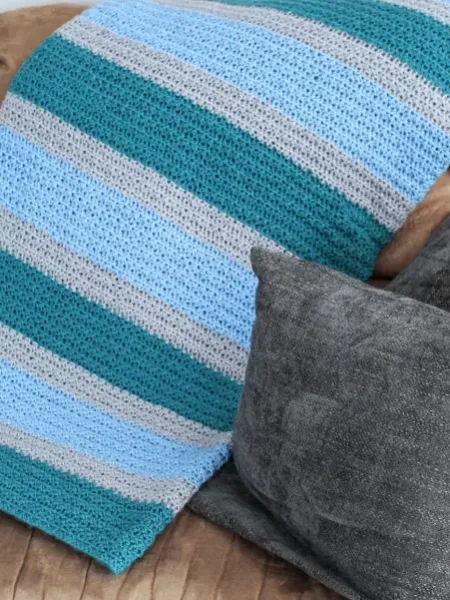
More Patterns with Crochet Ribbing
I use the crochet ribbing trim in many of my patterns! Check them out!

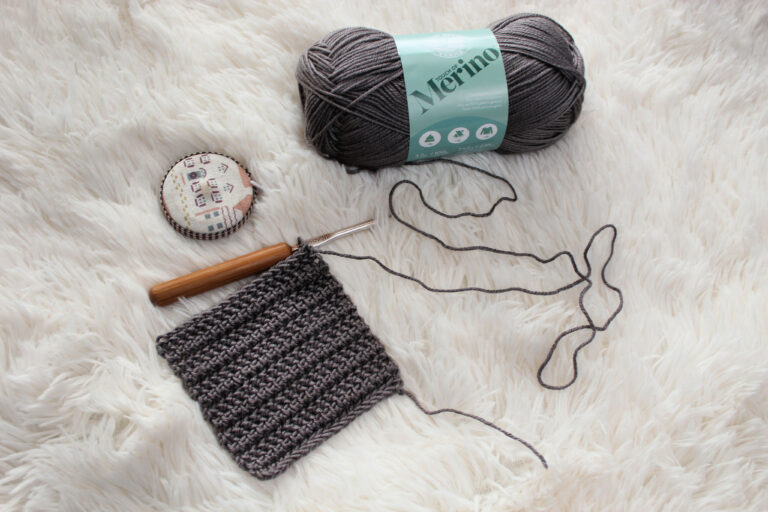
Written Instructions
Now I’m going to teach you how to crochet ribbing trim to your sweaters and hats.
A few things to note, the stitch count can and will vary for different projects that you are making. However, the general steps will remain the same each time.
Also, in some cases you may have to join your yarn and at other times you will not.
Ch 9
1.Sc in 2nd ch from hook and across. (8)
2.Sl st in next 2 st of body of sweater.
3.Ch 1, turn, sc in blo of each sc. (8)
4. Ch 1, turn, sc in blo of each st across. (8)
Repeat steps 2-4 all the way around body of sweater. Join ends by working a sc into each starting ch. Fasten off.
I am a left-handed crocheter, but the steps will work out exactly the same if you are right handed.
Pin it for Later:
Free Blanket Pattern + More!
Sign up for our newsletter and receive a Dude Blanket crochet pattern pdf FREE straight to your inbox.


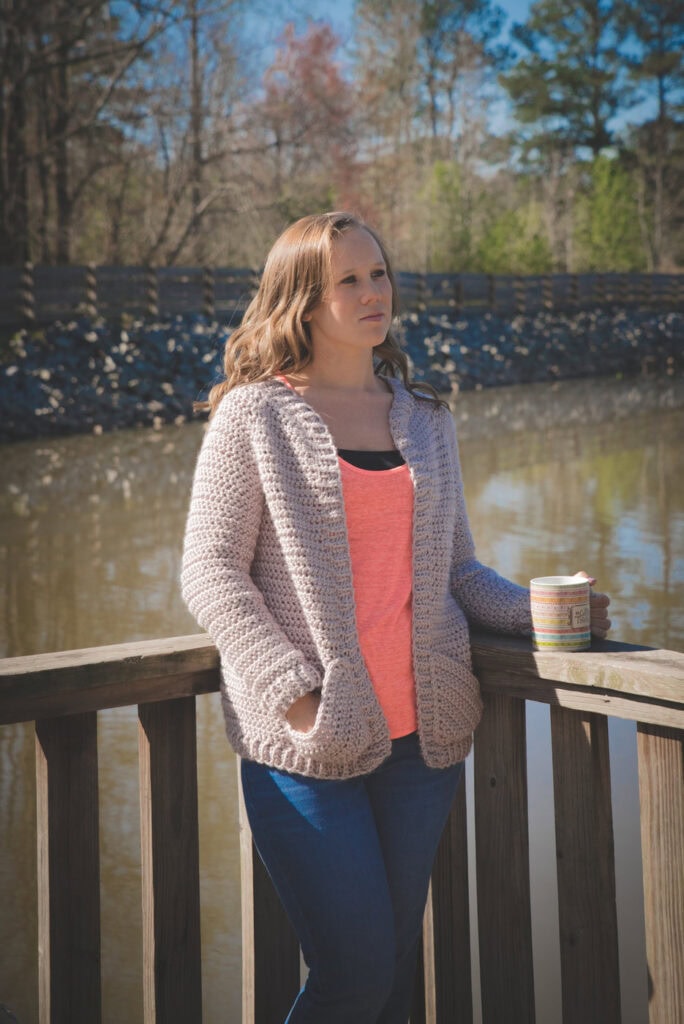
Love your tutorial on adding the ribbing to the bottom of a hat or cardigan. I love the pattern you are adding the ribbing to, Can you tell me what the name of the pattern is, love the stitch
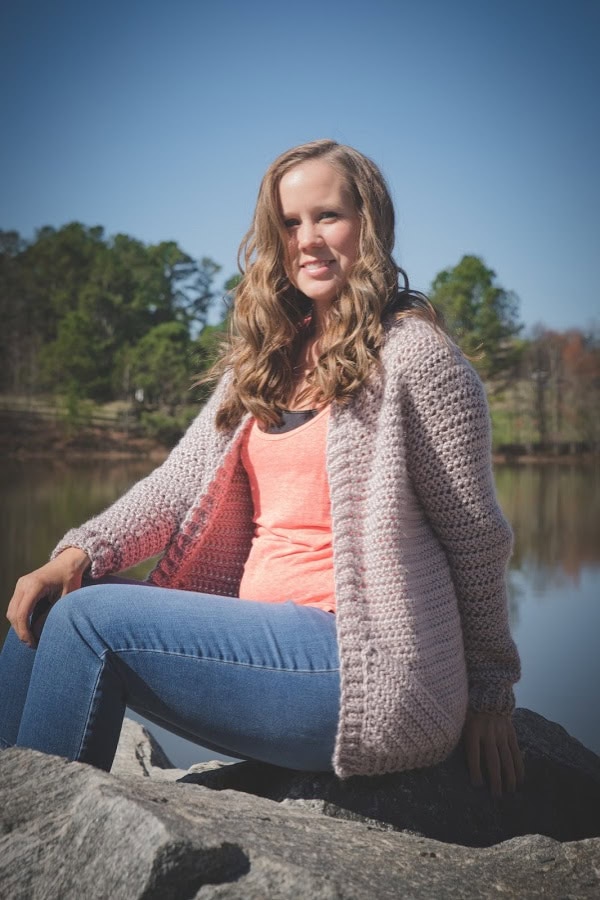
Hi! The pattern in the video tutorial has not been released yet. It will be released in March 2020! The cardigan in the picture is the Charlotte Cardigan.
Do you have any tips if you have to “round” a corner?
If it’s a sharp corner, I usually do it separately. Like fasten off, and rejoin on the other side. If it’s not I usually just keep going and it curves itself.