
When learning how to crochet a sweater you will find four common ways to do it. These workups are most used in the crochet pattern world and are all fairly easy!
Also, once you’ve tried each common workup, you’ll find that you have a preference on how to crochet a sweater and will likely gravitate towards that workup style.
For me, I really like top down and bottom up. But I design using all 4 methods. Because, often times I will need to use the other methods to create the look and texture I want in the sweater.
So, what are the 4 common ways to crochet a sweater?
There’s Top Down, Bottom Up, Side by Side, and Rectangular.
Top Down
A top down workup is probably the most common way to crochet a sweater or top.
You will start at the neckline and create a yoke. The yoke of the sweater is the part that goes around your head and over your shoulders, but is above the arms. The yoke is usually circular or rectangular.
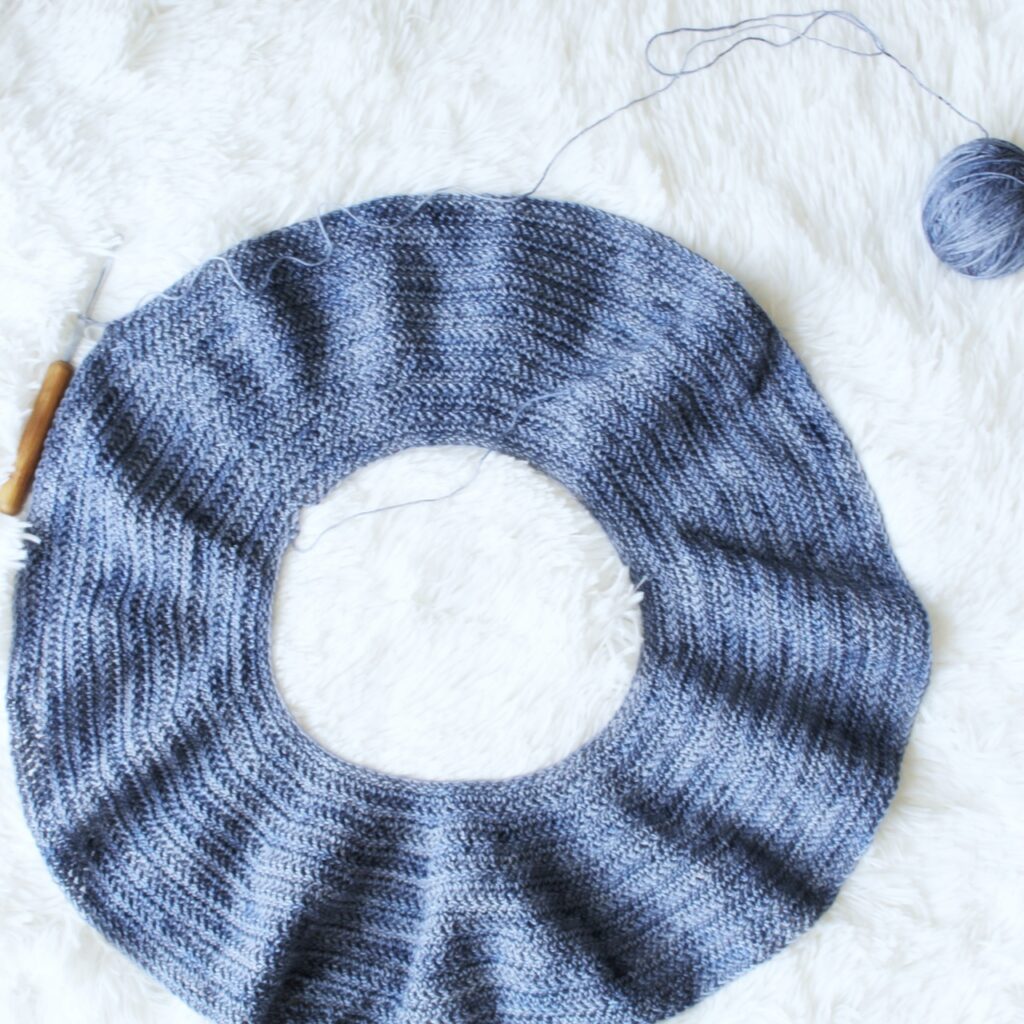

Top down sweaters don’t usually require any sewing. You can also easily create shaping with a top down project by working increases or decreases in your rounds.
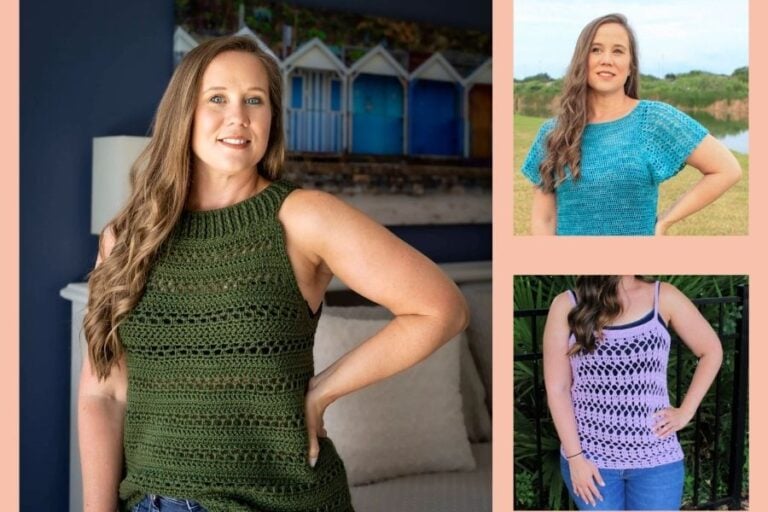
Top Down Sweater Examples
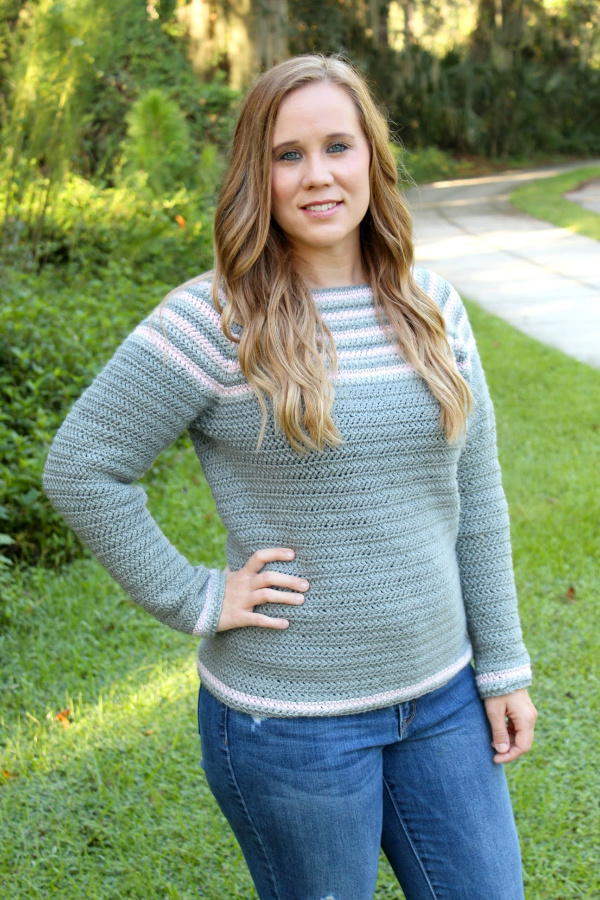
Remi Raglan Sweater – a raglan yoke and one stitch creates this gorgeous basic sweater.
Real Bobble Cardigan– this cardigan is worked from the top down with a rectangular yoke. You just don’t join, but instead work in rows.
Tied and True Tee– a very basic tee shirt garment made using a circular yoke.
Bombshell Sweater– a very easy, raglan style sweater that can be customized to your preference!
Bottom Up
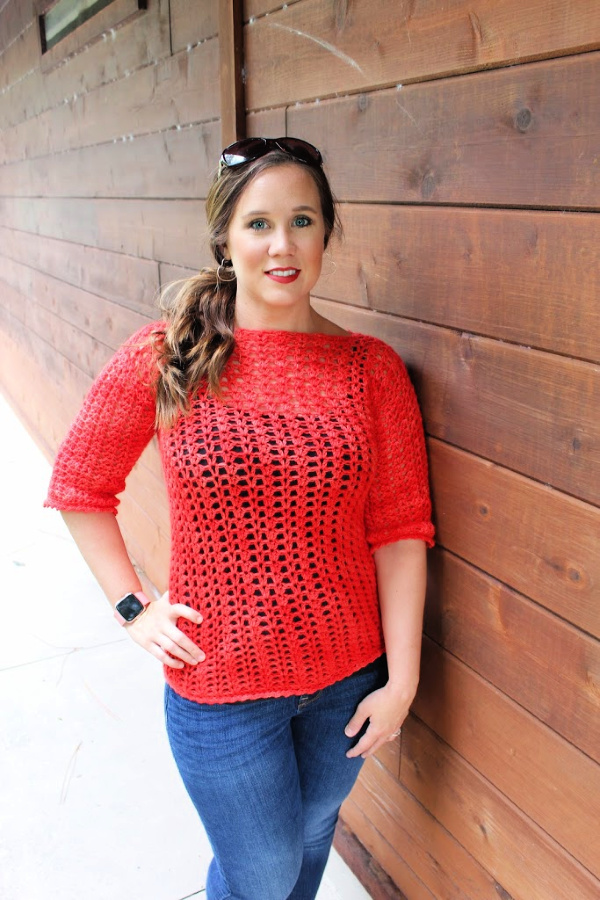
The bottom up workup style starts at the hips/bottom of the sweater and is worked in the round up to the armpit area. Then it is worked in rows to create two panels, which in turn create the armholes.
There is some seaming required at the shoulders to join the two panels together.
Length is easily customizable and shaping is easily created in this style.
From a designing standpoint, there is usually less math required, to come up with the stitch counts, for bottom up than top down.
Bottom Up Sweater Examples
Katie Blouse– pictured above, this lacy spring or fall top is a great starter bottom up sweater!
Odyssey Cardigan– this cardigan is worked in rows throughout, instead of rounds. The end result is a gorgeous, transitional cardigan.
Michelle Sweater– a super textured, super cozy sweater that is worked from the bottom up with sleeves and neckline trim added at the end.
Side by Side
A side by side workup is done by making two long panels, folding them in half and sewing them in the middle, as well as sewing along each side of the panels.
This creates a vertical look in the stitches, as well as a v-neckline.

The side by side workup is quite easy since you only have to create 2 long rectangles. The stitch count typically stays the same throughout.
However, there is no real shaping involved so it can tend to have a more boxy look to it. There is also the job of sewing the pieces together, so if you don’t like sewing this may not be your workup of choice.
Side by Side Sweater Examples
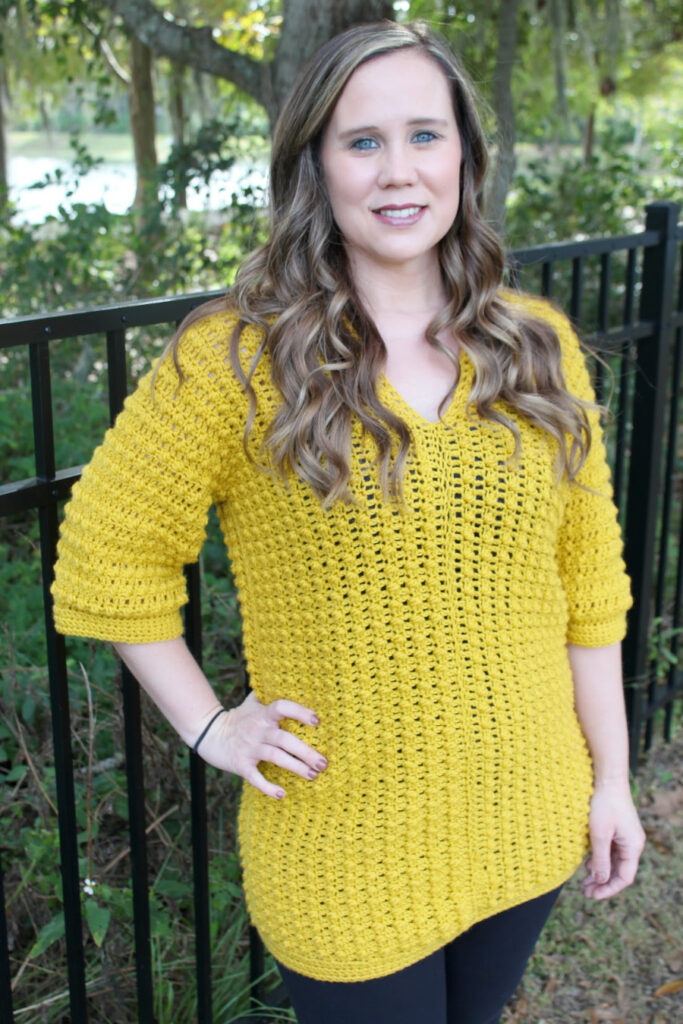
Tuscan Sun Tunic- this gorgeous tunic has great texture and is long enough to wear with leggings!
Chevy Tee– a pretty chevron stitch gives this tee it’s fabulous look. Plus there’s no sleeves or trim to add to it!
Beach Day Ruana – this cover-up is worked side by side, but is not sewn together in the front so it can be worn more like a cardigan than a top.
Rectangular

A rectangular workup is creating two rectangle panels for the body of the sweater, and sewing them together leaving armholes and neckhole unworked.
This is probably the most simple of the four ways to create a sweater. You create two identical rectangles, so stitch count is the same.
However, there is no shaping involved. Sleeves and trim can be added after sewing the rectangles together, if desired.
Rectangular Sweater Examples
Camellia Sweater– this hi-low style sweater is long and cozy and perfect for winter!
Pemberley Sweater– a gorgeous short sleeved lacy top!
Dreamsicle Tee– a very simple rectangular tee with gorgeous lacy detailing!
Stash Buster Sweater– the easiest rectangular sweater ever! Grab whatever yarn you have in your stash to make this one!
Easy Garments Bundle
To help you practice your garment making and decide which workup style you like best I’ve created the Easy Garments Bundle!
This bundle contains 5 crochet patterns that use basic stitches and are easy to assemble. The bundle also includes at least one pattern of each workup style I shared above!
You can grab this bundle ($32 value) for just $16! That’s 50% off the retail price of all 5 patterns!
The patterns included in the bundle are:
Now that I’ve shared the four common workup types, which one will you make first?
Once you decide, be sure to check out my blog post on Crocheting Garments- Tips to Get a Great Fit!
For More Info…
Check out my new podcast, Garments and Gauge, for a video explanation of each of these workup styles and tips for making them!


The Side by Side and the Rectangular methods sound the same to me. How are they different from each other?
The side by side is two very long rectangular panels that are folded over and sew together side by side. The rectangular method is just two regular rectangles laid one on top of the other and sewn together.