Majestic Keyhole Scarf Free Crochet Pattern
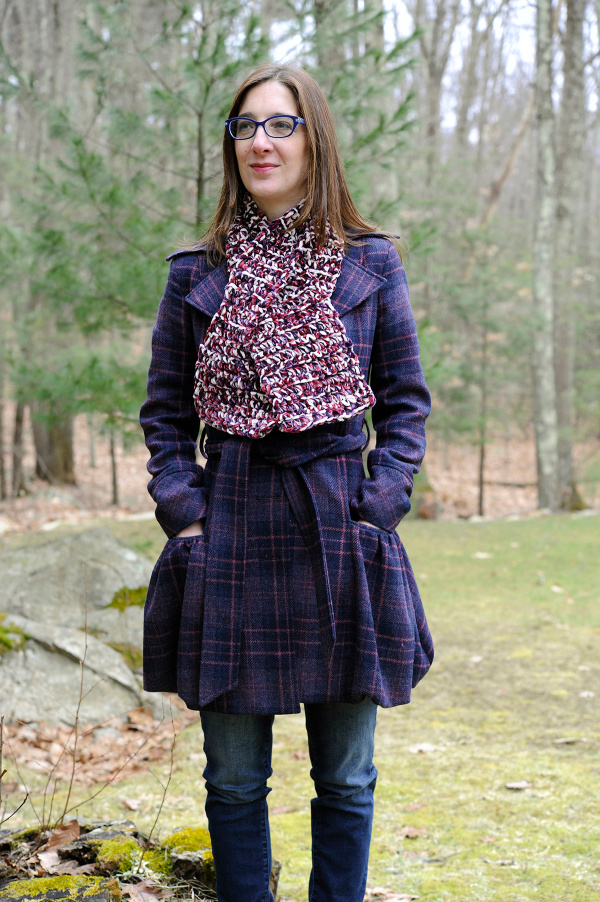
I am so honored to welcome a new guest crochet designer on the blog today! Mary Beth of Crochet with Mary Beth is with us today sharing her beautiful Majestic Keyhole Scarf crochet pattern!
About the Designer
Hi there, I’m Mary Beth. I’m the crochet designer and illustrator for the blog Crochet with Mary Beth. I’m very happy to be guest posting for Michelle. Thank you Michelle!!
My journey to crochet design has been a fun and crazy one. Crafting was my main hobby as a child and there was no question art would be my profession some day. Consequently I went to Syracuse University where I majored in Illustration. After that I landed a fun job as a full-time toy designer. A handful of years later I went on my own. I was a full-time freelancer for many, many years illustrating everything from greeting cards, to books, to party goods to jewelry and everything in between.
Two years ago I started designing my own crochet designs and just recently I’ve started illustrating crochet themed coloring pages. Along the way I got married and had a really cool kid. Crazy right?! But pretty fun for sure!
Pattern Details
Raise your hand if your neck is cold. Mine is freezing!
It’s winter in New England. So I have to pull out the major winter gear to keep warm.
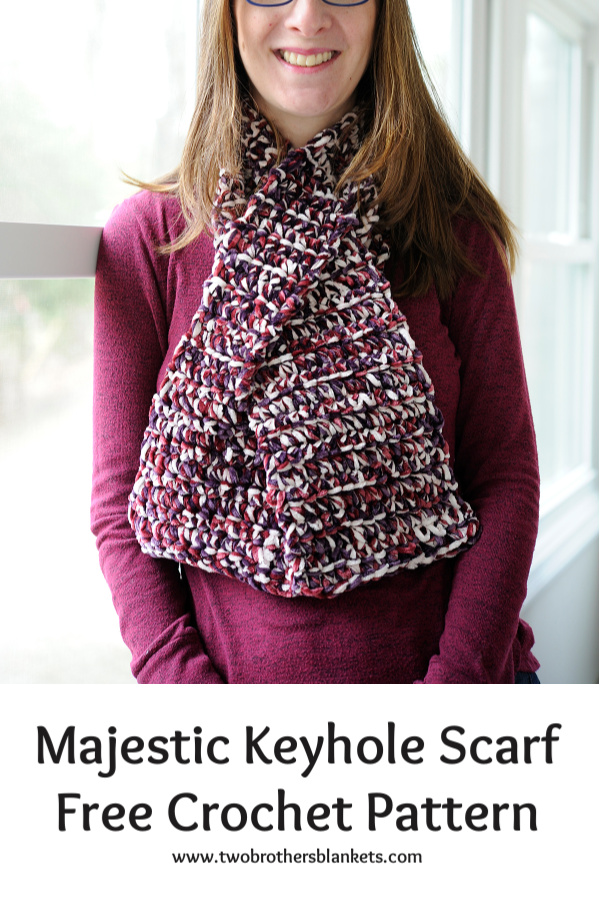
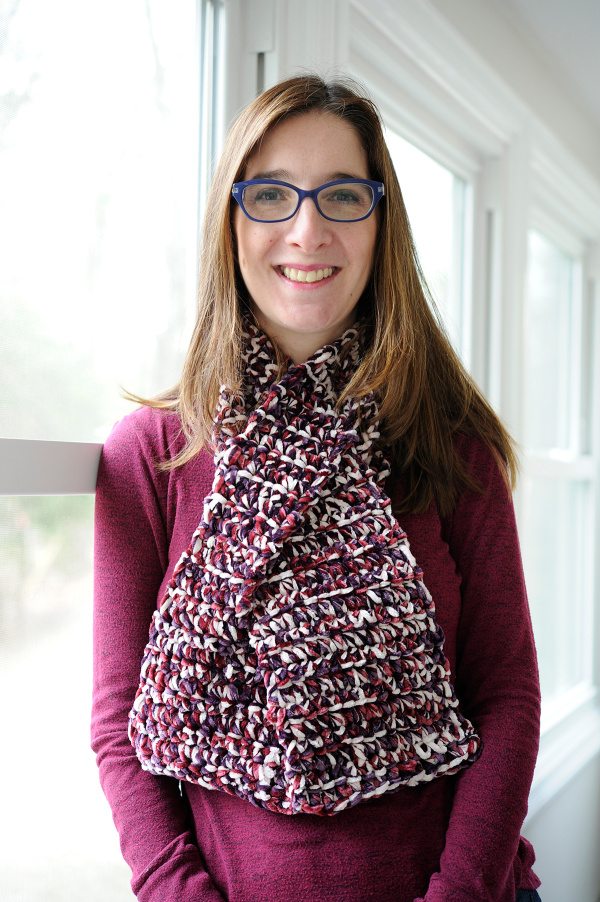
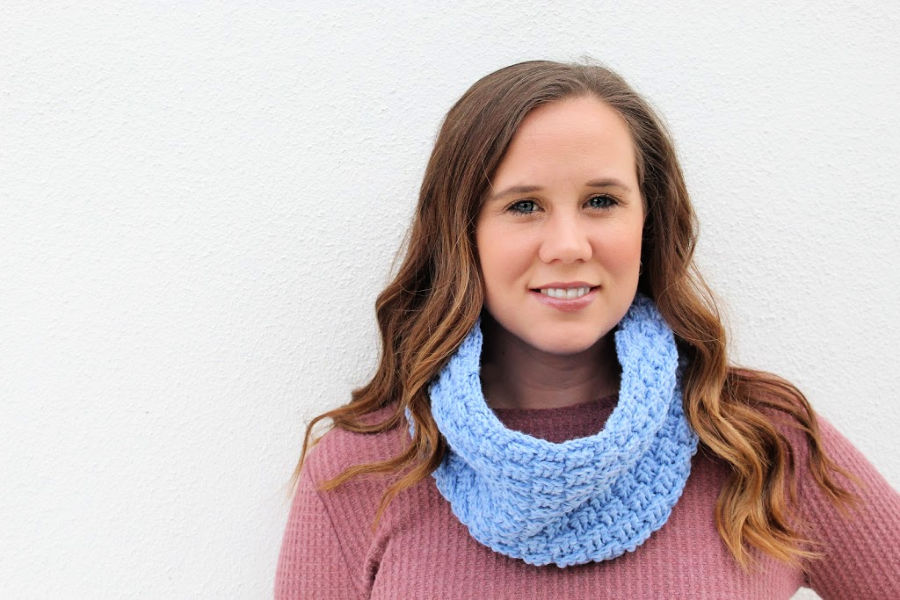
Luckily, the Majestic Keyhole Scarf is both super toasty and super cool lookin’.
The scarf is worked up with three strands held together, bulky style. The three strands make it so, so thick and cozy.
Also, it works up quickly. Your neck can be warm in just a couple of hours.
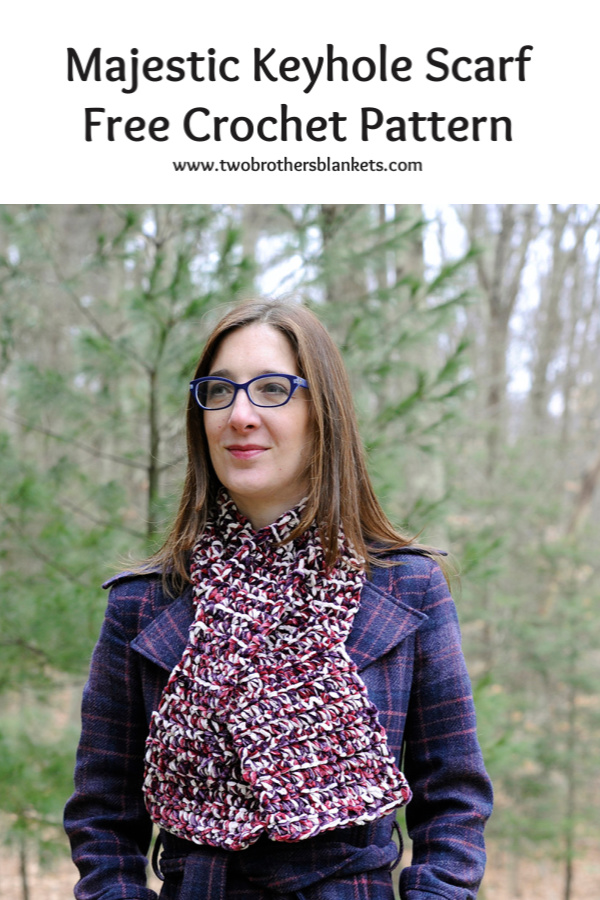
Wear it over your coat or under. This scarf looks great over my purple plaid trench coat (if you know me you are not surprised I own a purple plaid trench).
My puffer coat is so puffy that I can’t wrap a regular scarf around it. This scarf lays nice and flat underneath without creating extra bulk. ‘Cause who needs extra bulk? No one!
Does anyone else have this problem? I come in from outside and I’m still cold and want to keep my scarf on. Problem solved!
The Majestic Keyhole Scarf looks great worn both outdoors and indoors. Keep it on and keep warm my friend!
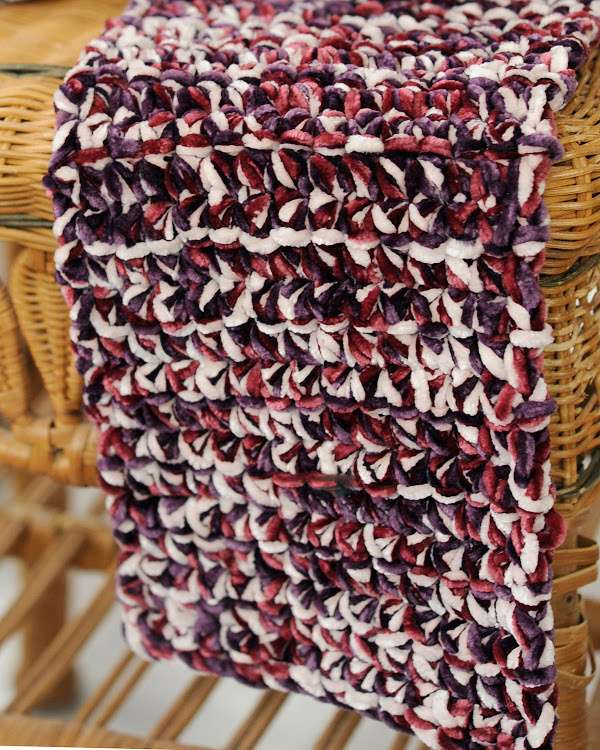
Majestic Keyhole Scarf Crochet Pattern
You can purchase the ad-free printable pdf version on Ravelry!
Materials:
Bernat Velvet Yarn, 5-Bulky (100% polyester, 315 yds/288 m, 10.5 oz/300 g), 1 skein each of Color (A) Cream, Color (B) Burgundy Plum, and Color (C) Majestic Purple
150 yds/137 m, 5 oz/141 g of each color
Crochet hook size US N/P-15 (10 mm)
Tapestry needle
Scissors
Yarn Substitutions:
Any velvet yarn will work with this pattern, both 5-Bulky or 4-Worsted. As always you may have to adjust your hook to make the gauge. Unfortunately, yarns other than velvet will not be able to be manipulated to meet the gauge. If you are okay with your scarf not meeting the finished measurements indicated here, I recommend going down to a 4-worsted (using 3 strands held together) or a 6-Super Bulky (using just one strand), and varying your hook size until a thick but pliable fabric is obtained.
Gauge:
With 3 strands held together
8 stitches and 7 rows = 4”/10 cm in sc
Finished Measurements:
42”/107 cm long and 7.5”/19 cm wide
Project Level:
Beginner
Abbreviations:
ch – chain
sc – single crochet
st(s) – stitch(es)
RS – Right Side
Notes:
The pattern is written in US terms.
This pattern has been tested and professionally tech edited for accuracy and clarity.
Ch 1 does not count as a sc throughout the pattern.
The scarf is worked in one piece end to end.
Three strands of yarn are held together as one throughout the pattern.
If stitch count is not included at end of row, count is same as previous row.
Instructions
Beginning of Scarf
With color A, B, and C held together as one ch 15.
Row 1: (RS) work 1 sc in 2nd ch from hook, work 1 sc in each chain across, turn- (14 sc).
Row 2-10: Ch 1, work 1 sc in each sc across, turn.
Start of Keyhole
Row 11: Ch 1, work 1 sc same st, work 1 sc in next 6 sc, leave rest of row unworked, turn- (7 sc).
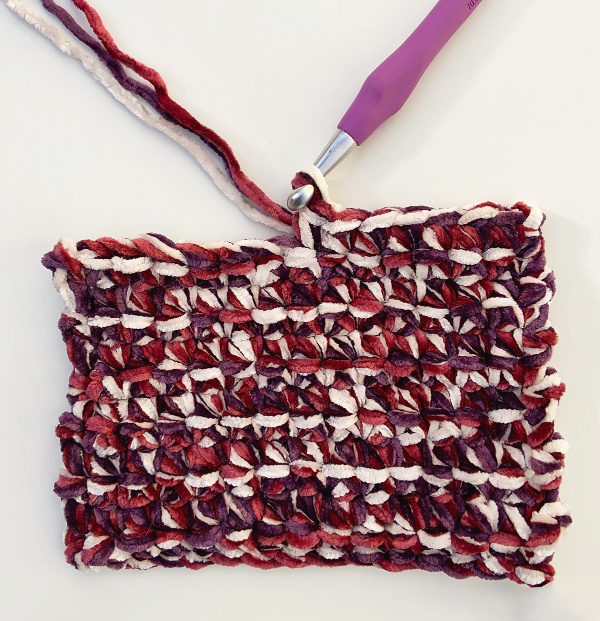
Rows 12 – 23: Ch 1, work 1 sc in each sc across, turn.
Fasten off. Weave in ends using tapestry needle.
Other Side of Keyhole
With RS facing up and colors A, B, and C held together as one, join yarn in first unworked sc of row 11.
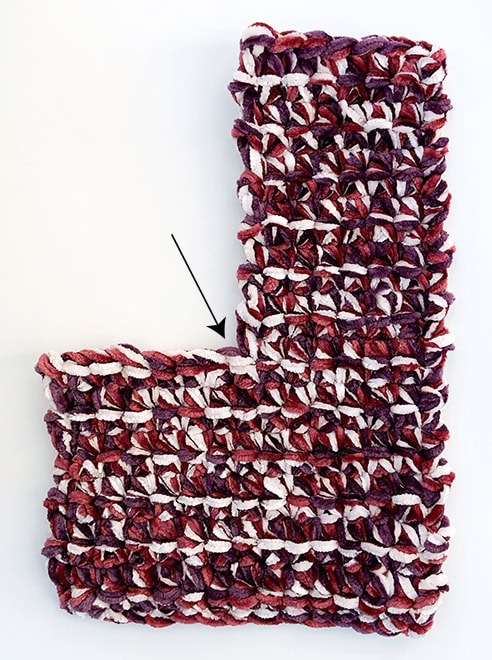
Row 1: Ch 1, work 1 sc in same sc as join, work 1 sc in each sc across, turn.- (7 sc).
Rows 2-13: Ch 1, work 1 sc in each sc across, turn.
Now you should have two flaps on either side of the keyhole that are the same length. We are now going to sc across both flaps to close the keyhole.
Row 14: Ch 1, work 1 sc in same st, work 1 sc in each sc across top of both flaps, turn- (14 sc).
Row 15: Ch 1, work 1 sc in each sc across, turn.
Remainder of scarf: Repeat row 15. Exact row count doesn’t matter at this point (and might be hard to count with velvet or other bulky yarn). I stitched to 42″ but you can stitch more or less to your length of choice.
Fasten off. Weave in ends using tapestry needle.
Wearing:
When wearing the keyhole scarf be sure to wrap the scarf around your neck going over the first section of the scarf and under the second. If you do it the opposite way the first section will continuously flop over. And a floppy scarf is an annoying scarf!

Like this pattern? Check out my ever growing list of Free Crochet Patterns!
Follow Crochet with Mary Beth:
Website: https://www.crochetwithmarybeth.com/
Shop: https://www.etsy.com/shop/MaryBethCryan
Instagram: https://www.instagram.com/crochetwithmarybeth/
Facebook: https://www.facebook.com/crochetwithmarybeth/
Pinterest: https://www.pinterest.com/crochetwithmarybeth/
Newsletter: https://landing.mailerlite.com/webforms/landing/l5y8j8
Pin it for Later:
Michelle has been crocheting since 2011 and has been designing crochet patterns since 2014! She specializes in modern garments and accessories for your handmade wardrobe. Michelle has been featured in Happily Hooked Magazine, thehooknooklife.com, wecrochet.com, ourmakerlife.com, and several other websites. She is committed to providing the highest quality crochet information and patterns that instill a true feeling of pride, enjoyment, and accomplishment when completing a project.
