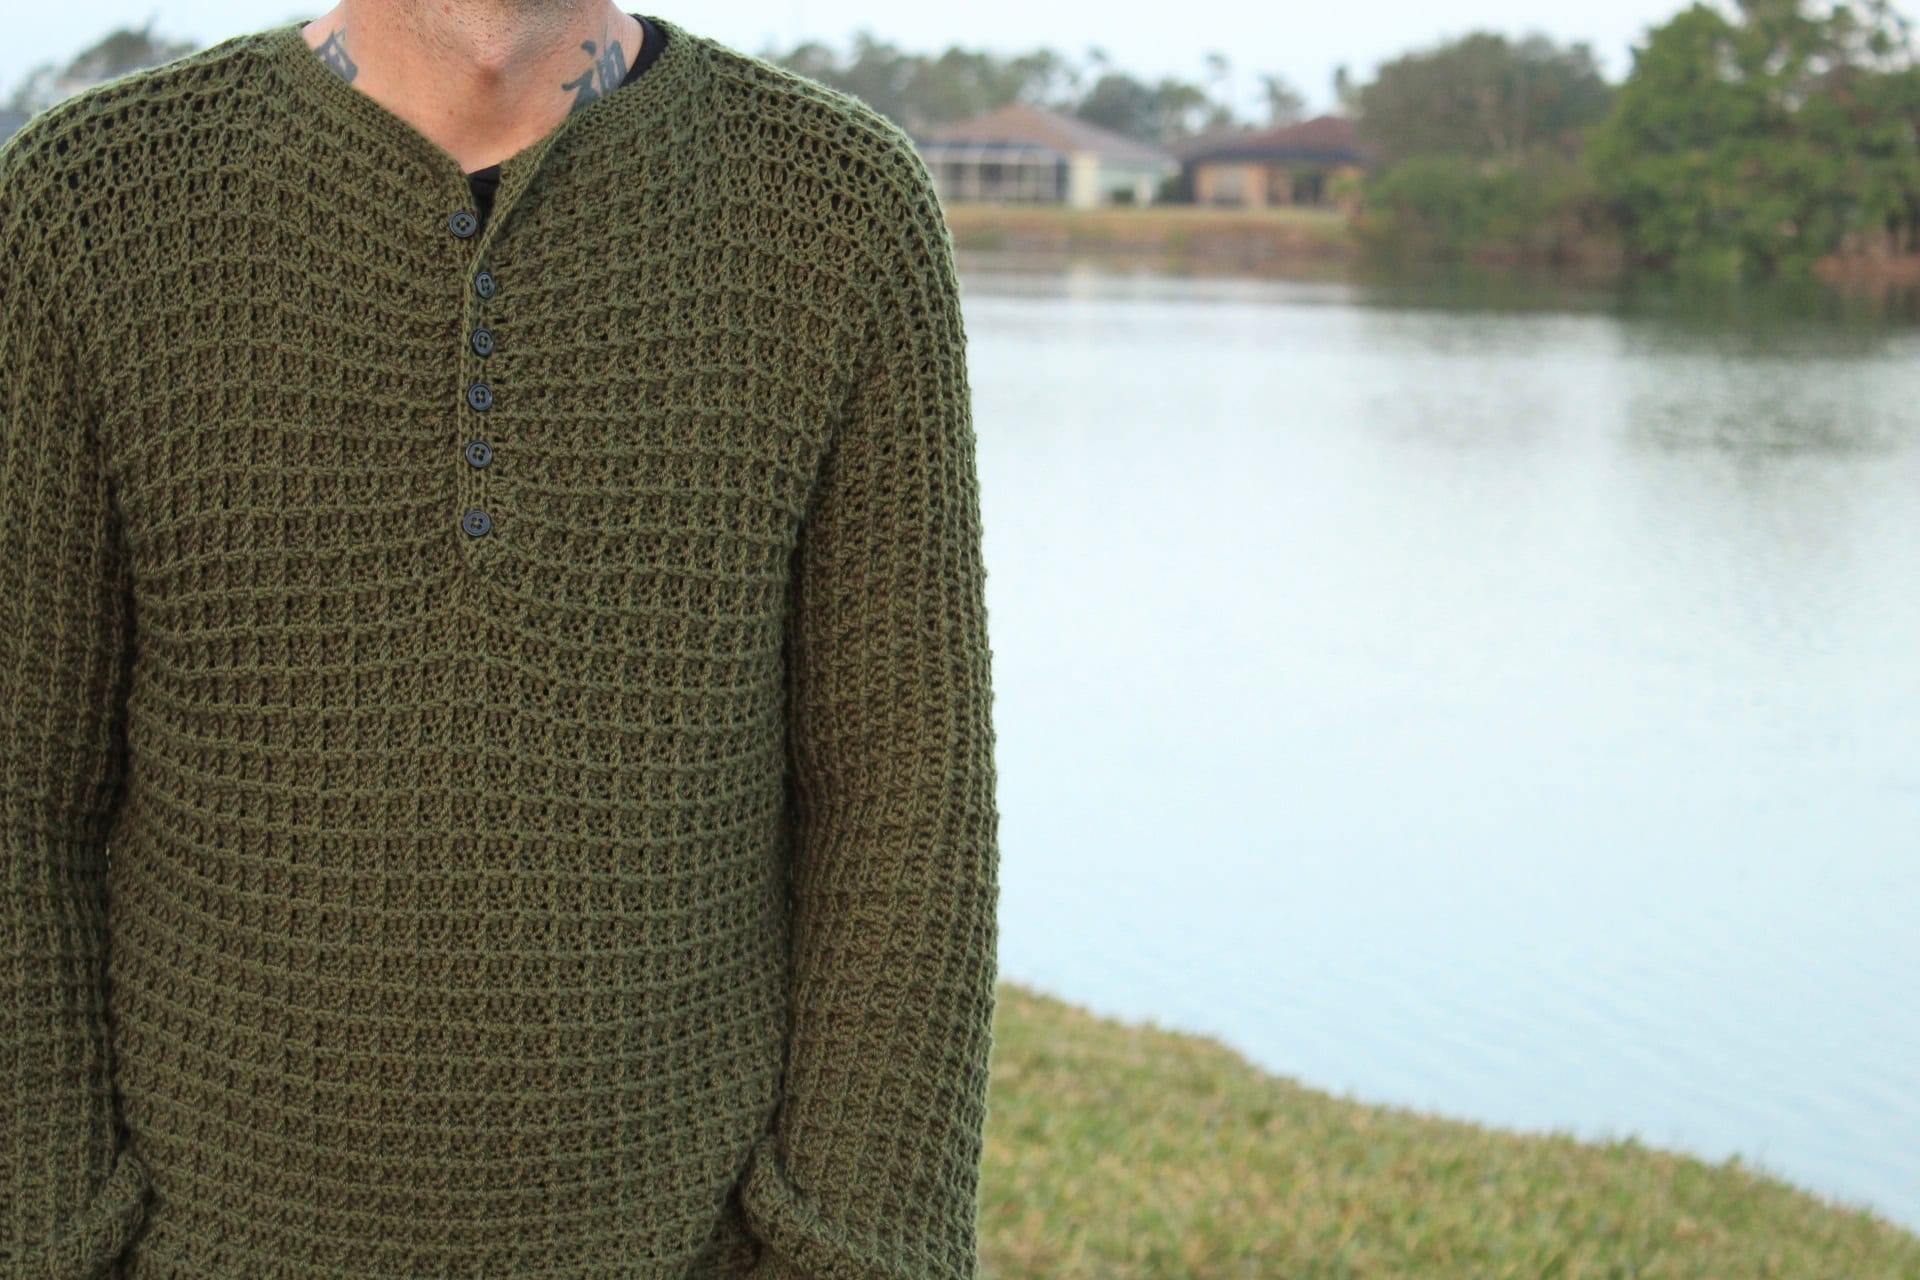
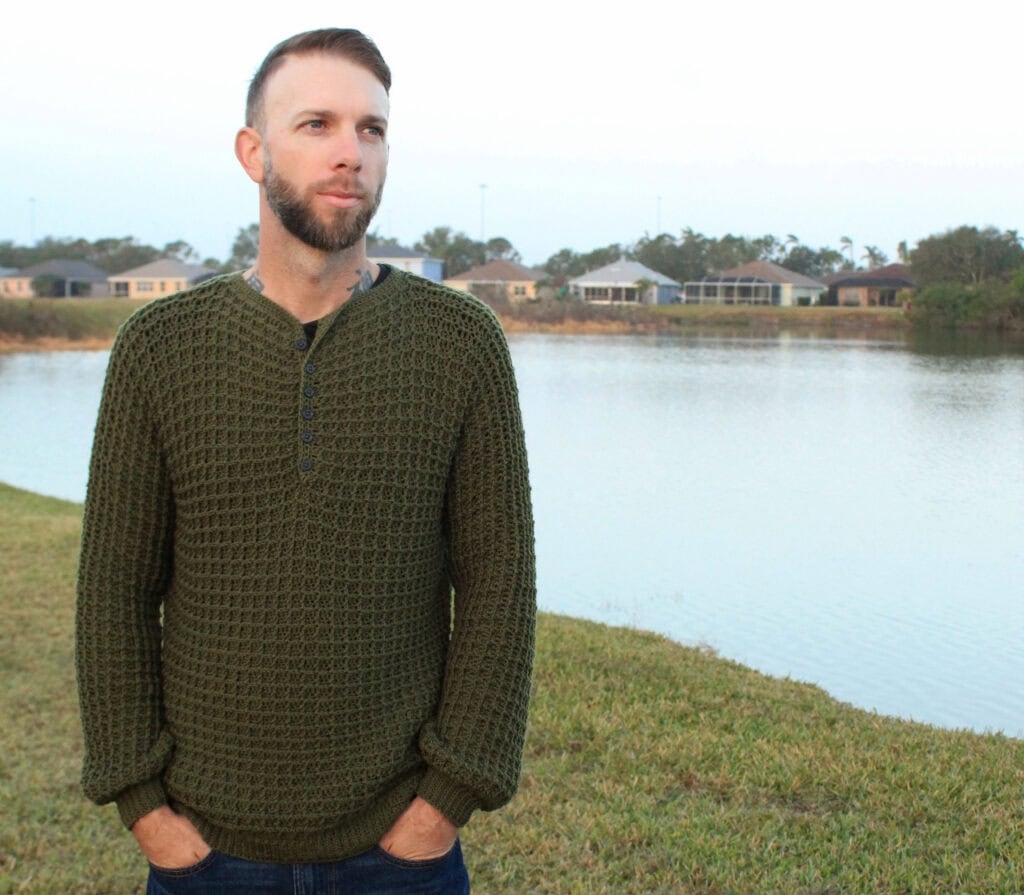
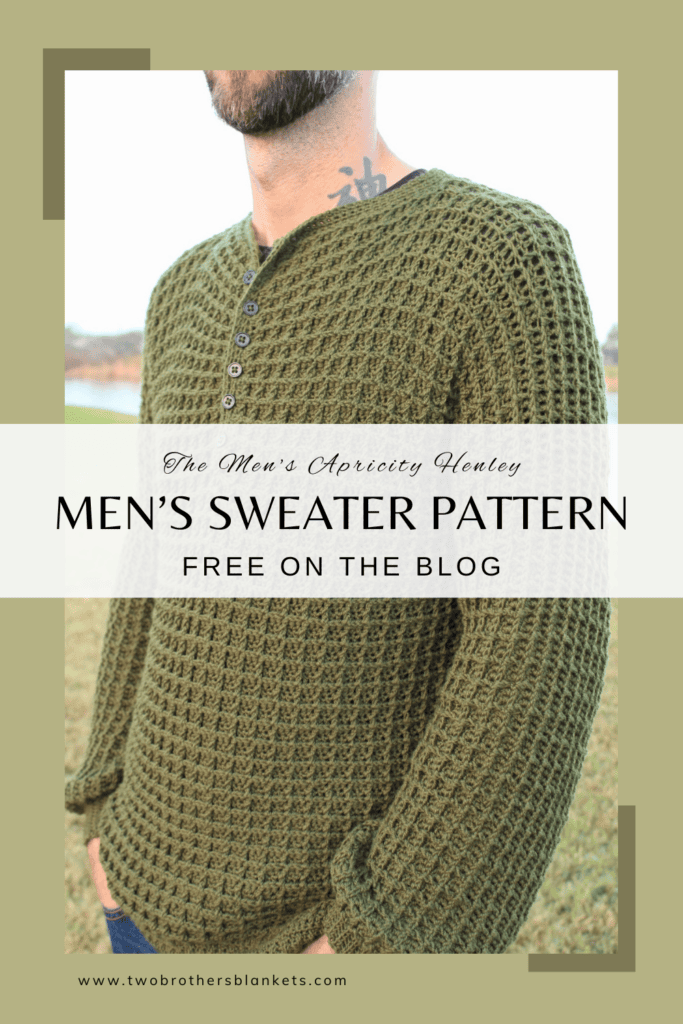
The Men’s Apricity Henley Sweater blends comfort and style for a gorgeous crochet garment, perfectly suited to the modern man. It’s comfy enough to lounge around the house, warm enough to wear on a winter hike, and stylish enough for a night out. Masculine shaping and simple stitches will make this sweater one of his favorites.
If you love crocheting as much as I do, or want to learn more, or just want to show off your work, please join our Crochet Garments community over on Facebook! I hope you’ll share your finished crochet project with us!
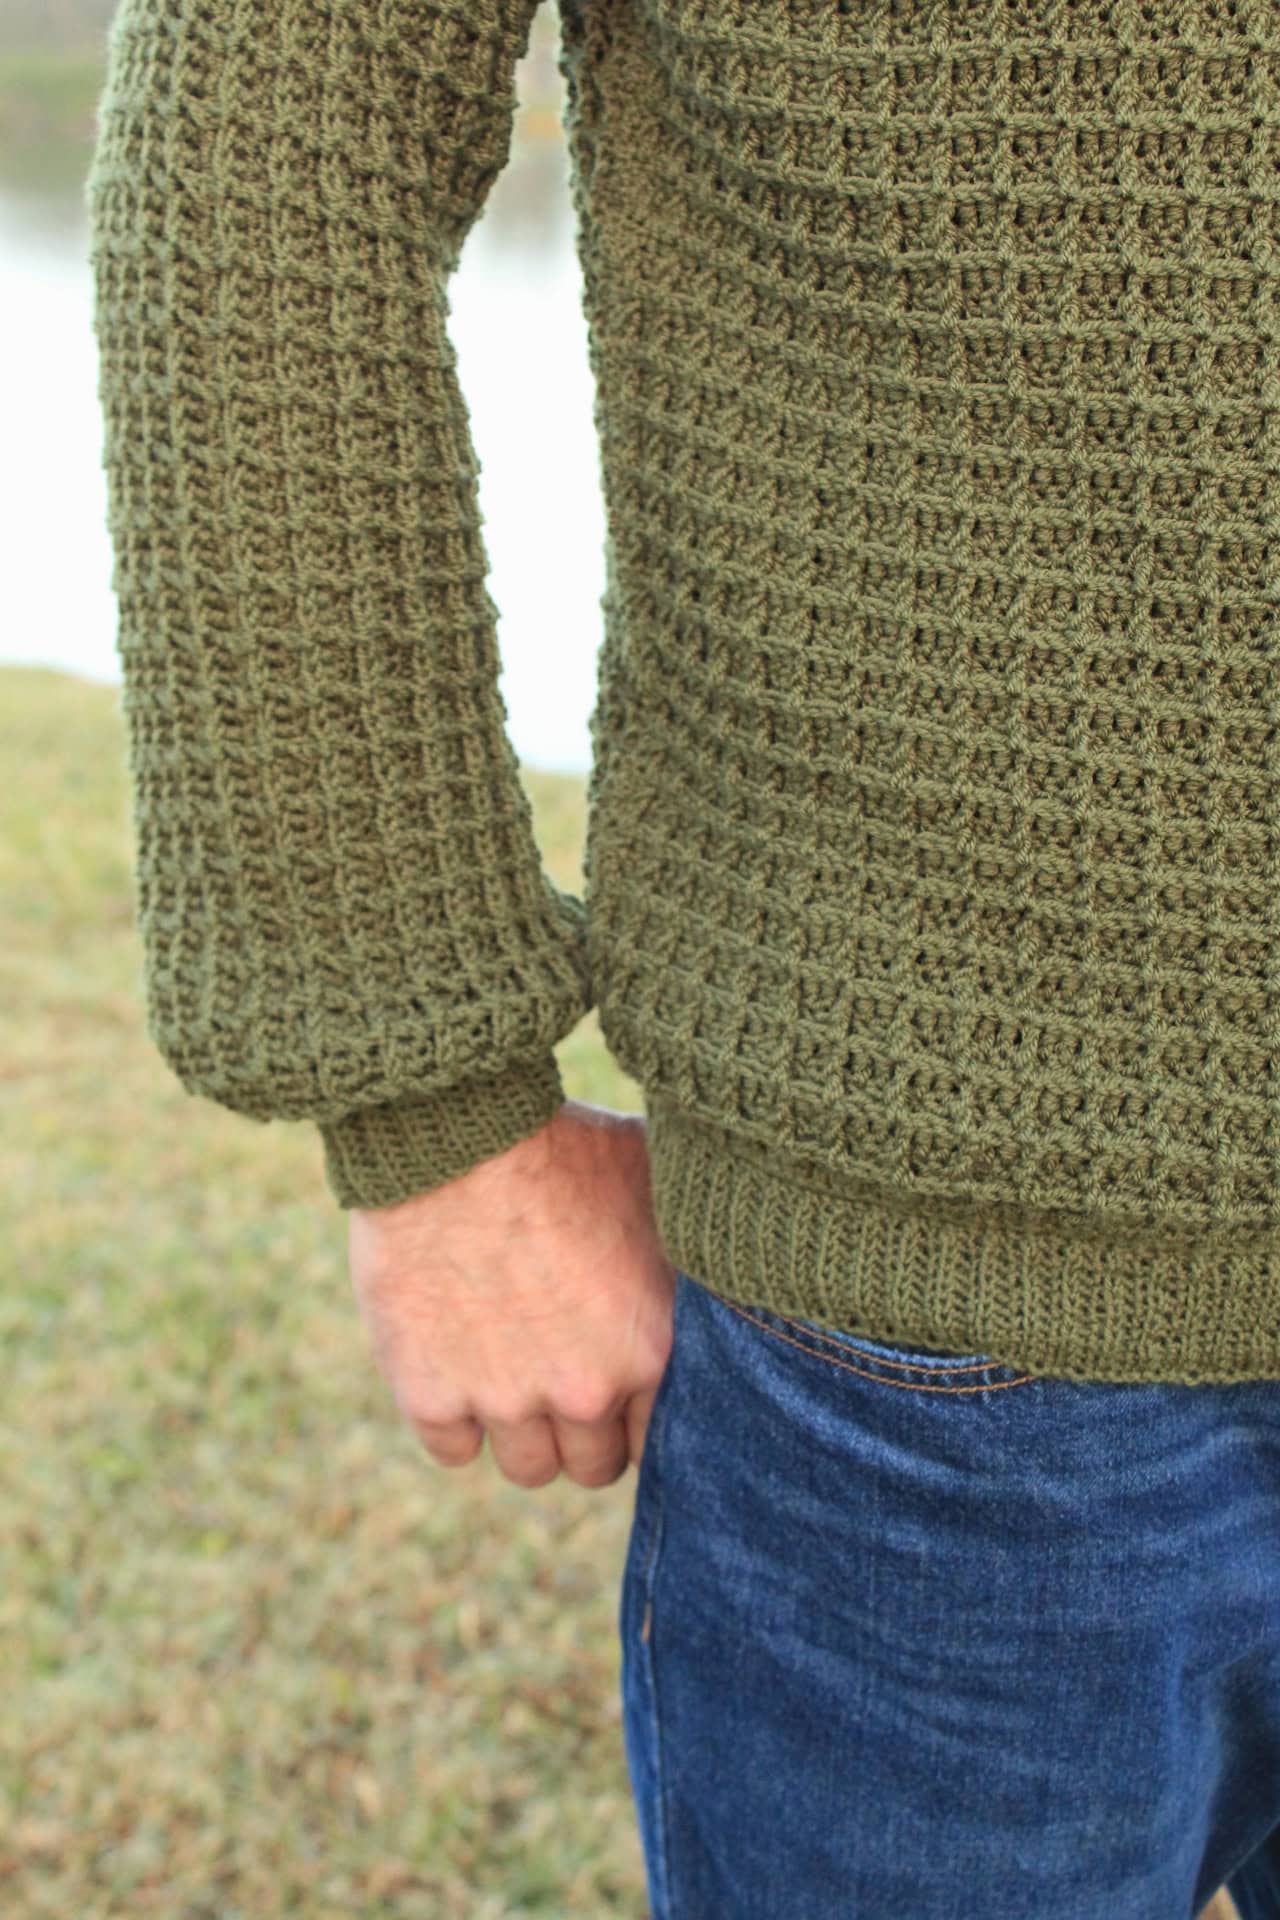
Twill is a gorgeous 100% Merino Wool yarn. This yarn has a lovely drape and excellent stitch definition that makes the waffle stitches stand out beautifully. It comes in 16 colorways and can be machine washed and dried!
This pattern comes with instructions for men’s sizes Small to 5X. When choosing your size, I recommend going off of the shoulder to shoulder measurement you will find in the pattern. Since men have broad shoulders, it is important to accommodate for that when choosing a size.
The model in the photos is wearing a size medium. His chest circumference is 35″ and his shoulder-to-shoulder measurement is 18″.
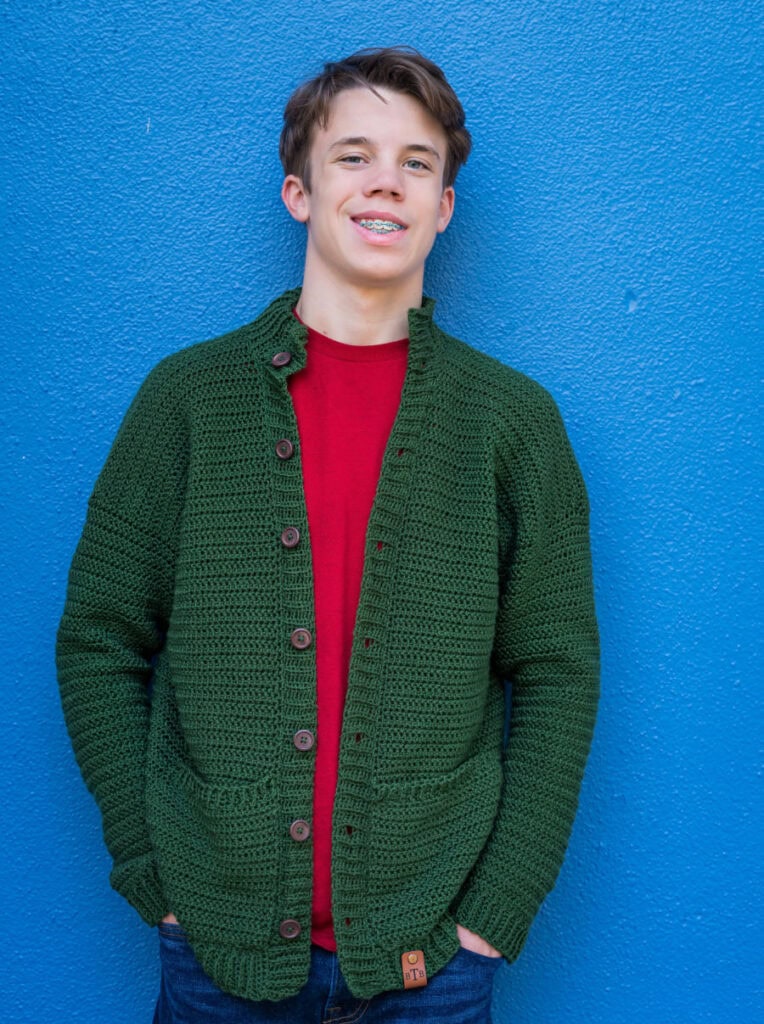
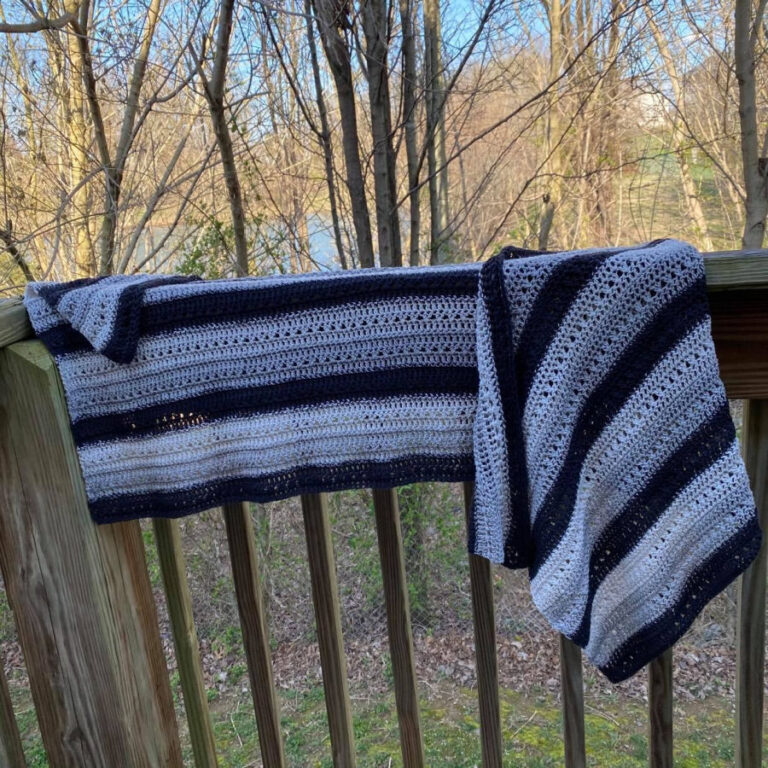
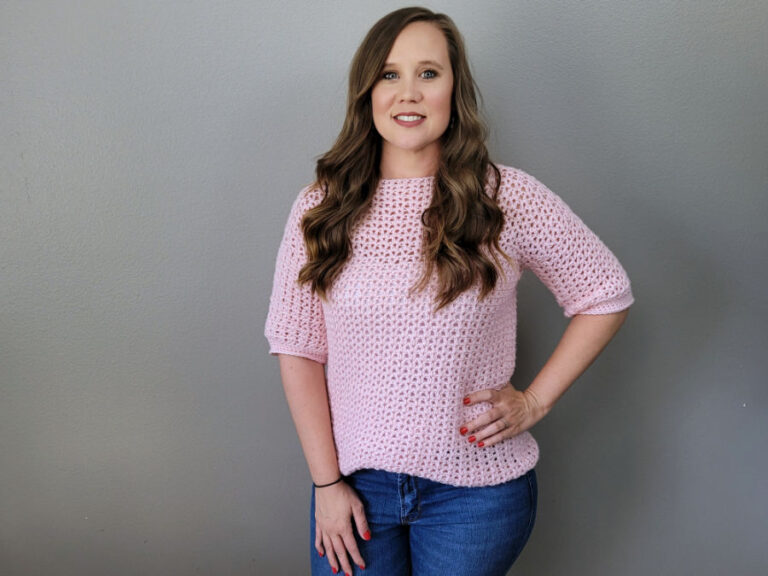
Love this pattern? You may also like some of my other men’s crochet sweater patterns.
19 sts x 12 rows= 4” in Waffle Stitch pattern, unblocked.
Pattern is in US terms.
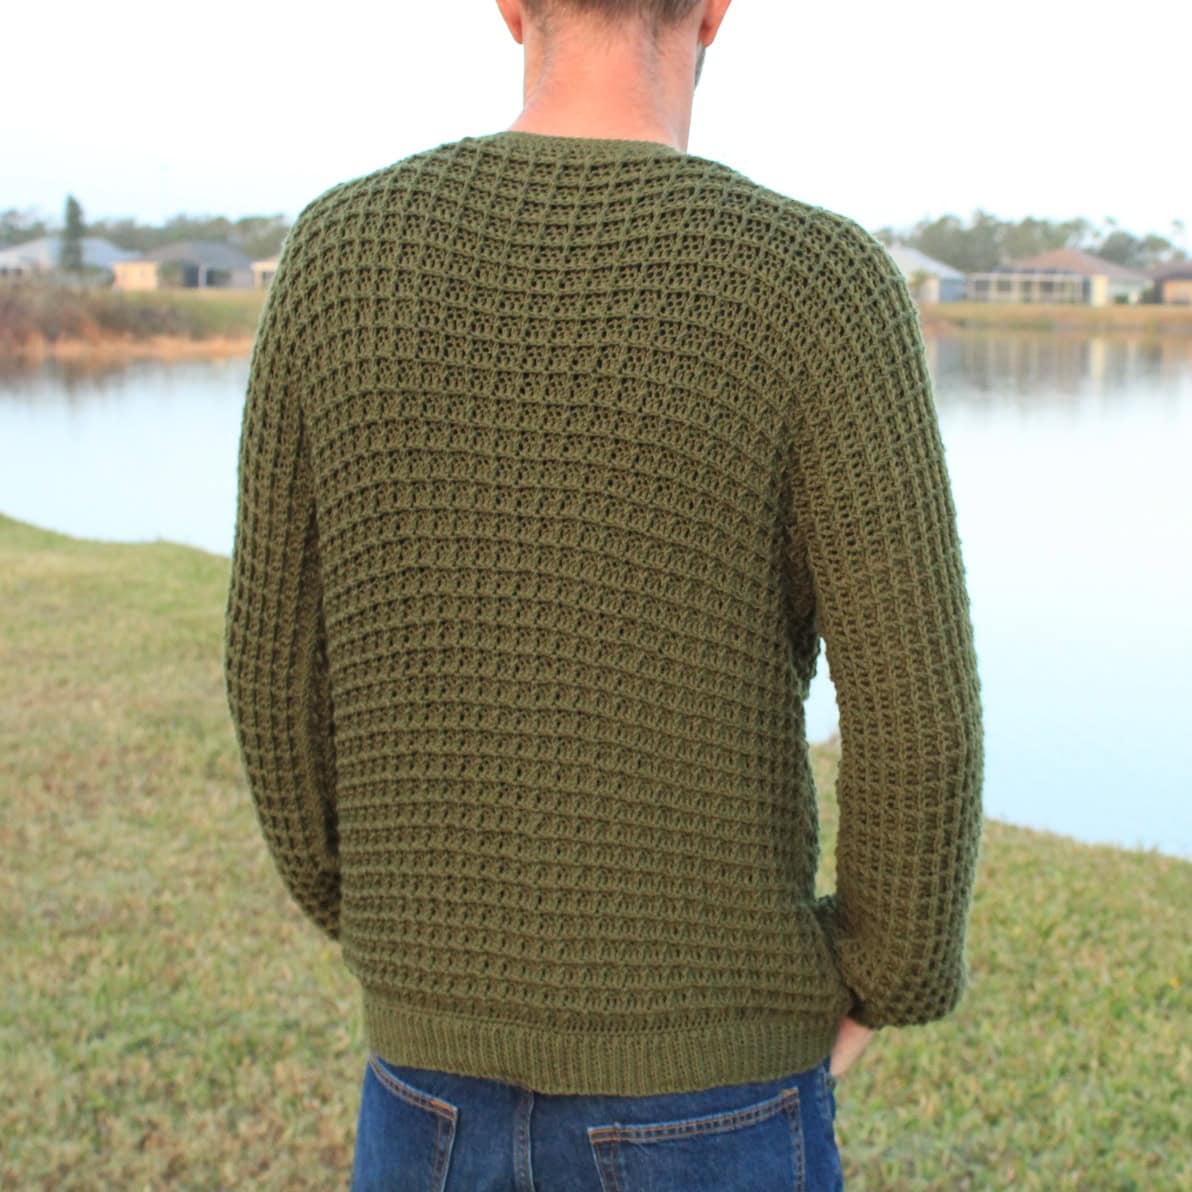
The Waffle Stitch Sweater features the stretchy and textured crochet waffle stitch. This sweater is worked in rows in one piece starting from the front panel. Once the panels and sleeves are crocheted, you’ll sew the bottom of the sleeves and sides of the sweater to join it all together. Trim is added at the end.
Gauge is worked unblocked with specific yarn used. This yarn will shrink up in the dryer, so check often when drying to get garment back to correct size.
Starting chain does not count as first stitch unless stated otherwise within in the pattern.
Pattern is written in smallest size, with additional sizes in parentheses as follows: S (M, L, XL) (2X, 3X, 4X, 5X). Final stitch count for ALL sizes will be in parentheses at the end of each round/row when stitch count changes. Video Tutorial: https://youtu.be/zElFRjLgvEs
Front Panel
Ch 92 (103, 116, 122)(134, 140, 152, 158)
Row 1: Dc in 3rd ch from hook and each ch across| 90 (102, 114, 120)(132, 138, 150, 156) sts.
Row 2: (RS) Lch, turn, 1 dc in first st, 1 FPdc around next st, *1 dc in next 2 sts, 1 FPdc around next st; repeat from * across to last st, 1 dc in last st.
Row 3: Lch, turn, 1 dc in first 2 sts, 1 FPdc around next 2 sts, 1 dc in next st, *1 FPdc around next 2 sts, 1 dc in next st; repeat from * across to last st, 1 dc in last st.
Rows 4-44 (48, 50, 54)(54, 56, 56, 56): Repeat Rows 2-3, ending with a repeat of Row 2.
Do not fasten off. Continue to Sleeve Instructions.
Right Sleeve (Left for left-handed crocheters)
Ch 77 (80, 86, 89)(89, 89, 92, 95) Facing WS:
Row 1: Dc in 3rd ch from hook and each ch across for a total of 75 (78, 84, 87)(87, 87, 90, 93) dc, now working into your front panel, 1 dc in next 2 sts, * 1 FPdc around next 2, 1 dc in next st; repeat from * for 44 (50, 56, 59)(65, 68, 74, 77) sts, 1 dc in next st, turn. |120 (129, 141, 147)(153, 156, 165, 171)
Row 2: Lch, turn, 1 dc in first st, 1 FPdc around next st, *1 dc in next 2 sts, 1 FPdc around next st; repeat from * across to last st, 1 dc in last st.
Row 3: Lch, turn, 1 dc in first 2 sts, 1 FPdc around next 2 sts, 1 dc in next st, *1 FPdc around next 2 sts, 1 dc in next st; repeat from * across to last st, 1 dc in last st.
Rows 4-25 (27, 29, 31)(33, 35, 37, 37): Repeat Rows 2-3.
Fasten off. Now you will work the Left Sleeve (Right for left-handed crocheters) You will be facing WS.
Left Sleeve (Right for left-handed crocheters)
Still facing WS:
Join yarn to first st of Row 48 of front panel.
Ch 75 (78, 84, 87)(87, 87, 90, 93) Fasten off.
Join yarn to next unworked stitch from last st in right sleeve (where the panel splits), facing WS.
Row 1: Lch, 1 dc around first st, 1 dc in next st, *1 FPdc around next 2 sts, 1 dc in next; repeat from * across for 44 (50, 56, 59)(65, 68, 74, 77) sts total, 1 dc in next st and each ch across.|120 (129, 141, 147)(153, 156, 165, 171)
Row 2: Lch, turn, 1 dc in first st, 1 FPdc around next st, *1 dc in next 2 sts, 1 FPdc around next st; repeat from * across to last st, 1 dc in last st.
Row 3: Lch, turn, 1 dc in first 2 sts, 1 FPdc around next 2 sts, 1 dc in next st, *1 FPdc around next 2 sts, 1 dc in next st; repeat from * across to last st, 1 dc in last st.
Rows 4-25 (27, 29, 31)(33, 35, 37, 37): Repeat Rows 2-3.
Do not fasten off. Using 2 st markers, count 21 sts from the middle slit on each side, place st marker in NEXT st. This will be where you chain to create the head opening.
Row 26 (28, 30, 32)(34, 36, 38, 38): Lch, turn, 1 dc in first st, 1 FPdc around next, *1 dc in next 2 sts, 1 FPdc around next st; repeat from * around to last st before st marker, 1 dc in st with st marker, ch 42, 1 dc in next st with st marker, 1 FPdc around next st, *1 dc in next 2 sts, 1 FPdc around next st; repeat from * across to last st, 1 dc in last st.| 240 (258, 282, 294)( 306, 312, 330, 342) sts including chs.
Row 27 (29, 31, 33)(35, 37, 39, 39): Lch, turn, [1 dc in first 2 sts, * 1 FPdc around next 2 sts, 1 dc in next st*], repeat from * across to st marker, 1 dc in next st and each ch across, repeat inside brackets across to last st, 1 dc in last st.
Rows 28 (30, 32, 34)(36, 38, 40, 40) – 50 (54, 58, 62)(66, 70, 74, 74): Repeat rows 2-3, ending with a repeat of row 2.
Fasten off. Continue to Back Panel.
Back Panel
Facing WS, count 75 (78, 84, 87)(87, 87, 90, 93) sts. Join to NEXT st.
(You can also place a stitch marker in next st and count back from the other side and place a st marker in next st. Total stitches from st marker to st marker should equal the same number of stitches as front panel.
Row 1: Lch, 1 FPdc around first st, 1 dc in next st, *1 FPdc around next 2 sts, 1 dc in next st*, repeat across for 87 (99, 93, 111, 117)(129, 135, 147, 153) sts, 1 dc in next st. | 90 (102, 114, 120)(132, 138, 150, 156) sts.
Row 2: Lch, turn, 1 dc in first st, 1 FPdc around next st, *1 dc in next 2 sts, 1 FPdc around next st; repeat from * across to last st, 1 dc in last st.
Row 3: Lch, turn, 1 dc in first 2 sts, 1 FPdc around next 2 sts, 1 dc in next st, *1 FPdc around next 2 sts, 1 dc in next st; repeat from * across to last st, 1 dc in last st.
Rows 4-44 (48, 50, 54)(54, 56, 56, 56): repeat Rows 2-3, ending with a repeat of Row 2.
Fasten off. Block garments to measurements.
Sewing Panels Together
After blocking, fold garment in half at the neckline so that the front panel is directly on top of the back panel and the sleeve panels are folding in half.
With a long tail of yarn and yarn needle, sew at the bottom of the sleeve to close, from end to body panels. Continue to sew down the side of the front and back panels to close. Do the same from the other sleeve down the front and back panels.
Fasten off. Continue to Bottom Trim.
Bottom Trim
Join yarn to first starting chain of Front Panel, facing RS.
Row 1: Ch 1, 1 sc in each st around. | 180 (204, 228, 240)(264, 276, 300, 312)
You will be working a join as you go method here for the bottom trim.
Ch 11
Row 1: Sc in 2nd ch from hook and in each ch across, sl st in next two sts of sweater. | (10) sts.
Row 2: Ch 1 ( does not count as sc throughout), turn, blo sc across.
Row 3: Ch 1 ( does not count as sc throughout), turn, blo sc across, sl st in next two sts of sweater.
Row 4: Repeat Row 2.
Repeat Rows 3-4 around entire bottom, join ends together by slip stitching through both loops.
Fasten off. Follow the same steps on the Back Panel.
Continue to Sleeve Trim.
Sleeve Trim
Join yarn to stitch closest to seam at end of sleeve, facing RS.
Round 1: Ch 1, work 50 (54, 58, 62)(66, 70, 74, 74) sc evenly around sleeve, sl st to first sc to join, do not turn. | 50 (54, 58, 62)(66, 70, 74, 74)
Round 2: Ch 1, sc2tog, 1 sc in each st around to last st, sc2tog, sl st to first sc to join. | 48 (52, 56, 60)(64, 68, 72, 72)
Round 3: Ch 1, 1 sc in first 2 sts, sc2tog, *1 sc in next 2 sts, sc2tog; repeat from * around, sl st to first sc to join. | 36 (39, 42, 45)(48 51, 54, 54)
Do not fasten off. Now you will work the sleeve trim.
You will be working a join as you go method here for the sleeve trim.
Ch 11
Row 1: Sc in 2nd ch from hook and in each ch across, sl st in next two sts of sleeve. | (10) sts.
Row 2: Ch 1 ( does not count as sc throughout), turn, blo sc across.
Row 3: Ch 1 ( does not count as sc throughout), turn, blo sc across, sl st in next two sts of sweater.
Row 4: Repeat Row 2.
Repeat Rows 3-4 around entire sleeve.
Join ends together by slip stitching each st of last row and starting chain together. Fasten off. Follow the same steps for second sleeve.
Continue to Front Neckline Trim.
Front Neckline Trim: Right-Handed Crocheters
Join yarn to bottom of front slip, facing RS. Working up the side of the rows:
Row 1: Ch 1, work 28 SC up the slit, 22 SC across the top of slit, 42 SC across the back of neckline, 22 SC across top of the other side, and 28 SC down the other side of the slip, turn. | 142 SC
Row 2: Ch 1, 1 sc in first 3 sts, * ch 1, skip 1 st, sc in next 3 sts*, repeat from * 5 more times (you will have 6 buttonholes), 1 sc in each st across the rest of the neckline, turn. | 142 sc + chs
Row 3: Ch 1, 1 sc in each st and ch-sp across, turn.
Row 4: Ch 1, 1 sc in each st across, turn.
Fasten off.
Front Neckline Trim: : Left -Handed Crocheters
Join yarn to bottom of front slip, facing RS. Working up the side of the rows:
Row 1: Ch 1, work 26 (28, 30, 32)(34, 36, 38, 38) SC up the slit, 22 SC across the top of slit, 42 SC across the back of neckline, 22 SC across top of the other side, and 26 (28, 30, 32)(34, 36, 38, 38) SC down the other side of the slit, turn. | 138 (142, 146, 150)(154, 158, 162, 162) SC
Row 2: Ch 1, 1 sc in each st across to last 24 sts, *ch 1, skip 1 st, sc in next 3 sts*, repeat from * 5 more times (you will have 6 buttonholes), turn. |138 (142, 146, 150)(154, 158, 162, 162) sc + chs
Row 3: Ch 1, 1 sc in each st and ch-sp across, turn.
Row 4: Ch 1, 1 sc in each st across, turn.
Fasten off.
Finishing
Using sewing needle and yarn, sew 6 buttons to neckline, directly across from buttonholes.
Weave in ends. Do any additional blocking needed.