Crochet Sweater for Kids Free Pattern- Parker Baseball Tee
This post- Crochet Sweater for Kids Free Pattern- Parker Baseball Tee– contains affiliate links, which means if you make a purchase from the links below, I will get a small percentage of the sales at no additional cost to you. Thank you for your continued support!
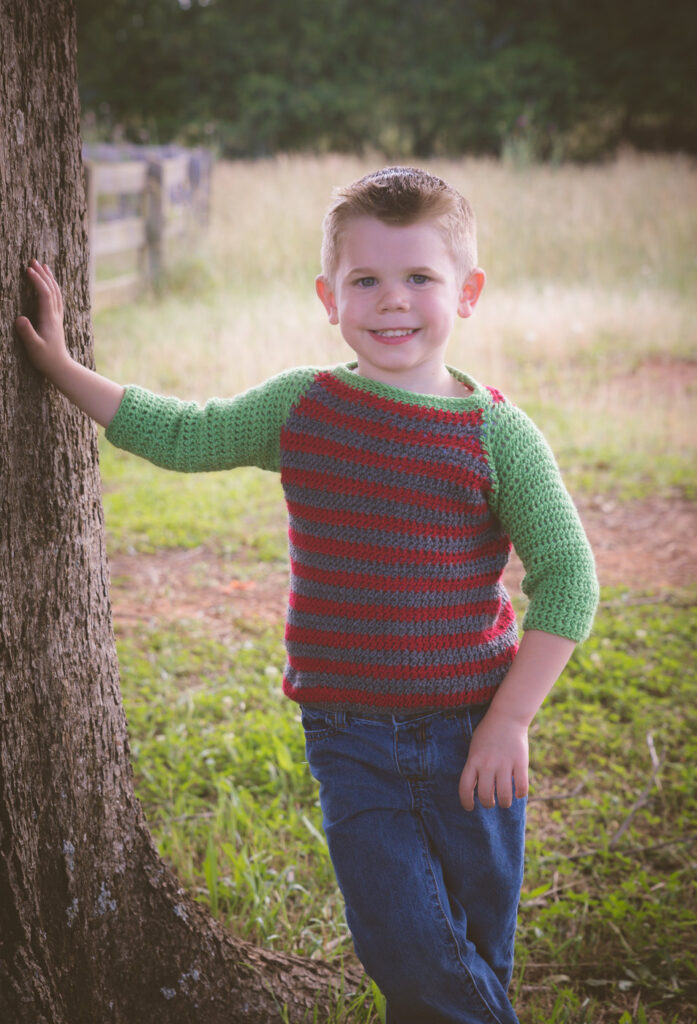
The Parker Baseball Tee is a very easy crochet sweater for kids that is so cute and fun!
This child’s size sweater pattern is a great project for beginners because it is a very simple workup and easy stitches!
Pattern Inspiration
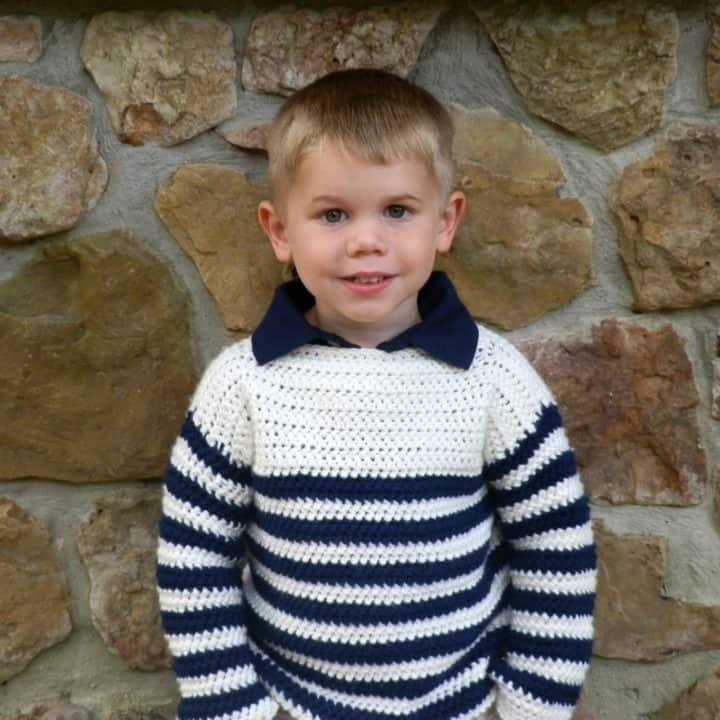
My kiddos are always begging me to crochet things for them, so I decided to try a cute and modern baseball style sweater for them. I wanted it to have the raglan style look to it and be able to be made in a variety of colors!
So I set out to give it a try, and the Parker Baseball Tee is what came from it!
Pattern Details
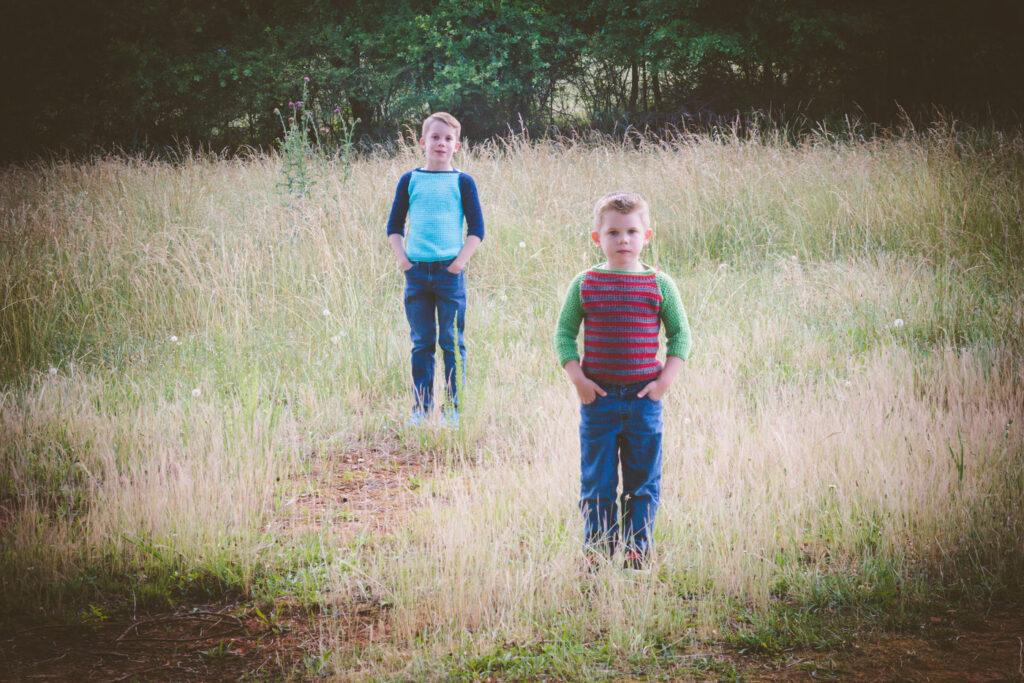
This crochet sweater pattern calls for sport weight (#2) yarn. I used WeCrochet Brava Sport for the green/red/gray sweater.
Brava Sport is a great 100% acrylic yarn that comes in a large variety of colorways. It is on the thicker side for a sport weight (more comparable to a dk), so be sure to check your gauge.
The blue sweater was made using Hobby Lobby’s I Love This Yarn Sport.
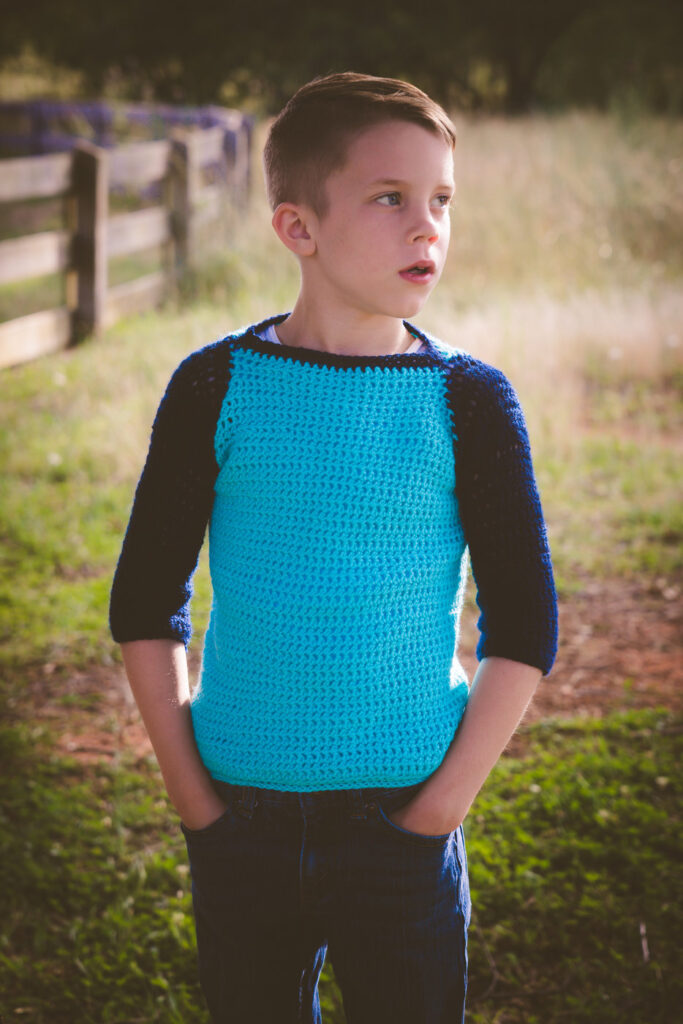
The sweater is worked from the bottom up in the round and then split into panels to create the armholes. Sleeves are added at the end.
This pattern comes in 4 children’s sizes, 2/3 through 10/12.
It is rated easy in pattern difficulty. You need to know how to crochet the extended single crochet stitch, as well as other basic stitches.
Parker Baseball Tee Crochet Pattern
Don’t like scrolling? You can purchase the printable pdf on Ravelry and Etsy!
Materials
150- 600 yards of sport weight yarn in at least 2 colors.
H hook or hook to obtain gauge
Scissors
Measuring tape
Darning needle for weaving in ends
Difficulty
easy
Gauge
15 esc + 12 rows = 4”
Sizing
2/3- 20-21” chest
4/5- 22-23” chest
6/8- 24-26” chest
10/12- 28-30” chest
Stitches Needed & Abbreviations
fsc- chainless foundation single crochet
esc- extended single crochet
esc2tog- extended single crochet 2 together
st- stitch
ch- chain
sc- single crochet
c1- color 1
c2- color 2 (optional for stripes)
c3- color 3 (this will be the color used for the sleeves and neckline)
Pattern Notes
Pattern is worked from the bottom up and split into panels for the armholes.
Pattern is written in 2/3 with other sizes in parentheses as follows- 2/3 (4/5, 6/8, 10/12).
You can add length to the top by continuing to do rows of the body before you break into rows for the panels.
esc– insert hook into stitch, draw up a loop, pull through, yarn over, pull through 1 loop, yarn over, pull through 2 loops.
esc2tog– insert hook into stitch, draw up a loop, pull through, yarn over, pull through 1 loop, insert hook into next stitch, draw up a loop, pull through, yarn over, pull through 1 loop, yarn over, pull through all 3 loops.
Body
Fsc 82, (90, 94, 104), join to 1st st.
Round 1: (C1, WS) Ch 1, turn, esc in each st around, join to 1st st. (82, 90, 94, 104)
Rounds 2-3: (C2 if you’re doing stripes)- Ch 1, turn, esc in each st around, join to 1st st. (82, 90, 94, 104)
Rounds 4-5: (C1- if you’re doing stripes)- Ch 1, turn, esc in each st around, join to 1st st. (82, 90, 94, 104)
Rounds 6- 23(27, 33, 39)- repeat rounds 2-5. (82, 90, 94, 104)
*Body should come to about 1” from the armpits, where a sleeve would go. If it is not long enough, continue adding rounds before moving on to panels.*
Back Panel
Row 1: (C1) Ch 1, turn, 1 esc in each st for 41(45, 47, 52) stitches. (41, 45, 47, 52)
Row 2: Ch 1, turn, esc in each st across. (41, 45, 47, 52)
Row 3: (C2 if you’re doing stripes) – Ch 1, turn, esc2tog, 1 esc in each st across until the last two st, esc2tog. (39, 43, 45, 50)
Row 4: Ch 1, turn, esc2tog, 1 esc in each st across until the last two st, esc2tog. (37, 41, 43, 48)
Repeat row 4 (changing color every 2 rows if you’re doing stripes) until you have 21(23, 25, 30) stitches across. For 2/3 finish off here.
Rows 5-7(7, 11): Ch 1, turn, 1 esc in each st across. (23, 25, 30)
Finish off.
Front Panel
Join to WS of work. Repeat the back panel as written.
Sleeves
With C3, join to a bottom stitch of the back panel if left handed, front panel if right handed.
Round 1: (RS) Ch 1, work 12(16, 16, 20) up the side of the armhole, esc2tog to join the panels, 12(16, 16, 20) esc down the other panel, join to 1st st. (25, 33, 33, 41)
Round 2: Ch 1, turn, esc in each st around, join to 1st st. (25, 33, 33, 41)
Rounds 3-7(7, 9, 9): Repeat round 2.
Round 8(8, 10, 10): Ch 1, turn, *esc2tog, esc in next 3 (2, 2, 5)*, repeat around, esc in last (1, 1, 5), join to 1st st. (20, 25, 25, 35)
Round 9(9, 11, 11): Ch 1, turn, esc in each st around, join to 1st st. (20, 25, 25, 35)
Rounds 10(10, 12, 12) – 31(31, 33, 35): Repeat round 9.
Round 32(32, 34, 36): Ch 1, do not turn, sc in each st around, join to 1st st. (20, 25, 25, 35)
Finish off. Repeat on the other armhole.
Neckline
With C3 join to a back stitch on the neckline.
Round 1: (RS) Ch 1, sc evenly around the entire neckline working 2 sc in the corners where the sleeves connect the 2 panels, join to 1st st.
Rounds 2-3: Ch 1, sc in each st around, join to 1st st. Finish off. Weave in all ends. Block if necessary.
If you like this pattern check out my ever growing list of Free Crochet Patterns!
Pin it!

More Children’s Sweater Patterns
Michelle has been crocheting since 2011 and has been designing crochet patterns since 2014! She specializes in modern garments and accessories for your handmade wardrobe. Michelle has been featured in Happily Hooked Magazine, thehooknooklife.com, wecrochet.com, ourmakerlife.com, and several other websites. She is committed to providing the highest quality crochet information and patterns that instill a true feeling of pride, enjoyment, and accomplishment when completing a project.
