Crocheting clothes can be intimidating. Unlike crocheting a scarf or a blanket, clothes have to actually fit a human body. After 12 years of designing crochet clothing, I’ve learned that getting a really great fit comes down to just a handful of things. Below I’m sharing everything I know about crocheting clothes that you’ll actually wear and that truly fit.
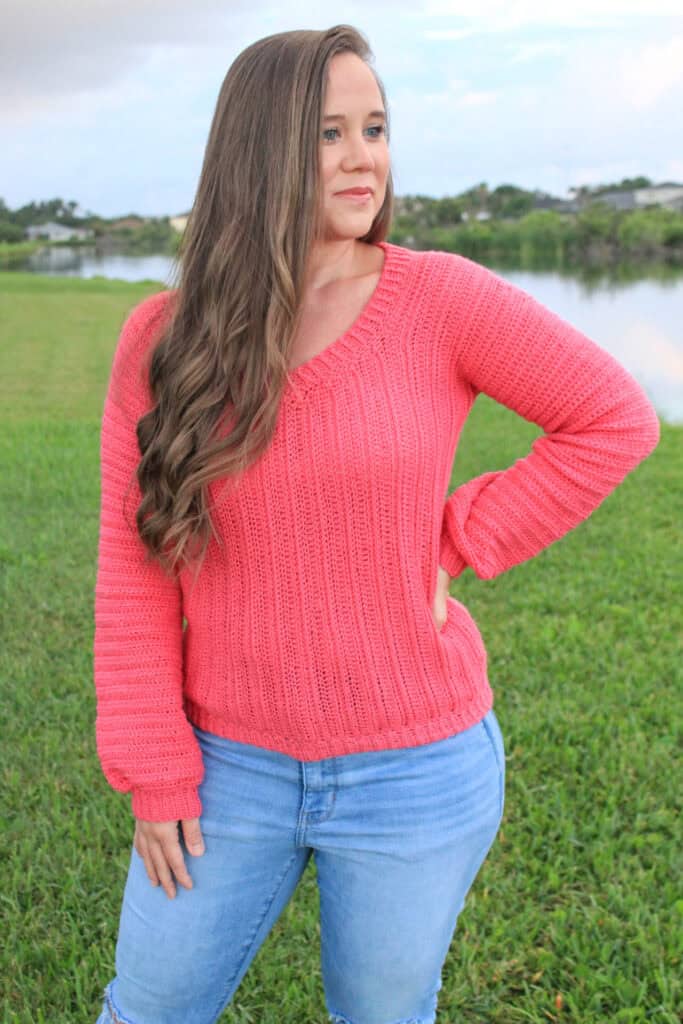
I’ve been designing crochet clothes for a long time now. I’ve learned so many things along the way, and I am still learning new things all the time. I absolutely love designing and crocheting garments!
But with crocheting garments, like a sweater, comes a lot of questions and concerns. Mostly about fit and how to get it to fit your shape and size correctly.
Preparing for your Crochet Clothing Project
Crocheting a piece of clothing like a sweater takes a little more preparation than something small like a hat or a scarf.
First, choose the yarn called for in the pattern or a comparable yarn. At the very least, stay within the yarn weight that the pattern calls for. You will not get the same fit and look if you use a DK weight yarn if the pattern calls for Bulky yarn and vice versa. This is a mistake I see made often, and while I understand that you don’t always want to use the same yarn, it is a necessary part of the crochet clothing process.
Wondering what other mistakes I see when crocheting clothes? Check out 10 Mistakes Crocheters Make when Crocheting Garments!
Second, make sure you have the amount of yarn you need. I always get more than the amount needed for my size, just to be on the safe side so I don’t run out mid-project.
Third, take measurements. If you are making the clothing for yourself, it’s a little easier because you can try it on as you go. But if you are making the piece for someone else, it’s very important to take their measurements for a good fit. Check out my post on How to Measure for Crochet Garments for step by step instructions on getting good measurements.
Lastly, before you start your project ALWAYS check your gauge and match your hook size appropriately. Gauge is very important to check when working on a crochet clothing project. I have a blog post and video tutorial on How to Crochet a Gauge Swatch and Check Gauge from Start to Finish.
Following a Crochet Pattern
It is important that you can read and follow a crochet pattern when crocheting your own clothes. Crochet designers write their patterns differently, but the instructions should all follow a similar flow from the start of the project until the end. Check out this post on How to Read a Crochet Pattern if you need more guidance.
Be sure to read through the pattern before you start, just to get an idea of how it flows. Read all of the pattern notes, so you know everything the designer wants you to know about the pattern. If you have questions about the pattern or something is not working out right, there is usually an email on the pattern for you to reach out to the designer for pattern support.
Making Sizing Adjustments as You Crochet your Clothing
Most of my patterns have multiple sizes for you to make, but what if you are slightly in between sizes, would like just a little bit more ease, or would like it a little tighter? There are ways to easily adjust the fit just slightly so that the garment can fit you exactly how you want it!
To adjust width
Sometimes we just need a little more room in certain areas of the crochet top. This is an easy way to adjust the design so that those areas have more room.
Go up a hook size or two (from the hook you met gauge with) if you’d just like a little more ease in your top. Go down a hook size or two for a slightly tighter fit.
If you are right in between sizes, I suggest going up a size, rather than down to the smaller size.
To adjust length
Almost all of my patterns are super easy to adjust the length. You can just do more or less rounds to make your garment longer or shorter. This same trick can also be applied for sleeves.
Neckline
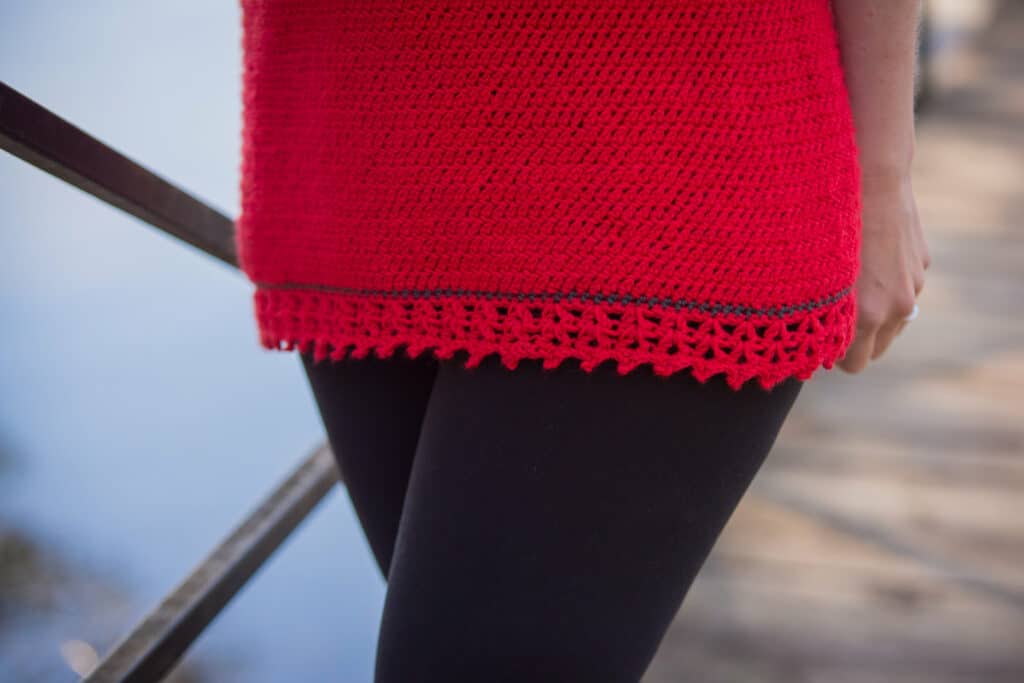
If the pattern calls for chainless foundation single crochet (fsc) to start, but your tension is pretty loose for this stitch, you may want to just chain, join, and sc in each stitch around.
This will make it less stretchy and loose around the neck.
Or if it’s the opposite and it calls for a starting chain, but you want it to fit looser and be stretchier around the neck, fsc is a great option. If you just want a slight change in the neckline, going up or down a hook size will also help with this. Just remember, the weight of your sleeves, once added, will pull the neckline out just slightly.
Armholes
If the armholes come up too high and feel tight in your armpits, add a few more rounds of the last round you did (no increases) before going to the round that creates the armhole. This will cause the armhole to
sit lower and not be so tight around your underarms.
Sleeves
An easy fix for a slightly looser or tighter fit in the sleeves is, once again, going up or down a hook size. If the sleeves are very tight or very loose, try working the counts for the next size up or down. Also, if the sleeve tapers, and you would like it not to, just leave out any decreases throughout the sleeve. Or if you’d like it to taper more, do another round or two of decreases throughout the sleeve.
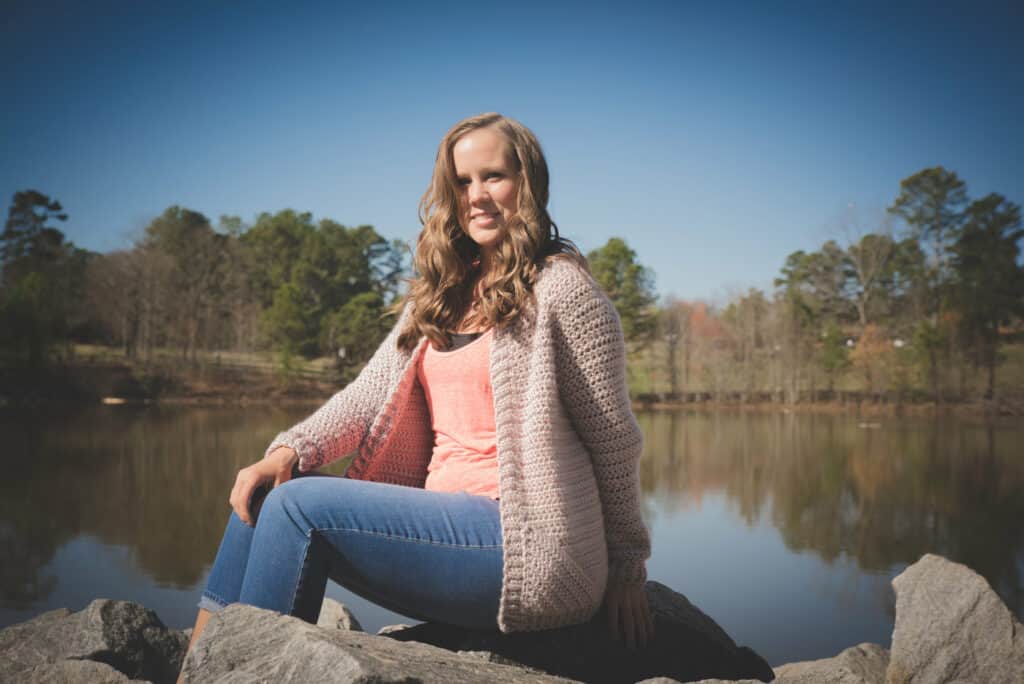
Crocheting Garments from the Bottom Up
Most adjustments work the same way for a bottom up garment, but there are a few changes that you would have to make differently. If the armholes feel too small or too high in your underarm, just make your front and back panels longer before joining. For the neckline, if you’d like a looser fit, work less stitches when stitching your two panels together.
I hope these tips are helpful to you as you tackle crocheting garments! If you’re more of a visual learner, here’s a link to a video podcast I did explaining the exact same adjustments. Once you’ve mastered how crocheting garments, be sure to check out my tips for Caring for your Crocheted Garments.
And as always, please feel free to contact me at any time if you have trouble or questions with one of my patterns!

If you love crocheting as much as I do, or want to learn more, or just want to show off your work, please join our Crochet Garments community over on Facebook! I hope you’ll share your finished crochet project with us!
Pin it for Later:




Thank you so much. I love to crochet garment but alway struggle with the measurements.
This tips will definitely help. Have a wonderful day
Thank you for this very useful information!
Thank you! I have made a few of your patterns and love them.
In your patterns where you use the lch, long chain, what is it’s purpose? And, when you are assembling your pieces together, do you simply crochet or sew over the lch?
The long chain is only used at the beginning of a row to create a more straight and clean edge. You would treat it like any other stitch or starting chain and just sew through it like all the other stitches.
A discussion on how much ease to use for garments would be so helpful.
Thank you for the great Tip’s.
Like you I love making myself and others Garments.
Currently Working on a Cardigan. From the Bottom Up… Designing it myself for me. I want to keep it seamless at the Shoulders and Sleeves. It’s in Zebra Stripe’s , White, Black, and Gray…
Thanks for sharing great information about making a cardigan. Thanks