
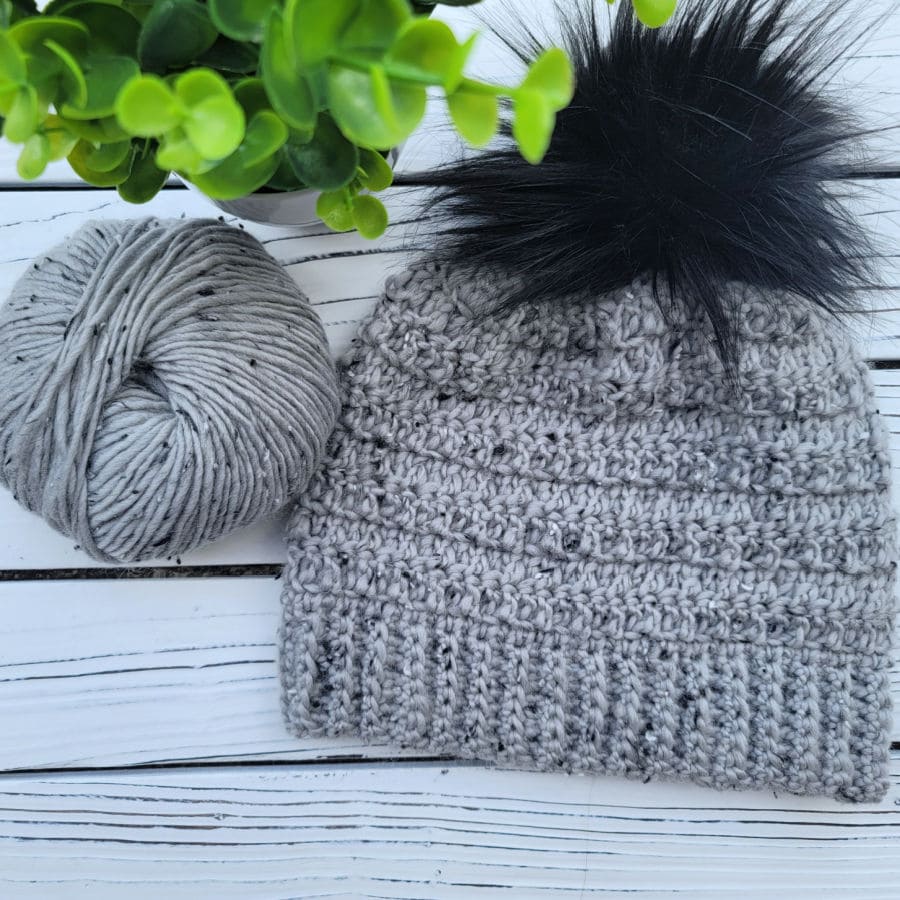
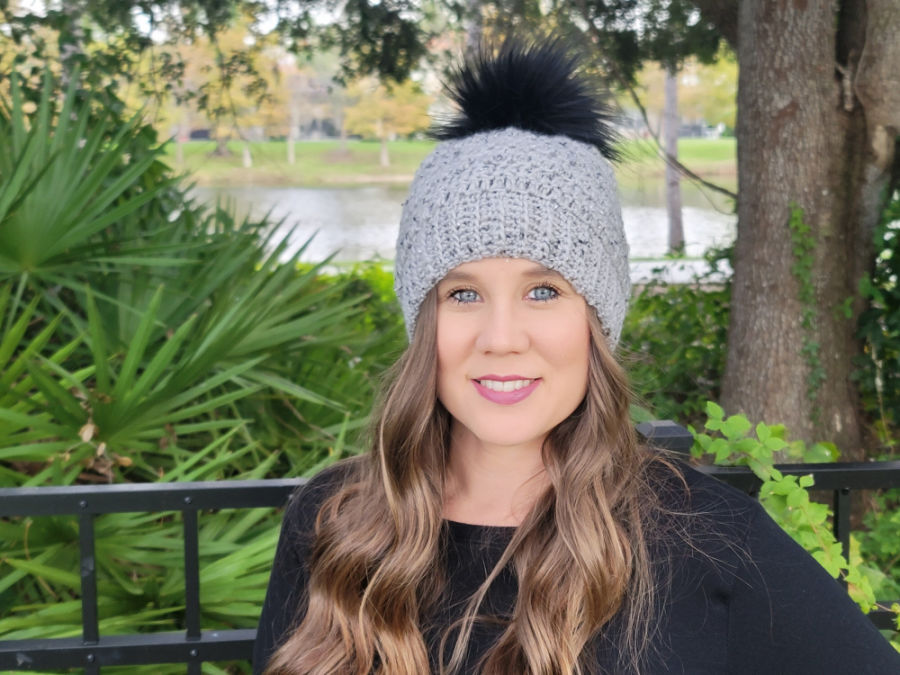
The Edgewater Hat uses the same great stitch combo as the Edgewater Sweater Dress to create an amazingly textured hat!
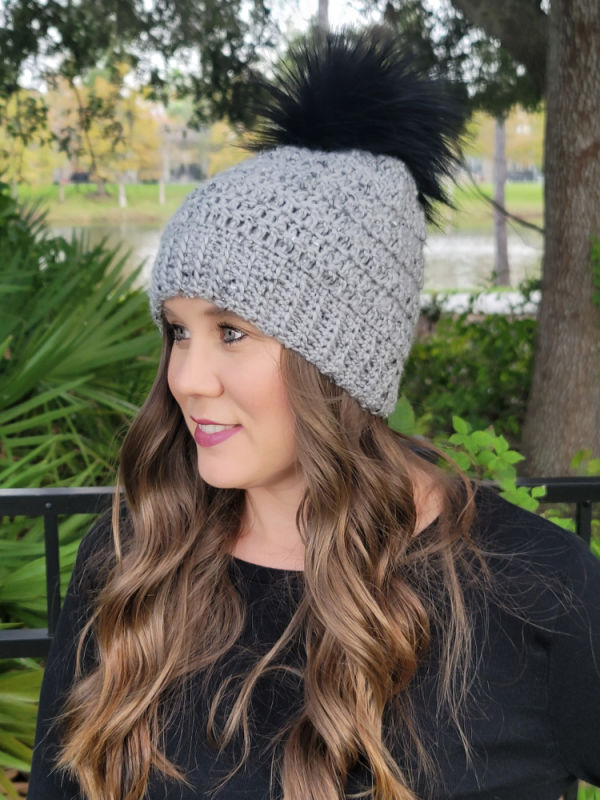
Discover the perfect blend of style and warmth with the Edgewater Hat crochet pattern. This easy-to-follow pattern features a unique texture that adds a touch of elegance to any winter outfit. Designed to be both functional and fashionable, this crochet hat pattern is suitable for beginners and experienced crocheters alike.
It’s a simple and fast project using a light worsted (#4) weight yarn of your choice!
Yarn for a Crochet Hat
For the sample pictured in this post I used Hobbii Yarn’s Tweed Delight. This yarn is so soft, squishy, and warm! This yarn is 85% wool, 10% acrylic, and 5% viscose. It comes in a large variety of colors! I love the softness and the stitch texture it provides.
Some other light worsted yarns that I love are Lion Brand Jeans yarn, Lion Brand Nuboo, and WeCrochet Swish Worsted.
Pattern Details
The pattern comes in infant sizes through adult sizes, so you can make one for every member of the family!
It is worked from the bottom up, starting with the brim.
This crochet hat uses very basic stitches, including single crochet and double crochet. You will need to know how to work in the back loop only (blo) and front loop only (flo). Check out the video stitch tutorial below to learn how to do it!
Stitch Tutorial:

If you love crocheting as much as I do, or want to learn more, or just want to show off your work, please join our Crochet Garments community over on Facebook! I hope you’ll share your finished crochet project with us!
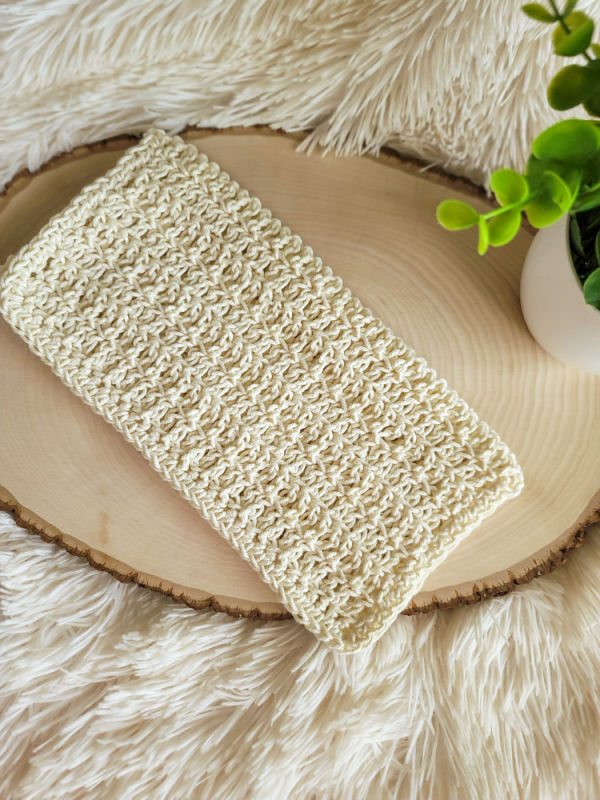
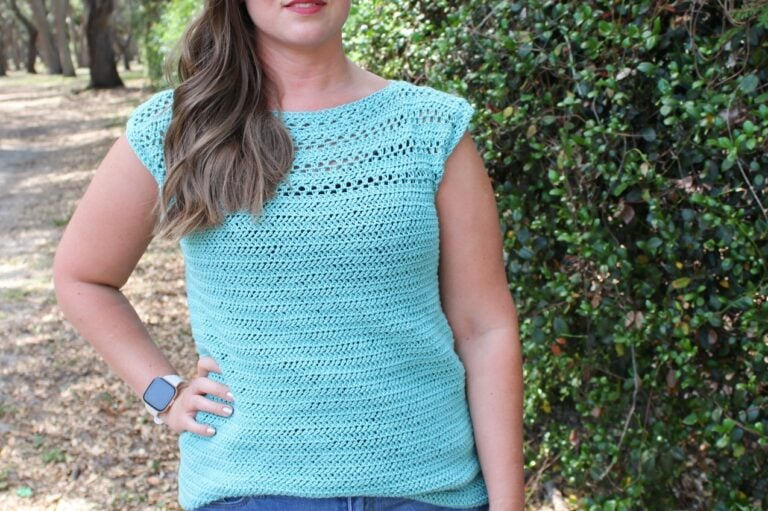
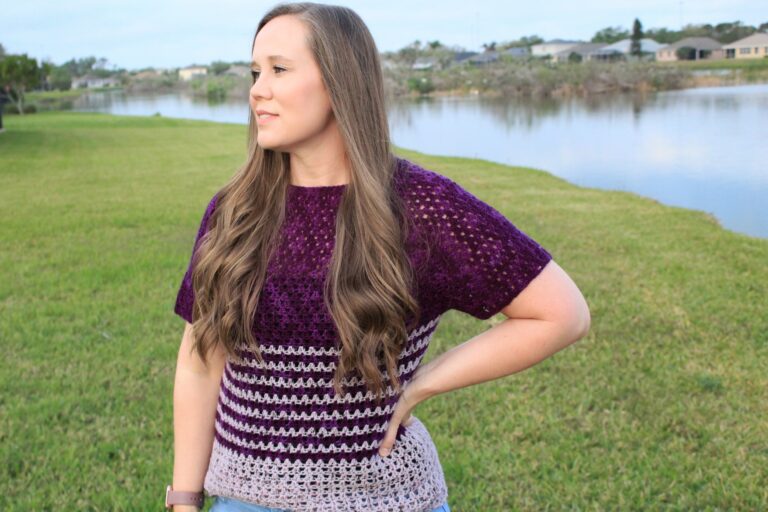
The edgewater Collection
Love this pattern? You may also like some of these other patterns that use the same gorgeous stitch pattern.

Ways to Access the Pattern
- Free on the blog as a blog subscriber: Blog Subscribers can access the full pattern for free here on the blog by logging in or signing up for a Grow Account.
- Upgrade to the ad-free, printable pdf pattern on Ravelry or Etsy. This pdf can be downloaded and/or printed for your convenience.
Edgewater Hat
Get the PDF Pattern!
Upgrade to the ad-free, printable PDF download on Ravelry or Etsy!
Love this pattern? Check out my ever growing list of Free Crochet Patterns!
Edgewater Hat Crochet Pattern
Copyright © 2026 Michelle Ferguson – Two Brothers Blankets
All rights reserved. No part of this pattern may be reproduced, sold, or tampered with, in any form or by any means, without permission from the publisher.
Items produced from these patterns may be sold, but the patterns themselves may not be sold, shared, or altered in any way.
Yarn:
85% Wool, 10% Acrylic, 5% Viscose
100m/109yds
Hook:
I/9 (5.5mm) crochet hook
Other Materials:
Gauge:
- Brim: 8 sts x 7 rows = 2”
- Body: 13 dc x 7.5 rows = 4”
Pattern Difficulty:
Easy
Stitches Needed & Abbreviations:
st(s)- stitch(es)
ch(s)- chain(s)
sc- single crochet
dc- double crochet
blo- back loop only
flo- front loop only
dc2tog- double crochet 2 together
RS- right side
*- repeat from
Sizing:
| Size | Head Circumference | Finished Circumference | Finished Length | Yardage |
| Infant | 17-18” | 17” | 7” | 132 |
| Toddler | 18-20” | 18” | 7.75” | 140 |
| Child | 20-21” | 19.5” | 8.5” | 152 |
| Teen/Small Adult | 21-22” | 20.5” | 9.5” | 160 |
| Adult | 22-23” | 21.75” | 9.5” | 168 |
Pattern Notes:
Pattern is in US terms.
Starting chain does not count as first st unless stated otherwise within the pattern.
When decreasing, work your stitches into the same loop as the round below you. (blo into blo, flo into flo) Do this for all stitches.
Pattern is worked in infant sizes with additional sizes in parentheses as follows: Infant (Toddler, Child, Teen/Small Adult, Adult). Final stitch counts will be at the end of each row/round for all sizes.
Pattern
Access The Pattern
To access exclusive content, click the button to access the Grow.me app and sign in or create an account. You can create an account via your Google or Facebook accounts, or use an email and create a password.
Once you’ve created an account and signed in you will have access to all of the exclusive content on my blog. You’ll just need to sign in. If you forgot your password, simply click the “Forgot My Password” button to retrieve it. I cannot get access to your grow account to retrieve it for you.
Thank you so much for being a blog subscriber and I hope you enjoy the exclusive content!
Pattern is a copyright of Two Brothers Blankets. Please do not alter, copy, share, or sell in any way. You may, however, sell your finished products from this pattern.
Love this pattern? Check out more Free Crochet Patterns!
Pin It!

Free Blanket Pattern + More!
Sign up for our newsletter and receive a Dude Blanket crochet pattern pdf FREE straight to your inbox.


Does anyone know of a good resource on better instructions on finishing the hat and adding the pom? I can’t figure out how to fasten off the end and finish the pom. Otherwise really nice pattern – just sad I got all the way to the end and can’t finish it.
Here’s a youtube video with one way to close it. You can also check for other tutorials on youtube as well. https://www.youtube.com/watch?v=gyVyJfxAJjY