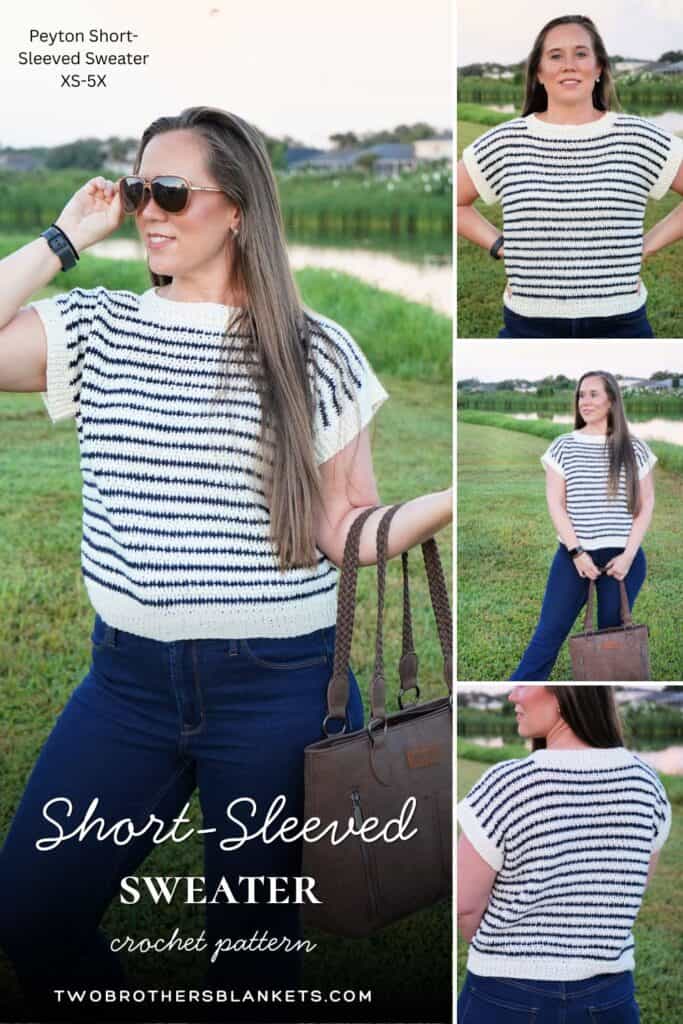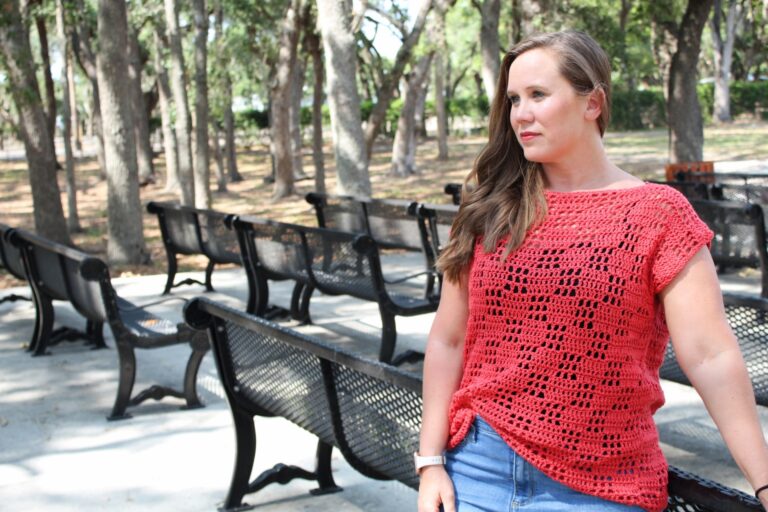
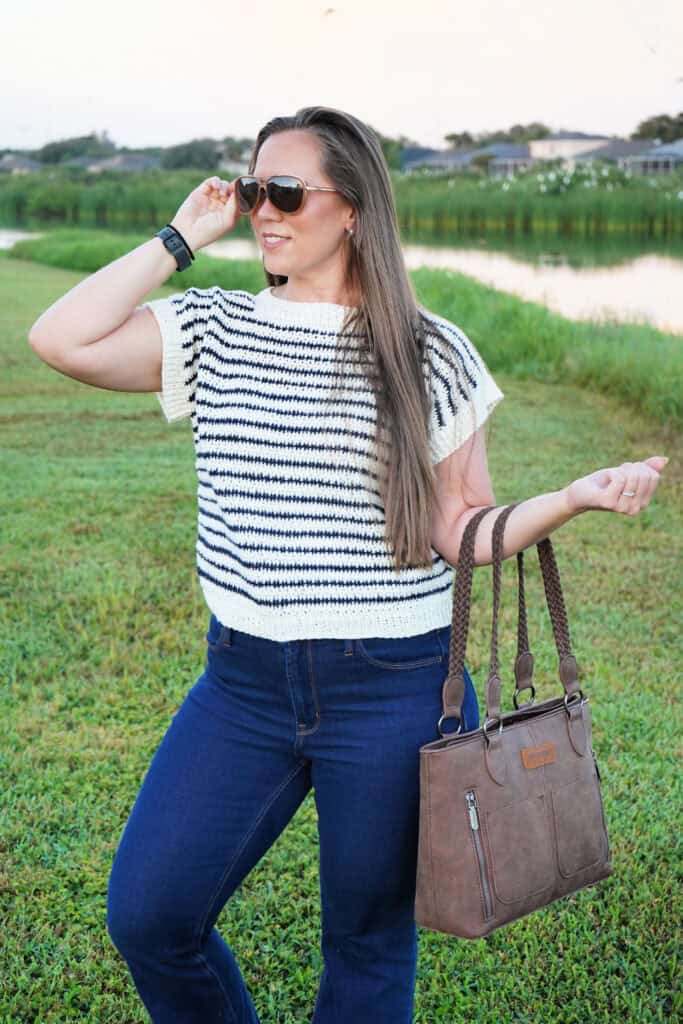
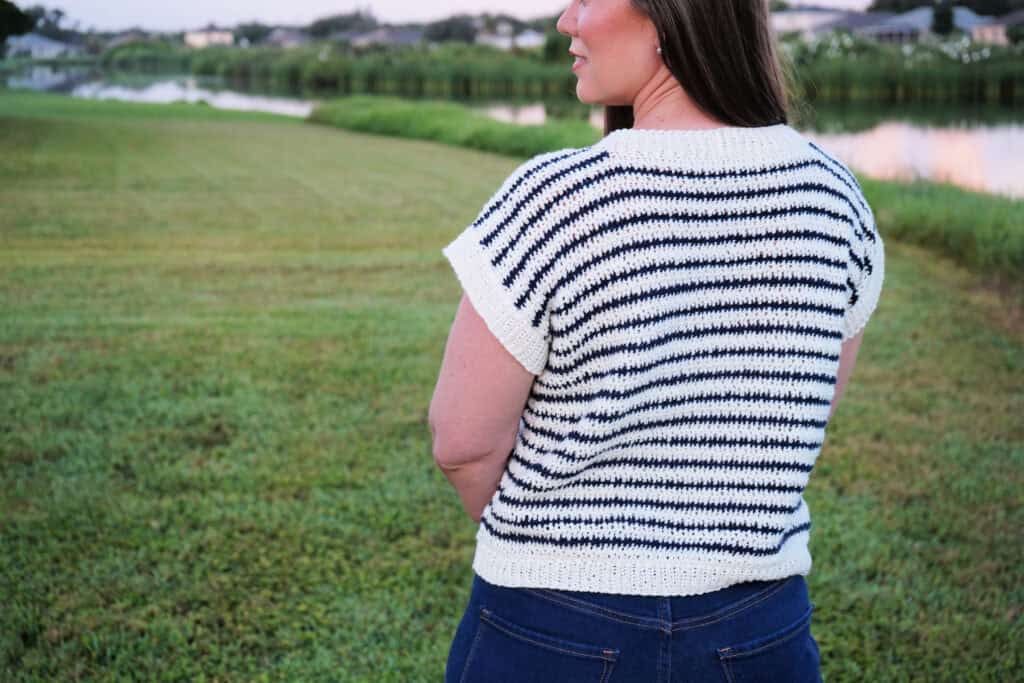
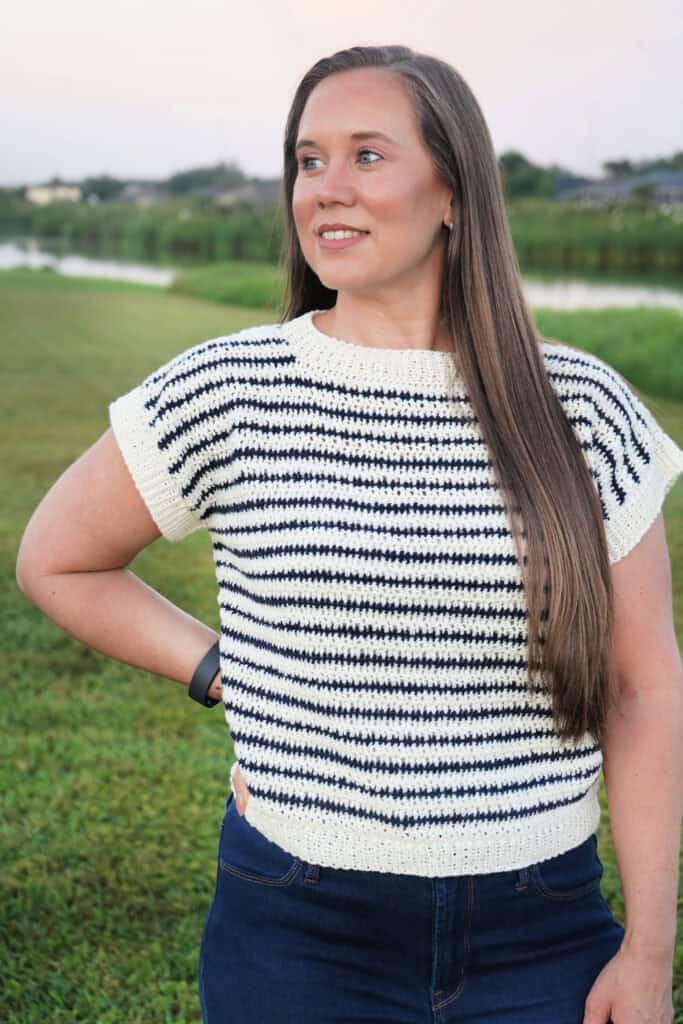
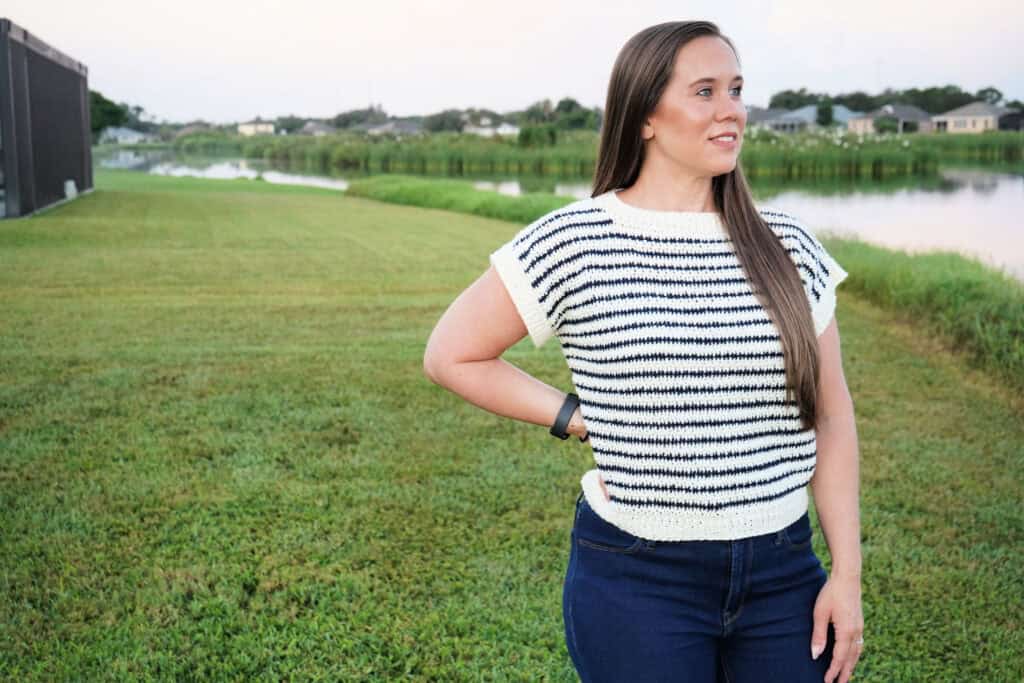
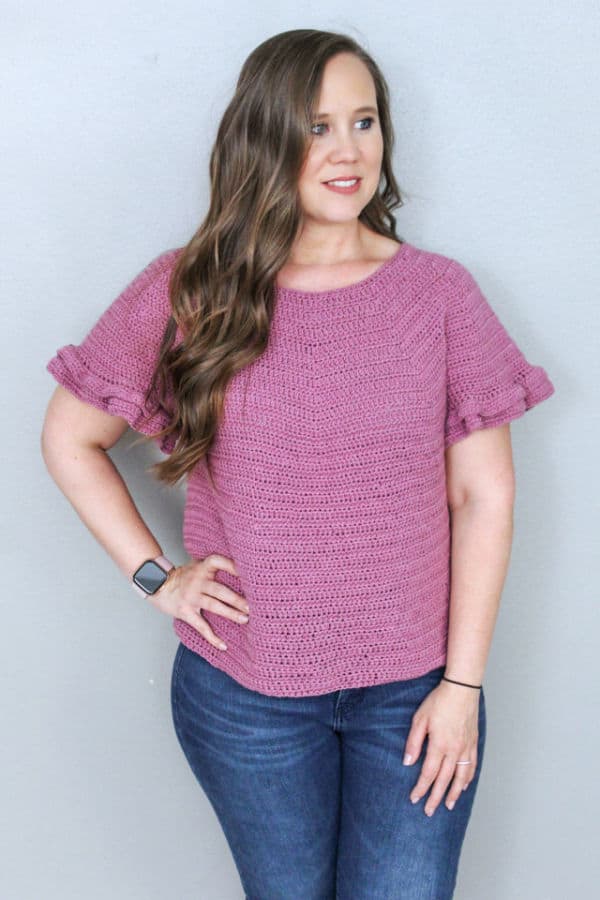
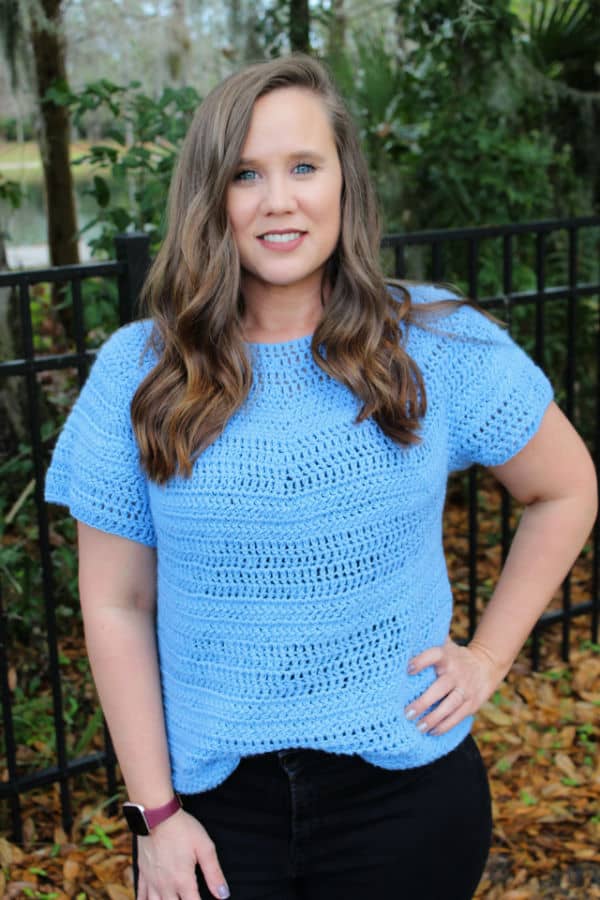
The Peyton Sweater is a short-sleeved crochet sweater pattern with beautiful stripes and a lovely ribbed trim along the neckline, armholes, and bottom. This crochet sweater pattern uses fingering (#1) weight yarn in two colors making it lightweight and perfect for transitional weather. It is slightly cropped, falling at the top of the hips, but is also very easy to customize to your preferences.
Sweater Workup Details
This short-sleeved sweater is worked flat in rows. You’ll create two identical panels and seam them together by slip stitching the sides together or sewing with a yarn needle.
After the sides and shoulders have been seamed, you’ll join the yarn and create the neckline, armhole, and bottom trim with your main color.
This is a crochet sweater with stripes, using two colors that are carried throughout the workup. I used 3 separate skeins to carry my yarn as I worked each row, but you can also cut the yarn and join each time you change colors.
This short-sleeved sweater is slightly oversized with 6-8″ of positive ease.
The Yarn
For this crochet sweater pattern, I used WeCrochet Mighty Stitch Fingering (#1) weight yarn.
This yarn is made of 20% Superwash Wool and 80% Acrylic. There are over 20 colorways to choose from in this yarn line, so you have a lot of color choices for this sweater.
This yarn is machine wash and dryable, and I can vouch that it holds up well in the washer and dryer. I was really impressed by it’s durability.
This project was my first time working with this yarn, and I absolutely love the way it worked up and the way it feels when worn. It is very comfortable, durable, and soft.
What You’ll Need:
For this project I recommend the yarn above or a comparable fingering (#1) weight yarn. You’ll need approximately 1116 to 2108 yards, depending on the size you’re making. The pattern includes the yardage for both Color A and Color B.
You’ll also need to use the crochet hook to meet gauge. Gauge is very important when crocheting clothing. If you need more help on how to check gauge, check out this blog post on How to Crochet a Gauge Swatch from Start to Finish.
Other materials for the crochet sweater pattern include scissors, measuring tape, and a yarn needle. You may also want to have some stitch markers on hand if you find those helpful.
Skill Level and Stitches Used
This short-sleeved crochet sweater pattern is rated Easy in difficulty level. Advanced beginners should be able to complete this garment pattern with some basic knowledge of crocheting clothing and the help of the video tutorial.
Basic crochet stitches are used including half double crochet, double crochet, single crochet, and slip stitches. You will also need to know how to work in the back loop only and change colors.
New to Crocheting Garments? Start Here!
How to Read a Crochet Pattern for Beginners
How to Block Crochet Tops and Sweaters
A Deep Dive into Crochet Garment Ease
How to Crochet a Gauge Swatch from Start to Finish
Frequently Asked Questions
Q? Can I make this in a different weight yarn?
A. You could make this yarn in a different weight, but I don’t recommend it. If you do make it in a different weight, you’ll need to make sure you can meet gauge with that yarn so that you can get the same measurements.
Q? Do I have to make this sweater in stripes?
A. No, you can make this a solid sweater or make the body all one color and the trim another color. Have fun with it and customize it to your liking.
Q? Can I make the sleeves longer?
A. The two panels you create are big enough to cover a portion of your shoulders and arms, which is where the short sleeves come from, so you’d have to join the yarn at the armholes and create the sleeves in the round to make them longer, before adding your trim.
More Short Sleeve Sweater Patterns
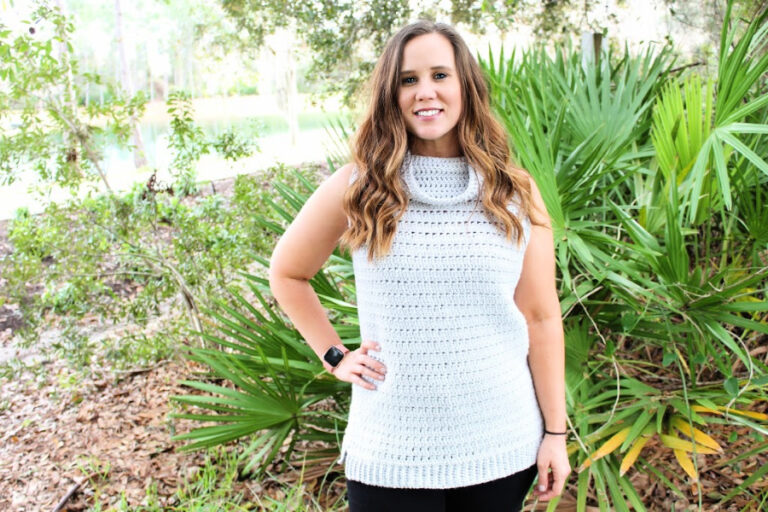
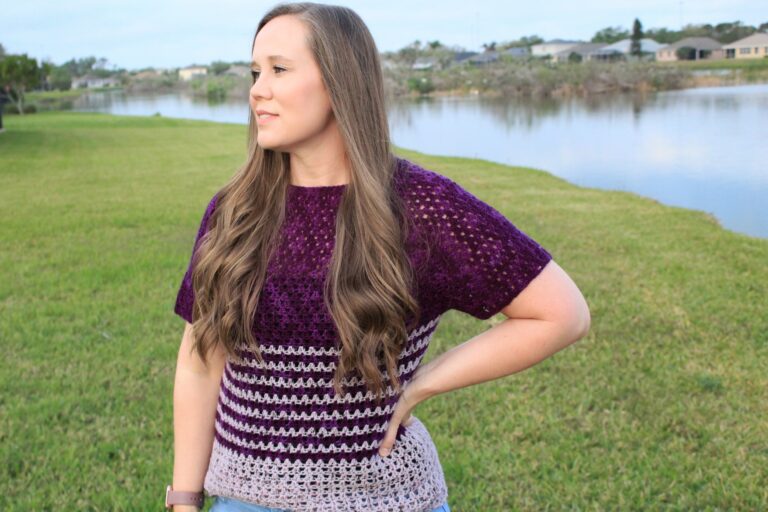
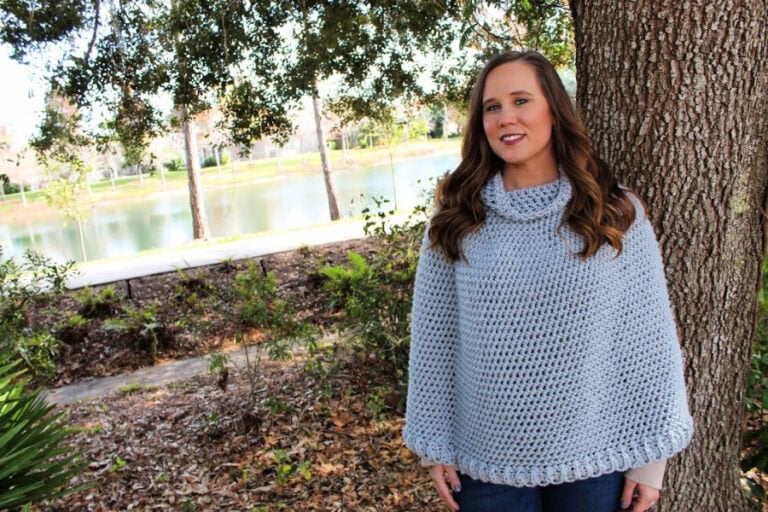
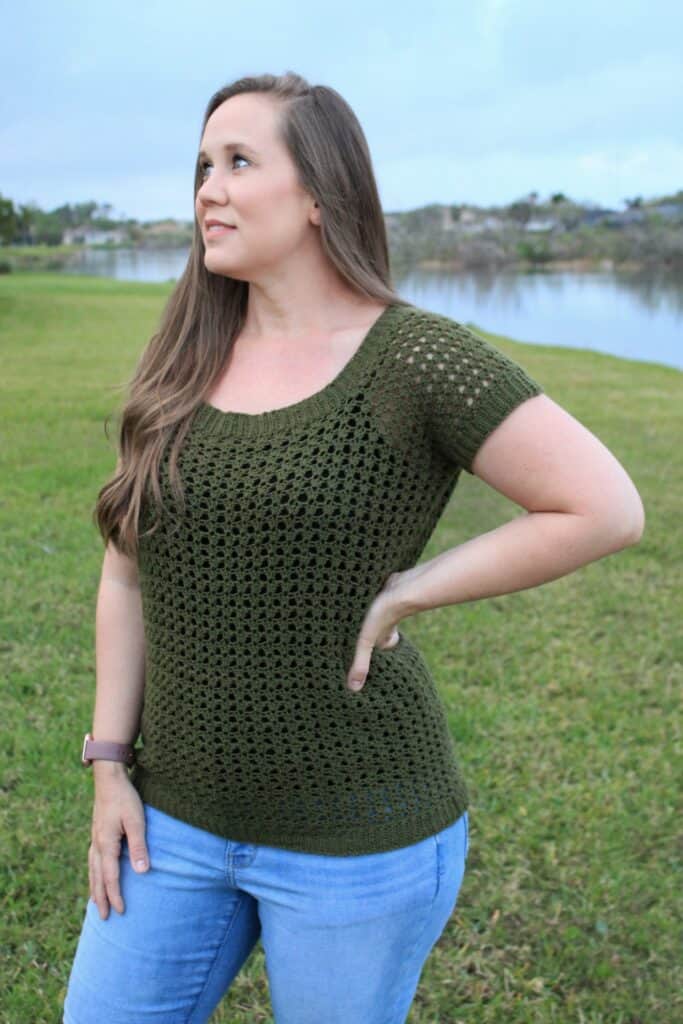
Love this pattern? You may also like some of these other short sleeve crochet sweater patterns for year round wear.
Limited Time Only: Free PDF Download!
To celebrate the very first new pattern release of the year, (I’ve been working behind the scenes on something) I’m giving away the pattern PDF download for the first 24 hours of the release! Follow the button below and then scroll until you see the Free offers section! This ends on Saturday, September 26, 2026 at 10am EST, so don’t wait! Click the box below and scroll until you see the Free Offers Section. From there you’ll see the button to download the pattern.
Peyton Short Sleeved Sweater Crochet Pattern
Ways to Access the Pattern
- Free on the blog as a blog subscriber: Blog Subscribers can access the full pattern for free here on the blog by logging in or signing up for a Grow Account.
- Upgrade to the ad-free, printable pdf pattern on Ravelry or Etsy. This pdf can be downloaded and/or printed for your convenience.
Peyton Short Sleeved Sweater
Get the PDF Pattern!
Upgrade to the ad-free, printable PDF download on Ravelry or Etsy!
Just want the free version? Scroll down below!
Yarn:
WeCrochet Mighty Stitch Fingering (#1)
80% Acrylic, 20% Superwash Wool
Colorways: Cream (CA) and Navy (CB)
100g/437yards
Hook:
G (4.0mm) crochet hook
Other Materials:
Gauge:
20 sts x 13 rows = 4”
Pattern Difficulty:
Easy
Stitches Needed & Abbreviations:
blo: back loop only
CA: Color A
CB: Color B
ch(s): chain(s)
dc: double crochet
hdc: half double crochet
Lch: long chain – pull up a loop the height of a dc, ch 1
sc: single crochet
sk: skip
sl st: slip stitch
st(s): stitch(es)
RS: right side
*: repeat from
Sizing:
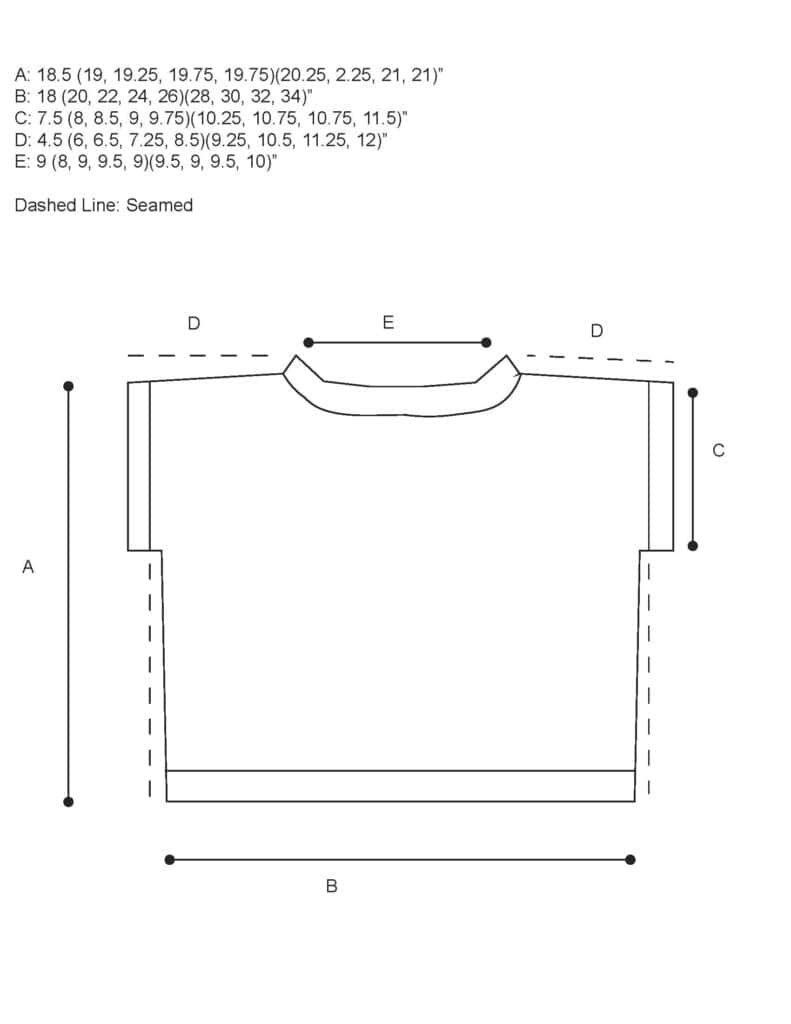
| Size | Bust Circumference | Finished Circumference | Finished Length | Yardage Total (CA, CB) |
| XS | 28-30” | 36” | 18.5” | 1116 (937, 179) |
| S | 32-34” | 40” | 19” | 1231 (1030, 201) |
| M | 36-38” | 44” | 19.25” | 1364 (1146, 218) |
| L | 40-42” | 48” | 19.75” | 1488 (1250, 238) |
| XL | 44-46” | 52” | 19.75” | 1612 (1354, 258) |
| 2X | 48-50” | 56” | 20.25” | 1736 (1458, 278) |
| 3X | 52-54” | 60” | 20.25” | 1861 (1562, 299) |
| 4X | 56-58” | 64” | 21” | 1984 (1667, 317) |
| 5X | 60-62” | 68” | 21” | 2108 (1771, 337) |
Pattern Notes:
Pattern is in US terms.
Sweater is worked in two panels that are seamed together with trim added at the end.
Sweater is oversized with 6-8” of positive ease.
Starting chain does not count as first stitch unless stated otherwise within the pattern.
Sweater is slightly cropped, falling at the top of hips. To add length, complete more rows before starting shoulder panels.
Pattern is written in smallest size with additional sizes in parentheses as follows: XS (S, M, L, XL)(2X, 3X, 4X, 5X). Final stitch count for all sizes will be at the end of each row/round. If no stitch count is at the end, the stitch count is the same as previous row/round.
Video Tutorial: https://youtu.be/9ELWbQZf21M
Gauge Swatch Pattern
Ch 22
Row 1: dc in 3rd ch from hook, 1 hdc in next st, *1 dc in next st, 1 hdc in next st; repeat from * across. (20)
Row 2: Lch, turn, 1 dc in first st, 1 hdc in next st, *1 dc in next st, 1 hdc in next st; repeat from * across.
Row 3: Ch 1, turn, 1 hdc in each st across.
Rows 4-5: Repeat Row 2.
Rows 6-14: Repeat Rows 3-5.
Fasten off. Measure.
Access The Pattern
To access exclusive content, click the button to access the Grow.me app and sign in or create an account. You can create an account via your Google or Facebook accounts, or use an email and create a password.
Once you’ve created an account and signed in you will have access to all of the exclusive content on my blog. You’ll just need to sign in. If you forgot your password, simply click the “Forgot My Password” button to retrieve it. I cannot get access to your grow account to retrieve it for you.
Thank you so much for being a blog subscriber and I hope you enjoy the exclusive content!
Pattern:
Pin it for Later: